1. Taw qhia
Thank you for choosing the LiteOn eSAU108-97 External Recording DVD Drive. This portable optical drive offers reliable DVD and CD reading and writing capabilities, powered conveniently via a single USB connection. It is designed for use with laptops and other compatible devices, providing a compact and efficient solution for your optical media needs.
Thov nyeem phau ntawv no kom meej ua ntej siv lub cuab yeej kom paub meej tias kev ua haujlwm zoo thiab ua kom nws lub neej ntev tshaj plaws.
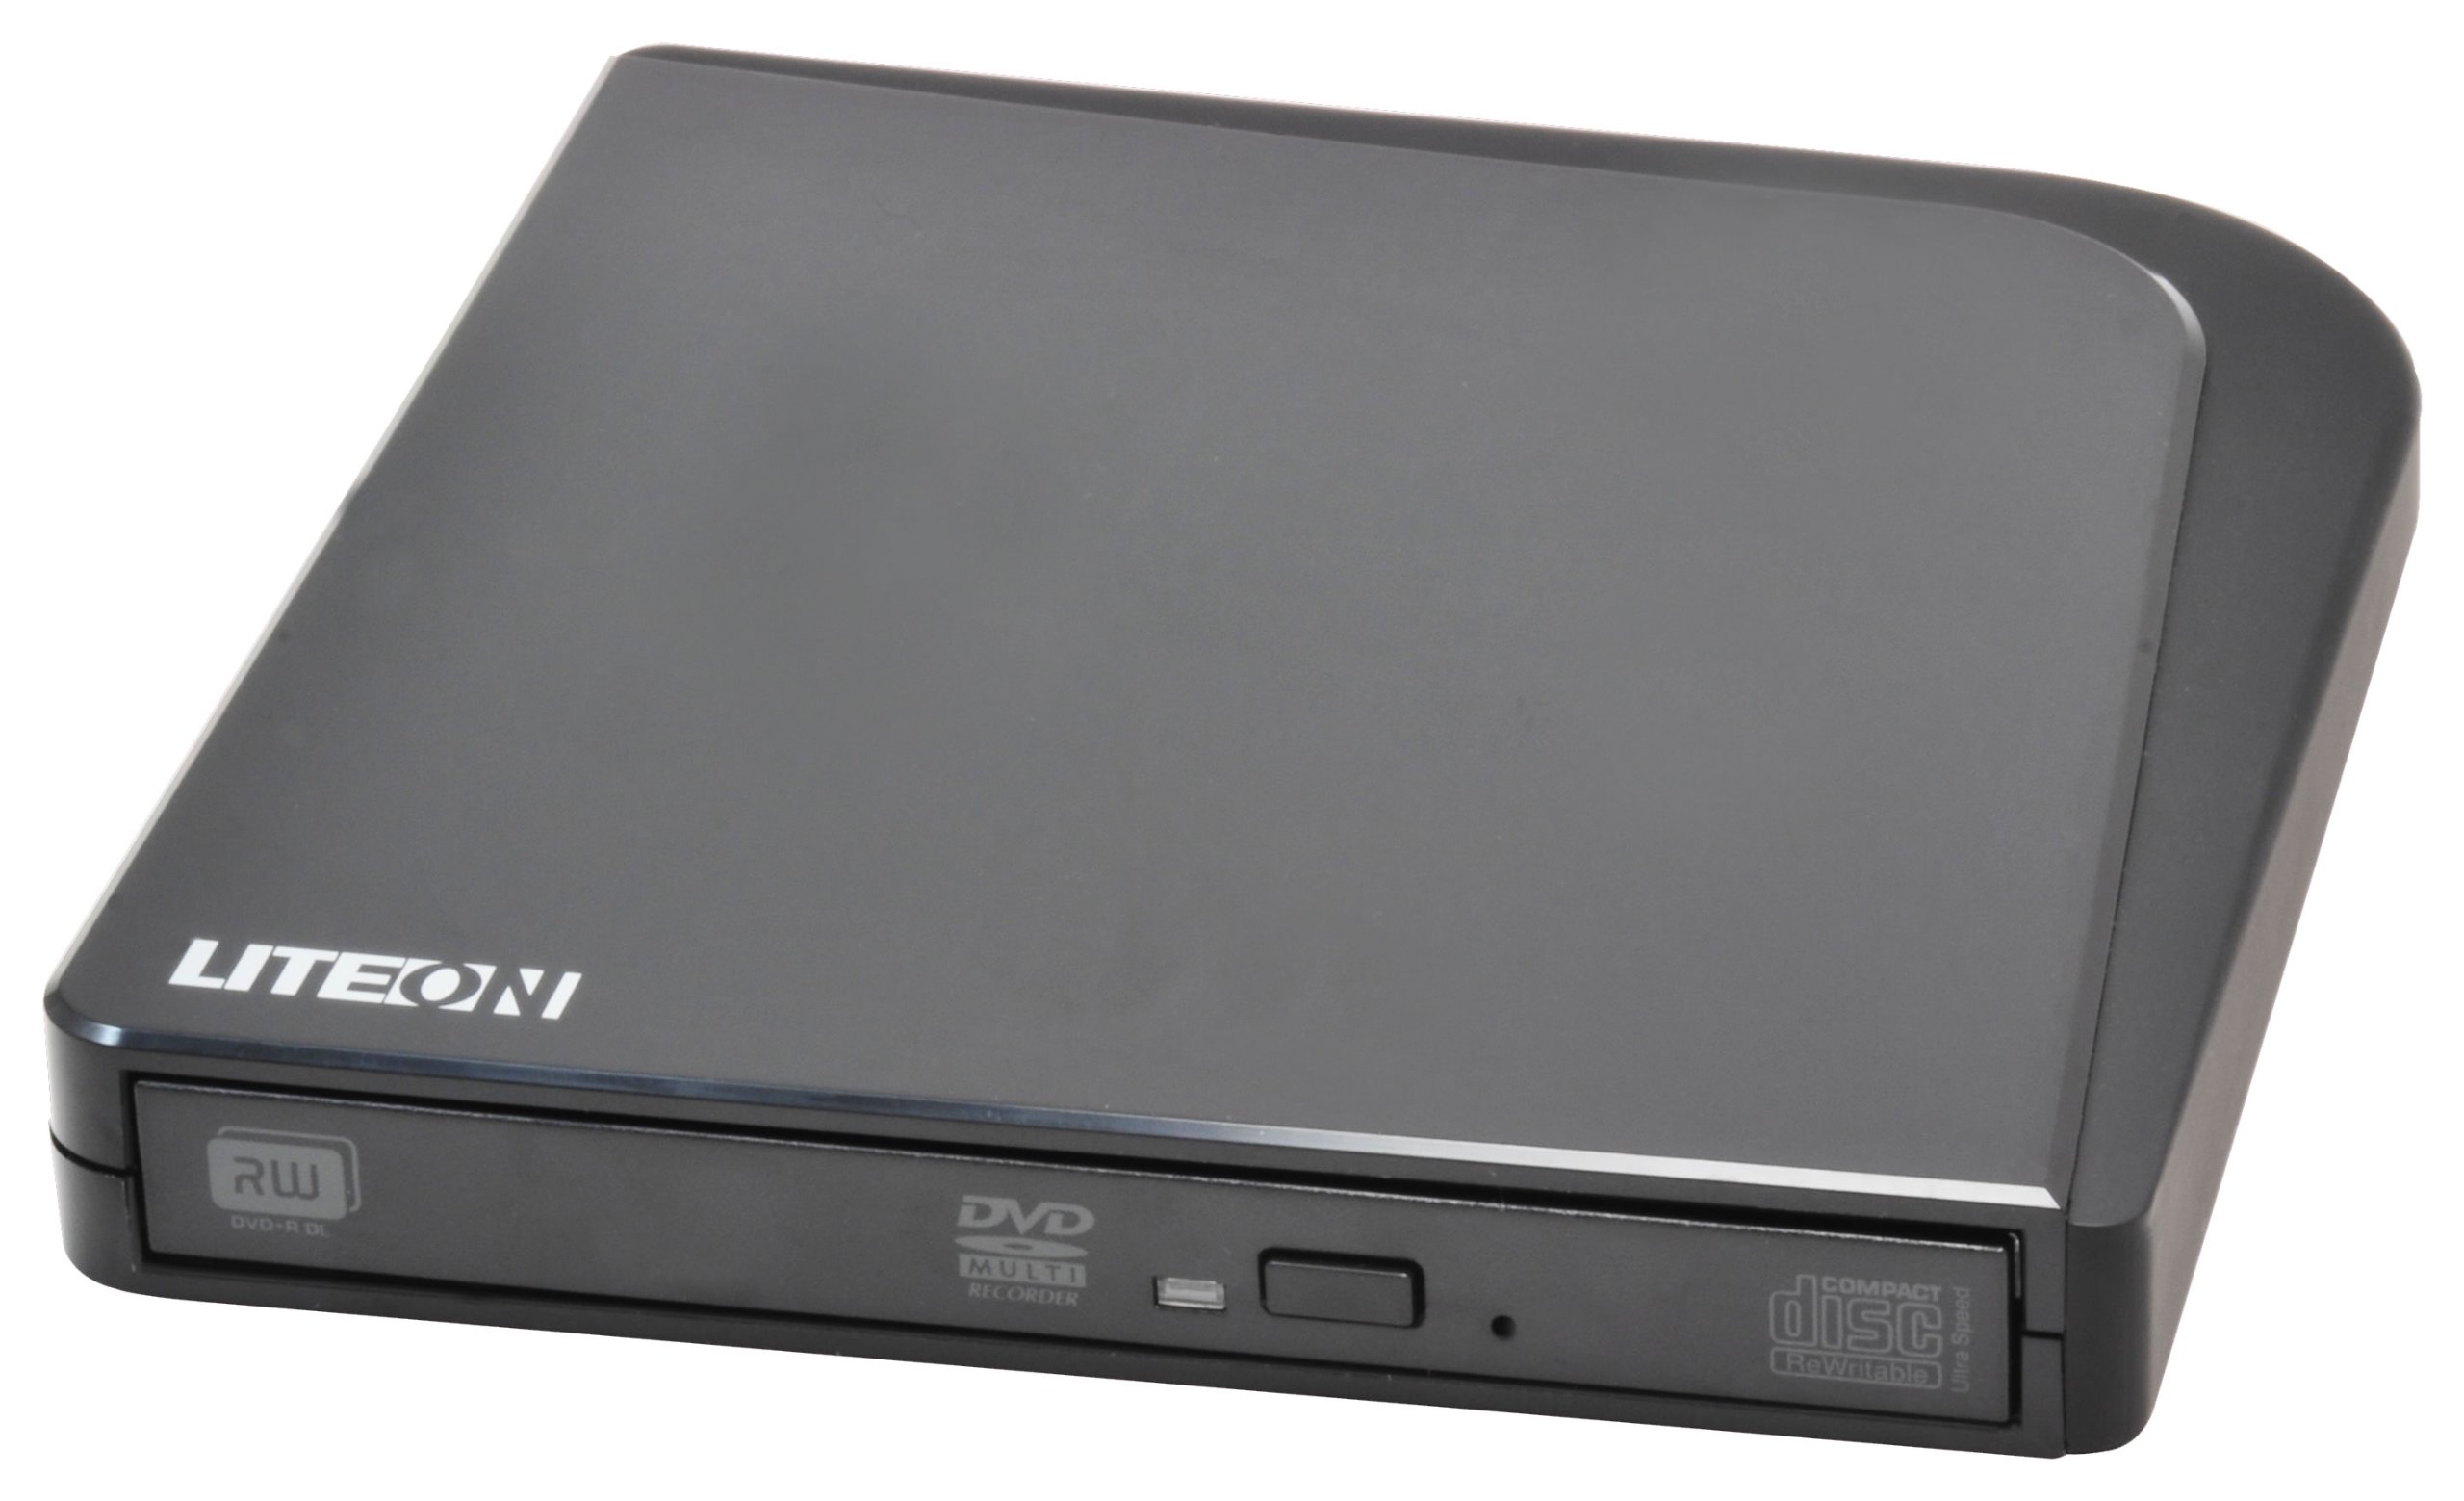
Daim duab 1: LiteOn eSAU108-97 External Recording DVD Drive. This image displays the compact, black external DVD drive, highlighting its sleek design and the USB port for connectivity.
2. Cov ntsiab lus ntawm pob
Thov saib cov khoom hauv pob khoom kom zoo zoo. Yog tias muaj tej yam khoom ploj lawm los yog puas lawm, hu rau koj tus khw muag khoom tam sim ntawd.
- LiteOn eSAU108-97 External Recording DVD Drive
- USB Data/Power Cable
- Quick Start Guide (cov phau ntawv no)
3. Teeb tsa
3.1 System Requirements
- Operating System: Windows XP/Vista/7/8/10/11, macOS 10.x or later, Linux (kernel 2.6 or later)
- Muaj qhov chaw nres nkoj USB 2.0 lossis 3.0
- Tsawg kawg yog 512MB RAM
- Minimum 10GB free hard disk space (for disc burning software and temporary files)
3.2 Txuas lub Drive
- Locate an available USB port on your laptop or computer.
- Connect the smaller end of the provided USB cable to the USB port on the LiteOn eSAU108-97 drive.
- Connect the larger end of the USB cable to the USB port on your computer.
- The drive is bus-powered, meaning it draws power directly from the USB port. No external power adapter is required.
- Koj lub operating system yuav tsum nrhiav thiab nruab cov drivers uas tsim nyog. Cov txheej txheem no yuav siv sijhawm me ntsis.
3.3 Kev teeb tsa tsav tsheb
The LiteOn eSAU108-97 is a plug-and-play device. Most modern operating systems will automatically install the required drivers upon connection. No manual driver installation is typically needed. If the drive is not recognized, try connecting it to a different USB port or restarting your computer.
4. Kev khiav haujlwm tsav
4.1 Loading a Disc
- Nias lub eject khawm nyob rau pem hauv ntej ntawm tus tsav kom qhib lub tais disc.
- Carefully place a CD or DVD onto the tray with the label side facing up. Ensure the disc is centered on the spindle.
- Maj mam thawb lub tais rov qab rau hauv lub tsav kom txog thaum nws nyem kaw. Tsis txhob yuam lub tais.
4.2 Playing/Reading Discs
Once a disc is loaded, your operating system may automatically prompt you to choose an action (e.g., play a movie, open files). If not, navigate to 'My Computer' or 'This PC' (Windows) or 'Finder' (macOS), locate the optical drive icon, and double-click it to access the disc's contents.
4.3 Recording/Burning Discs
To record data, music, or video onto a blank CD-R/RW or DVD-R/RW disc, you will need compatible disc burning software (e.g., Windows Media Player, Nero, Roxio, or built-in macOS utilities). Follow the instructions provided with your chosen software to perform burning operations.
4.4 Tshem tawm Disc
- Kev rho tawm software: Right-click on the drive icon in 'My Computer'/'This PC' or 'Finder' and select 'Eject'.
- Kev Tshem Tawm Tes: Nias lub pob eject nyob rau sab xub ntiag ntawm lub drive.
- Emergency Eject: In case of power failure or if the eject button does not work, locate the small pinhole on the front of the drive. Insert a straightened paperclip into the pinhole and push gently until the tray partially opens. Then, pull the tray out manually.
5. Kev tu
5.1 Ntxuav lub Drive
Keep the drive clean and free from dust. Use a soft, dry, lint-free cloth to wipe the exterior. Do not use liquid cleaners or abrasive materials. Avoid opening the drive casing, as this can damage internal components and void your warranty.
5.2 Cov Disc Ntxuav
Always handle discs by their edges. If a disc is dirty, gently wipe it from the center outwards with a soft, lint-free cloth. Do not use circular motions, as this can cause scratches. For stubborn smudges, use a specialized disc cleaning solution.
5.3 Cia khoom
When not in use, store the drive in a cool, dry place, away from direct sunlight, extreme temperatures, and high humidity. Keep it protected from dust and physical impact.
6. Kev daws teeb meem
| Teeb meem | Ua Tau | Kev daws |
|---|---|---|
| Lub computer tsis paub txog lub drive | Loose USB connection, insufficient power, driver issue, faulty USB port. | Ensure USB cable is securely connected. Try a different USB port. Restart your computer. Check Device Manager (Windows) or System Information (macOS) for the drive. |
| Disc not reading/writing | Dirty or scratched disc, incorrect disc type, faulty disc, drive lens dirty, incompatible software. | Clean the disc. Try a different disc. Ensure the disc type is compatible (CD-R/RW, DVD-R/RW). Use appropriate burning software. |
| Lub tais disc tsis qhib/kaw | Obstruction, mechanical issue, power issue. | Check for obstructions. Ensure the drive is powered (connected via USB). Use the emergency eject hole if necessary. |
| Ua haujlwm qeeb | USB 1.1 port, background processes, fragmented hard drive. | Connect to a USB 2.0 or 3.0 port. Close unnecessary applications. Ensure your computer meets system requirements. |
7. Cov lus qhia tshwj xeeb
- Qauv: eSAU108-97
- Interface: USB 2.0 (tshaj nrog USB 3.0)
- Hom: External Portable DVD Drive
- Hardware Platform: Laptop
- Yam khoom hnyav: Kwv yees li 1.2 phaus (0.54 kg)
- Pob Dimensions: 8.27 x 7.72 x 2.87 po (21 x 19.6 x 7.3 cm)
- Xim: Dub
- Cache Loj: 2 MB
- Lub zog: USB Bus Powered
- Txhawb Disc hom: DVD-ROM, DVD-R, DVD-RW, DVD+R, DVD+RW, CD-ROM, CD-R, CD-RW
8. Warranty thiab Support
LiteOn products are designed and manufactured to the highest quality standards. This product is covered by a limited warranty from the date of purchase. Please refer to the warranty card included in your package or visit the official LiteOn website rau cov ncauj lus kom ntxaws warranty cov nqe lus thiab tej yam kev mob.
For technical support, troubleshooting assistance, or service inquiries, please visit the LiteOn support website or contact their customer service department. Contact information can typically be found on the official LiteOn website lossis hauv koj cov khoom ntim.