Taw qhia
Thank you for choosing the Bluesound WM200 Universal Wall Mount. This manual provides essential information for the safe and correct installation, operation, and maintenance of your wall mount. Please read these instructions thoroughly before installation and retain them for future reference.
The WM200 wall mount is specifically designed for use with Bluesound PULSE, PULSE 2, PULSE 2i, PULSE MINI, and PULSE MINI 2i speakers, offering a secure and aesthetically pleasing mounting solution.
Cov ntaub ntawv kev nyab xeeb
- Nyeem tag nrho cov lus qhia: Before installation, carefully read and understand all instructions.
- Verify wall structure: Ensure the mounting surface can safely support the combined weight of the wall mount and your speaker. Consult a professional if unsure.
- Siv cov cuab yeej tsim nyog: Use only the recommended tools and hardware for installation.
- Kev ruaj ntseg installation: Improper installation can result in serious injury or damage to equipment. Ensure all fasteners are tightened securely.
- Khaws kom deb ntawm cov menyuam yaus: Qhov me me yuav ua rau muaj kev phom sij.
Ntim Cov Ntsiab Lus
Thov xyuas kom meej tias tag nrho cov khoom muaj nyob ua ntej pib installation:
- 1 x Bluesound WM200 Universal Wall Mount
- Mounting Hardware (screws, phab ntsa anchors)
- Instruction Manual (cov ntaub ntawv no)
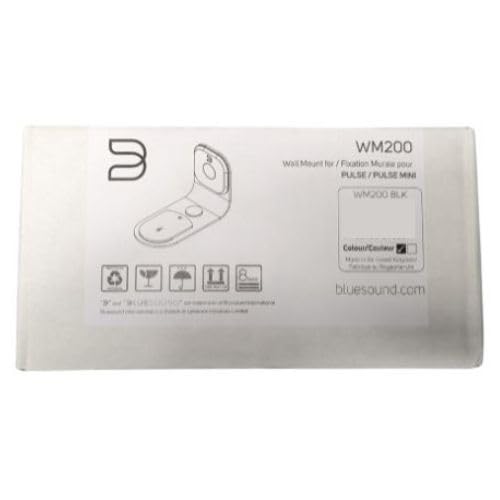
Figure 1: Bluesound WM200 Wall Mount product packaging.
Kev teeb tsa thiab kev teeb tsa
Follow these steps to securely install your Bluesound WM200 Universal Wall Mount:
- Xaiv qhov chaw: Select a suitable wall location, ensuring it is structurally sound and free from electrical wires or plumbing. Consider the optimal listening height and desired swivel range.
- Mark Drilling Points: Hold the wall mount against the wall at the desired height and use a pencil to mark the drilling points for the mounting screws. Ensure the mount is level.
- Drill Holes: Using an appropriate drill bit for your wall type (e.g., masonry for brick, wood bit for studs), drill pilot holes at the marked locations. If drilling into drywall without a stud, insert the provided wall anchors.
- Attach Wall Mount: Align the wall mount with the drilled holes. Insert the mounting screws and tighten them securely. Do not overtighten. The mount is constructed from durable steel for reliable support.
- Txoj Kev Cables: The WM200 features rubber mouldings designed for flexible wire management. Route your speaker's power and audio cables through these mouldings to keep them tidy and protected.
- Attach Speaker: Carefully slide your compatible Bluesound speaker onto the wall mount. Ensure it is seated firmly and securely.

Figure 2: Bluesound WM200 Wall Mount with compatible speaker (speaker sold separately).

Daim duab 3: Sab view of the WM200 mount securely holding a Bluesound speaker.
Kev ua haujlwm
The Bluesound WM200 Universal Wall Mount offers a 120° total swivel control. This allows you to adjust the direction of your speaker to optimize sound projection and listening experience. Gently pivot the speaker and mount assembly to achieve the desired angle.
Kev tu
To ensure the longevity and appearance of your Bluesound WM200 Wall Mount, follow these simple maintenance guidelines:
- Ntxuav: Wipe the mount with a soft, dry cloth to remove dust. For stubborn marks, a slightly damp daim ntaub tuaj yeem siv tau, ua raws li kev ziab tam sim. Tsis txhob siv cov tshuaj abrasive los yog cov kuab tshuaj.
- Kev kuaj xyuas lub sijhawm: Periodically check all mounting screws to ensure they remain tight and secure. Do not overtighten.
Kev daws teeb meem
If you encounter any issues with your WM200 Wall Mount, consider the following:
- Mount xav tias xoob: Ensure all mounting screws are securely fastened to the wall and that the speaker is correctly seated on the mount. Re-check the wall structure for stability.
- Speaker not fitting: Verify that your speaker model is compatible with the WM200 mount (PULSE, PULSE 2, PULSE 2i, PULSE MINI, PULSE MINI 2i).
- Qhov nyuaj ntawm kev tig: Ensure no cables are obstructing the swivel mechanism. The swivel should operate smoothly with gentle force.
Specifications
| Qauv nab npawb | WM200 |
| Hom | Bluesound |
| Xim | Dub |
| Khoom siv | Hlau |
| Mounting Hom | Phab ntsa Mount |
| Yam khoom Dimensions (L x W x H) | 19 x 13 x 9.5 cm |
| Yam Nyhav | 1.02 kg ib |
| Swivel Control | 120° total |
| Hlau Management | Integrated rubber mouldings |

Fig 4: Example installation of the Bluesound WM200 Wall Mount in a living space.
Warranty Information
Bluesound products are manufactured to the highest quality standards. This product is covered by a limited warranty against defects in materials and workmanship. The specific terms and duration of the warranty may vary by region. Please refer to the warranty card included with your product or visit the official Bluesound website rau cov ncauj lus kom ntxaws cov ntaub ntawv lees paub.
Txhawb nqa
For technical assistance, troubleshooting, or further inquiries regarding your Bluesound WM200 Universal Wall Mount, please visit the official Bluesound support website or contact their customer service department. You can typically find contact information and FAQs on the Bluesound webqhov chaw: