1. Taw qhia
This manual provides detailed instructions for the safe and efficient installation, operation, and maintenance of your Progress Lighting Beam LED Bath Vanity Light. Please read all instructions carefully before beginning installation and retain this manual for future reference.
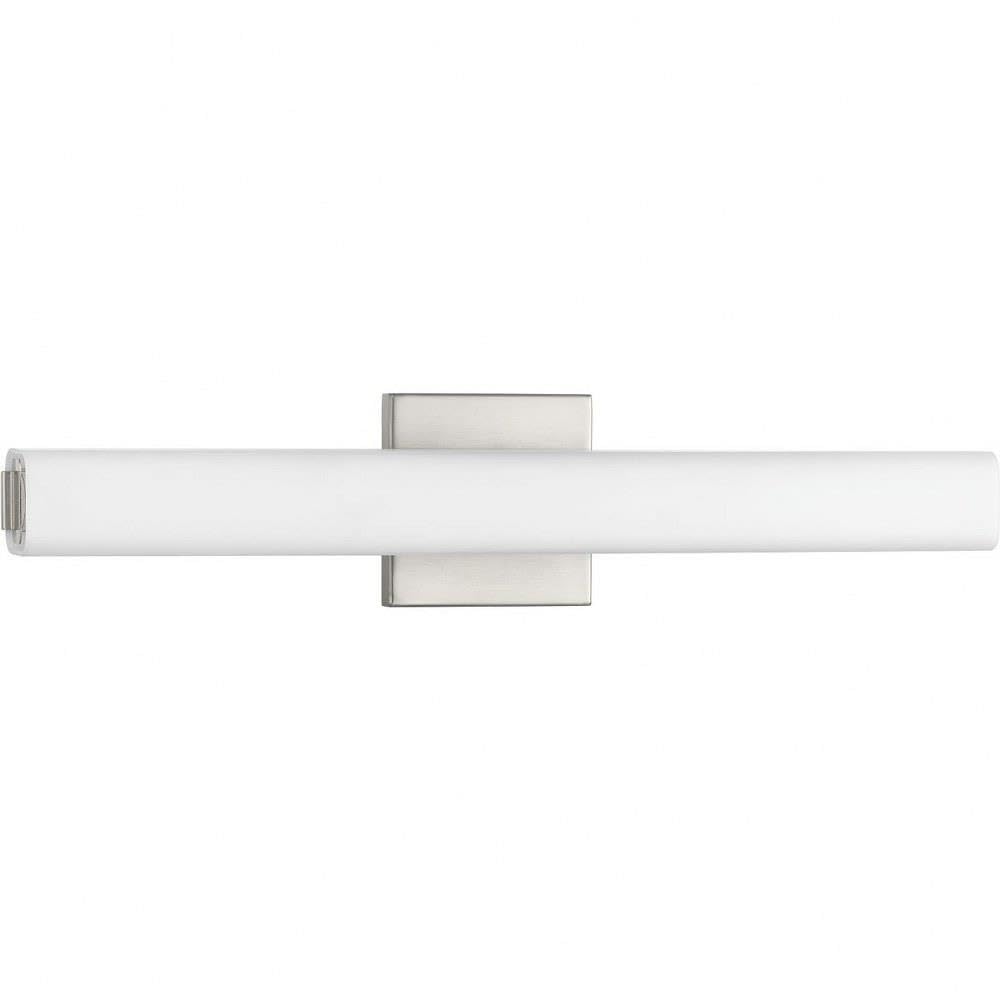
Image 1.1: The Beam LED Bath Vanity Light, featuring a brushed nickel finish and etched opal glass diffuser.
The Beam LED Bath Vanity Light features a squared, tubular opal glass diffuser paired with a modern metal canopy. It incorporates an integrated LED light source designed for energy efficiency and long-lasting performance. This fixture is suitable for both residential and commercial applications and can be installed horizontally or vertically.
2. Kev teeb tsa thiab kev teeb tsa
2.1 Cov ntaub ntawv kev nyab xeeb
- Always turn off the main power supply at the circuit breaker before installing or servicing the fixture.
- Consult a qualified electrician if you are not familiar with electrical installations.
- Xyuas kom tseeb tias txhua qhov kev sib txuas hluav taws xob ua raws li cov cai hauv zos thiab cov kev cai.
- This fixture is designed for indoor, wall-mount installation.
- Thov xyuas koj cov cai hauv zos ua ntej yuav khoomasing thiab kev teeb tsa cov khoom no.
2.2 Cov Cheebtsam suav nrog
Your package should contain the Beam LED Vanity Light fixture and a detailed installation sheet. Please verify all parts are present before proceeding.
2.3 Kev teeb tsa cov kauj ruam (General)
- Npaj cheeb tsam Installation: Turn off power at the circuit breaker. Remove any existing fixture.
- Mount lub Mounting Phaj: Secure the mounting plate to the junction box in the wall using the provided screws.
- Ua Kev Txuas Hluav Taws Xob: Connect the fixture's wires to the household electrical wires according to the installation sheet. Typically, black to black (live), white to white (neutral), and green/bare copper to green/bare copper (ground).
- Ruaj ntseg Fixture: Attach the fixture body to the mounting plate, ensuring all wires are tucked safely inside the junction box.
- Install Glass Diffuser: Carefully place the etched opal glass diffuser onto the fixture.
- Rov Qab Fais Fab: Turn on the power at the circuit breaker and test the light.
2.4 Sizing and Placement Guidelines
For optimal lighting, consider the following guidelines for vanity light placement:

Image 2.1: Dimensional drawing of the Beam LED Vanity Light, showing its length of 22.25 inches, width of 3 inches, and height of 4.75 inches.
- The vanity light should be approximately 3/4 the width of your mirror, and never longer than the mirror itself.
- For double sinks or wider countertops, consider a larger fixture or multiple fixtures for adequate illumination.
- Mount the fixture above the bathroom mirror, ideally between 75 to 80 inches from the floor.
- If using wall sconces on either side of the mirror, place them at eye level (about 65 inches from the floor) and 2-3 inches from the mirror's edge, approximately 28-30 inches apart.
Video 2.2: Official video from Progress Lighting providing sizing and placement guidelines for bathroom lighting, including vanity lights and wall sconces.
3. Cov lus qhia ua haujlwm
The Beam LED Vanity Light is designed for simple operation. Once properly installed and connected to a power source, it can be controlled via a standard wall switch or a compatible remote control system, as indicated by its 'Dimmable' and 'Remote Control' features.
- Fais fab / Off: Siv lub qhov hloov ntawm phab ntsa uas txuas nrog lub teeb kom tig lub teeb rau lossis kaw.
- Dimming muaj nuj nqi: This fixture is dimmable. If connected to a compatible dimmer switch, you can adjust the light intensity to your preference. Ensure your dimmer switch is rated for LED lighting.
- Chaw taws teeb tswj: If a remote control system is installed and paired with the fixture, use the remote to control power and dimming functions.
4. Kev tu
Regular maintenance will help preserve the appearance and functionality of your Beam LED Vanity Light.
- Ntxuav: To clean the fixture, ensure the power is off. Wipe the metal surfaces with a soft, dry cloth. For the glass diffuser, use a soft cloth dampened with a mild, non-abrasive cleaner. Avoid harsh chemicals or abrasive materials that could damage the finish or glass.
- LED Qhov Chaw Pom: The integrated LED light source is designed for long life and is not user-replaceable. Do not attempt to disassemble the LED module.
- Kev tshuaj xyuas: Periodically check for any loose connections or signs of wear. If any issues are found, turn off power and consult a qualified electrician.
5. Kev daws teeb meem
If your Beam LED Vanity Light is not functioning correctly, refer to the following common issues and solutions:
| Teeb meem | Ua Tau | Kev daws |
|---|---|---|
| Lub teeb tsis tig | Tsis muaj zog rau lub teeb Loose thaiv kev sib txuas Faulty hloov | Tshawb xyuas Circuit Court breaker thiab phab ntsa hloov. Xyuas kom tseeb tias lub hwj chim qhib. Turn off power and check all wiring connections. Sim lub qhov hloov nrog lwm lub cuab yeej lossis hloov yog tias muaj teeb meem. |
| Lub teeb ntsais los yog tsaus tsis sib xws | Incompatible dimmer hloov Loose thaiv kev sib txuas | Ensure the dimmer switch is LED compatible. Replace if necessary. Turn off power and check all wiring connections. |
| Lub teeb tsis ci li qhov xav tau | Dimmer teeb tsa tsawg dhau Dust or debris on diffuser | Adjust dimmer to maximum brightness. Clean the glass diffuser as per maintenance instructions. |
Yog tias cov kauj ruam no tsis daws qhov teeb meem, thov hu rau cov neeg siv khoom txhawb nqa.
6. Cov lus qhia tshwj xeeb
| Feature | Paub meej |
|---|---|
| Hom | Txhim Kho Teeb Pom Kev Zoo |
| Qauv Lub Npe | Beam LED |
| Tshooj Naj Npawb | P300182-009-30 |
| Xim | Nickel (Brushed Finish) |
| Ntxoov Ntxoo Xim | Etched Opal |
| Khoom siv | Hlau Alloy, Iav |
| Style | Niaj hnub |
| Lub Teeb Fixture Form | Vanity |
| Khoom Dimensions | 22.25" L x 3" W x 4.75" H |
| Hom kev teeb tsa | Phab Ntsa-Mount |
| Tshwj xeeb Feature | Dimmable |
| Tswj Txoj Kev | Chaw taws teeb |
| Hom Lub Teeb | Integrated LED |
| Number of Light Sources | 1 |
| Voltage | 120 Volts |
| Xim Xim | Sov dawb |
| Xim kub | 3000 Nws |
| Yam Nyhav | 2.19 Ib |
| Wattage | 35 watt |
| Brightness | 2223 Lumen |
| Kev ua tau zoo | 62.1 Lum/Watt |
| Yuav tsum tau ua ke | Yog lawm |
| Dej Resistance Level | Dej Resistant |
7. Warranty Information
Progress Lighting offers a 5-xyoo txwv Warranty on this product. This warranty guarantees your complete satisfaction with your purchase and includes professional after-sales customer service support. For detailed terms and conditions, please refer to the warranty documentation included with your product or contact customer support.
8. Cov neeg siv khoom txhawb nqa
For further assistance, technical support, or warranty claims, please visit the official Progress Lighting store or contact their customer service.
Video 8.1: A collective video from Progress Lighting showcasing their commitment to quality, design, and ease of installation for their lighting fixtures.