
Scheppach DP16VLS
Scheppach DP16VLS Pillar Drill Instruction Manual
Model: DP16VLS
1. Taw qhia
This manual provides essential information for the safe and efficient operation, assembly, maintenance, and troubleshooting of your Scheppach DP16VLS Pillar Drill. Please read these instructions carefully before using the machine to ensure proper function and to prevent injury or damage.

Image 1: Scheppach DP16VLS Pillar Drill with included vice.
2. Cov lus qhia kev nyab xeeb
Always observe general safety regulations when working with power tools. Failure to follow these instructions may result in electric shock, fire, and/or serious injury.
General Safety Warnings:
- Chaw Ua Haujlwm Kev Nyab Xeeb: Khaws thaj chaw ua haujlwm kom huv si thiab teeb pom kev zoo. Cov chaw cluttered lossis tsaus nti caw muaj xwm txheej. Tsis txhob siv cov cuab yeej hluav taws xob hauv cov huab cua tawg, xws li nyob rau hauv lub xub ntiag ntawm cov kua hluav taws xob, roj av, lossis hmoov av.
- Kev Nyab Xeeb Hluav Taws Xob: Cov cuab yeej siv fais fab yuav tsum phim lub qhov hluav taws xob. Tsis txhob hloov lub plug nyob rau hauv txhua txoj kev. Tsis txhob kov lub cev nrog cov av uas muaj av lossis av.
- Kev Nyab Xeeb Tus Kheej: Always wear eye protection. Use hearing protection when operating the drill. Wear appropriate clothing; avoid loose clothing or jewelry that can get caught in moving parts. Secure long hair.
- Cov cuab yeej siv thiab kev saib xyuas: Tsis txhob quab yuam lub cuab yeej hluav taws xob. Siv cov cuab yeej fais fab kom raug rau koj daim ntawv thov. Disconnect lub plug los ntawm lub hwj chim qhov chaw ua ntej ua tej yam kev hloov kho, hloov accessories, los yog khaws cia cov cuab yeej fais fab.
Specific Pillar Drill Safety:
- Always secure the workpiece firmly to the drill table using the included vice or clamps. Never hold the workpiece by hand.
- Ensure the drill bit is correctly installed and tightened in the chuck before operation.
- Adjust the drilling depth stop to prevent drilling into the drill table.
- Keep hands clear of the rotating drill bit and all moving parts.
- Allow the motor to reach full speed before beginning to drill.
- Do not attempt to clear chips or debris while the drill is operating.
3. Khoom Tshajview thiab nta
The Scheppach DP16VLS is a robust pillar drill designed for precise drilling in various materials including wood, metal, aluminum, and plastic. It features a powerful 500W motor and a variable speed system.
Cov yam ntxwv tseem ceeb:
- Lub cev muaj zog: Powerful 500 Watt motor.
- Ceev: 5 adjustable speeds ranging from 600 to 2650 revolutions per minute (rpm).
- Pob: Keyed chuck with a capacity of 1.5 to 13 mm.
- Drilling qhov tob: Maximum drilling stroke of 50 mm.
- Lub rooj ua haujlwm: Robust steel structure, height-adjustable, and inclinable up to 45 degrees.
- Vice: Includes a vice with a maximum clamping capacity of 62 mm.
- Laser: Integrated positioning laser for precise drilling point alignment.
- Outreach: 105 mm outreach from the column to the chuck center.

Image 2: Diagram illustrating ergonomic handle, precision laser, variable speed, and belt drive.

Image 3: Diagram illustrating adjustable drilling table, chuck capacity, heavy base, and 500W motor.
4. Kev sib dhos
The Scheppach DP16VLS Pillar Drill is typically supplied partially disassembled. Follow these general steps for assembly. Refer to the detailed assembly diagrams in your product packaging for specific instructions.
- Lub Hauv Paus thiab Lub Rooj Sib Dhos: Secure the main column to the stable base using the provided fasteners. Ensure all connections are tight.
- Rooj Sib Tham: Attach the work table to the column, ensuring it can be adjusted vertically and rotated freely.
- Drill Head Assembly: Mount the drill head assembly onto the top of the column. Connect any necessary electrical components as per the wiring diagram.
- Kev teeb tsa chuck: Install the drill chuck onto the spindle. Ensure it is seated correctly and securely.
- Handle and Vice: Attach the feed handles and the included vice to the work table.
- Belt Installation: If not pre-installed, install the drive belt between the motor and spindle pulleys. Adjust belt tension as needed (refer to Maintenance section).
Important: Before first use, verify all fasteners are securely tightened and all components are correctly aligned.
5. Cov lus qhia ua haujlwm
5.1 Preparing for Drilling
- Xaiv Drill Bit: Choose the appropriate drill bit for the material and hole size. Insert it into the chuck and tighten securely with the chuck key.
- Kho ceev: Open the belt cover and adjust the belt position on the pulleys to select the desired speed. Higher speeds are generally for smaller bits and softer materials, while lower speeds are for larger bits and harder materials. Close the belt cover before operation.
- Adjust Work Table: Loosen the table lock and adjust the work table height and angle as required for your workpiece. Re-tighten the lock securely. The table can be tilted from +45° to -45°.
- Kev ruaj ntseg Workpiece: Place the workpiece on the table and secure it firmly using the included vice or clamps. Ensure it cannot shift during drilling.
- Set Drilling Depth: Use the depth stop mechanism to set the desired drilling depth. This prevents drilling too deep.
- Qhib Laser: Turn on the integrated laser guide to precisely align the drilling point.

Image 4: User drilling into a wooden beam, demonstrating proper workpiece securing.

Image 5: User drilling into a metal workpiece secured by the included vice.

Image 6: Close-up of the depth scale and laser guide for precise control.
5.2 Drilling txheej txheem
- Xyuas kom txhua qhov kev tiv thaiv kev nyab xeeb raug ua raws.
- Turn on the drill using the power switch. Allow the motor to reach its operating speed.
- Slowly lower the drill bit into the workpiece using the feed handles. Apply steady, even pressure.
- Do not force the drill. If the motor slows significantly, reduce feed pressure.
- Periodically retract the drill bit to clear chips, especially when drilling deep holes in metal.
- Once the desired depth is reached, retract the drill bit completely from the workpiece.
- Turn off the drill and wait for the chuck and drill bit to stop rotating before removing the workpiece or making adjustments.
6. Kev tu
Regular maintenance ensures the longevity and safe operation of your pillar drill.
- Ntxuav: After each use, clean the machine of dust, chips, and debris. Use a brush or compressed air. Do not use solvents that may damage plastic parts.
- Lubrication: Periodically lubricate moving parts such as the column, spindle, and feed mechanism with light machine oil.
- Belt Tension: Check the drive belt tension regularly. A properly tensioned belt should have slight give when pressed. Adjust if too loose or too tight to prevent slippage or excessive wear.
- Chuck Maintenance: Keep the chuck jaws clean and free of debris. Lubricate the chuck mechanism occasionally.
- Kev tshuaj xyuas hluav taws xob: Regularly inspect the power cord and plug for damage. If damaged, have it replaced by a qualified technician.
7. Kev daws teeb meem
This section addresses common issues you might encounter with your Scheppach DP16VLS Pillar Drill.
| Teeb meem | Ua Tau | Kev daws |
|---|---|---|
| Laum tsis pib | No power supply; Faulty switch; Motor overload. | Check power connection; Test switch; Allow motor to cool. |
| Motor stops during drilling | Excessive feed pressure; Dull drill bit; Incorrect speed for material. | Reduce feed pressure; Sharpen/replace drill bit; Adjust speed. |
| Kev co ntau dhau/suab nrov | Loose components; Unbalanced drill bit; Worn bearings; Loose drive belt. | Check and tighten all fasteners; Replace drill bit; Inspect bearings; Adjust belt tension. |
| Kev khawb tsis raug | Workpiece not secured; Loose chuck/drill bit; Laser misalignment. | Secure workpiece firmly; Re-tighten chuck/drill bit; Adjust laser alignment. |
| Drill bit wobbles | Bent drill bit; Improperly seated chuck; Damaged spindle. | Replace drill bit; Re-seat chuck; Contact service for spindle inspection. |
8. Cov lus qhia tshwj xeeb
Technical data for the Scheppach DP16VLS Pillar Drill.
- Qauv nab npawb: DP 16 VLS
- Chaw tsim tshuaj paus: Thooj
- Tshooj Cai: SCH5906810901
- Khoom Dimensions: 43.5 x 22 x 60 cm
- Yam khoom hnyav: 14, XNUMX kg
- Khoom siv: Hlau
- Xim: Xiav
- Ua tiav: Glossy tiav
- Lub zog Source: Corded Electric
- Voltage: 230 volt
- Wattage: 500 XNUMX w
- Ampqaug zog: 16 Ampib ere
- Chuck Peev Xwm: 1.5 - 13 hli
- Max Drilling Depth: 50 XNUMXmm
- Ceev: 5 (600-2650 rpm)
- Max Rotation ceev: 2650rpm ua
- Suab Level: 84 Lub Suab Nrov
- Cable Length: 2000 XNUMXmm
- Max Distance Chuck to Table: 170 XNUMXmm
- Max Distance Chuck to Base: 250 XNUMXmm
- Rooj Tilt: -45 ° rau + 45 °
- Cov Cheebtsam suav nrog: Pillar Drill, Vice

Image 7: Diagram illustrating the 50 mm drilling depth capacity.

Image 8: Diagram showing suitable materials for drilling: wood, steel, metal, aluminum, plastic.
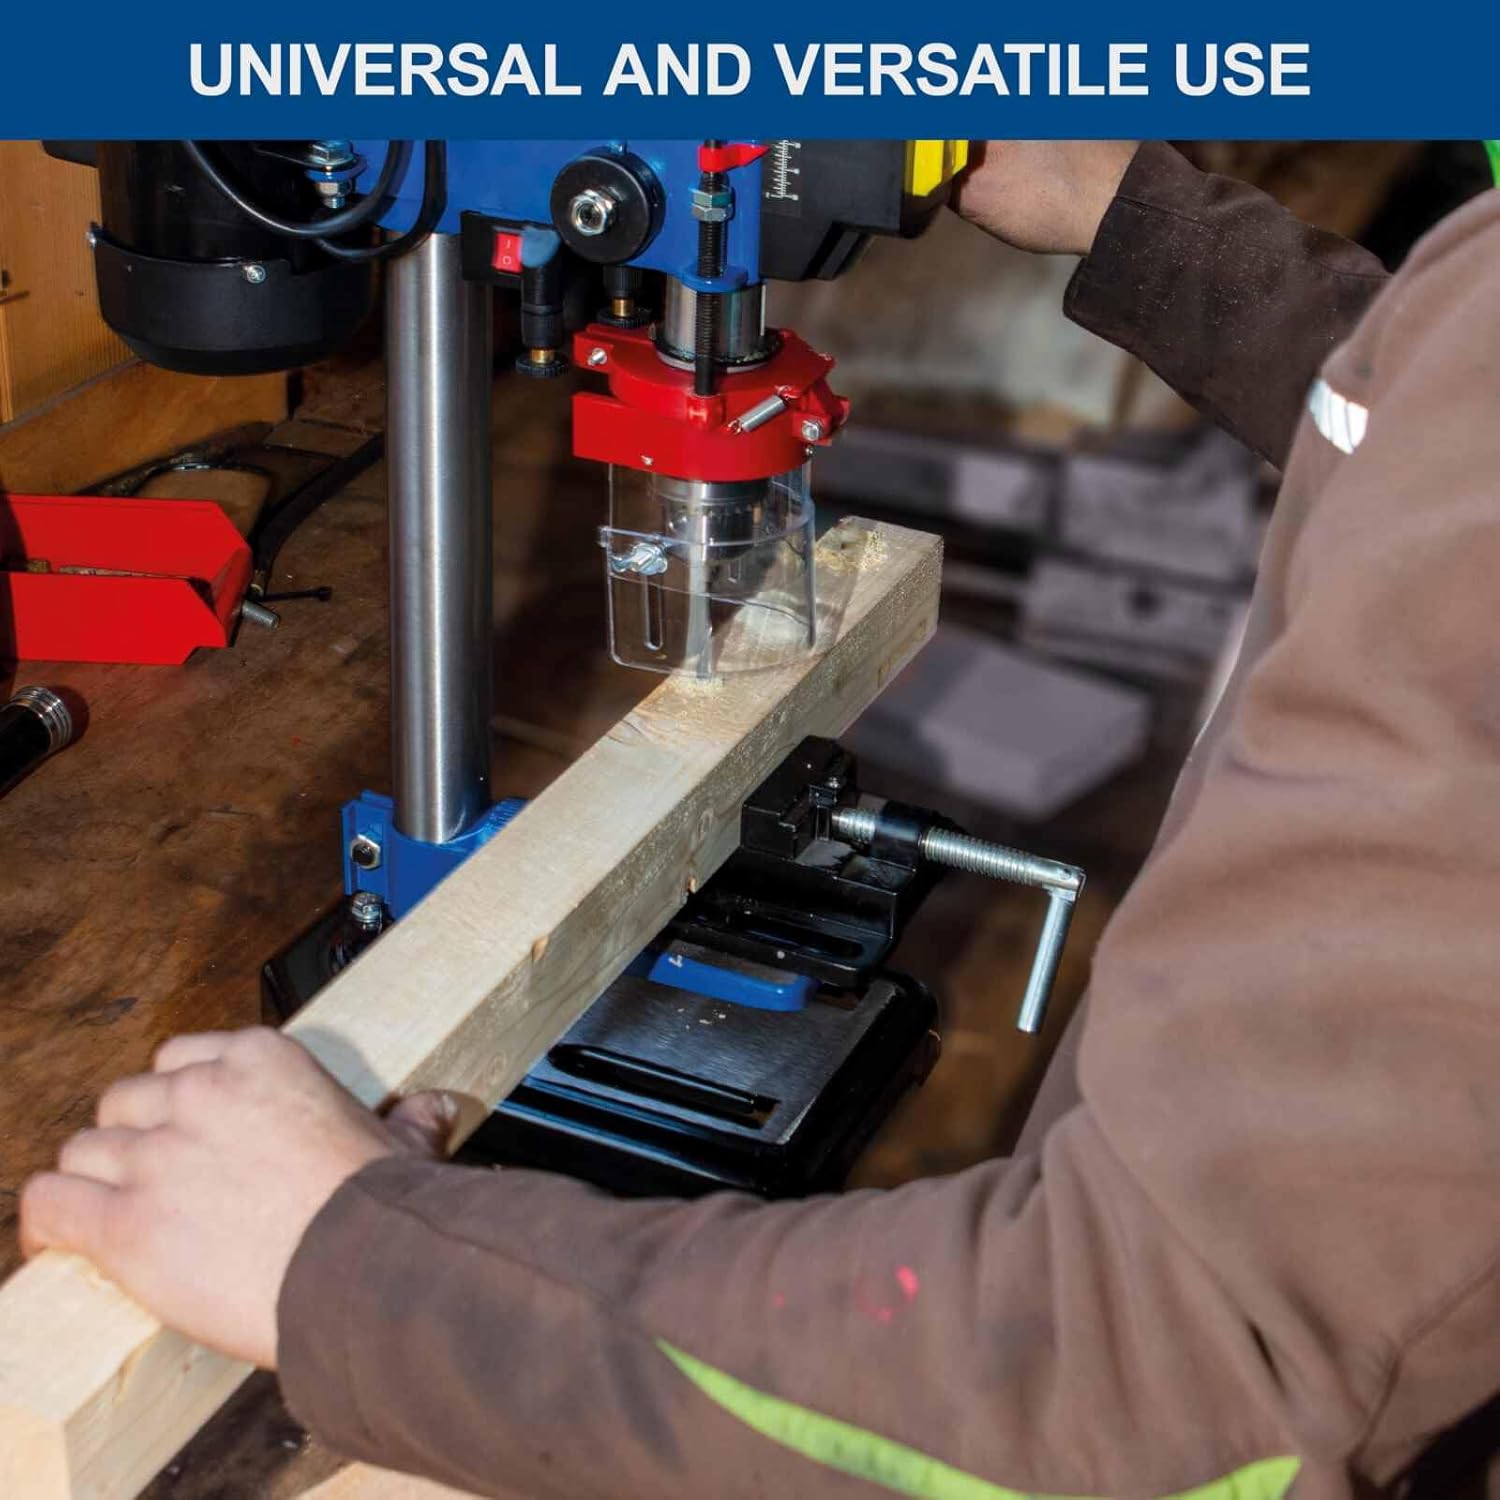
Image 9: Close-up of drill head showing 105 mm outreach from column to chuck center.
9. Warranty thiab Support
For warranty information, please refer to the documentation included with your purchase or contact Scheppach customer service directly. Keep your proof of purchase for any warranty claims.
For technical support, spare parts, or service inquiries, please contact your authorized Scheppach dealer or visit the official Scheppach website rau cov ncauj lus kom ntxaws.
Ask a question about this manual
Ask about setup, troubleshooting, compatibility, parts, safety, or missing instructions. Manuals+ will review the question and use this page’s manual context to help answer it.