Taw qhia
The VOX VFS3 is a dedicated 3-button footswitch designed to enhance the functionality and control of your VOX Mini Go series amplifier. This footswitch allows for hands-free operation of various amplifier features, such as program switching, effect on/off, or looper control, depending on your specific Mini Go amplifier model. This manual provides essential information for the proper setup, operation, and maintenance of your VFS3 footswitch.
Cov ntaub ntawv kev nyab xeeb
- Tsis txhob tso lub tsev rau los nag lossis dej noo.
- Tsis txhob tso lub tsev nyob ze qhov chaw tshav kub lossis nyob rau hauv tshav ntuj ncaj qha.
- Tsis txhob sim disassemble lossis hloov kho lub tsev. Xa tag nrho cov kev pabcuam rau cov neeg ua haujlwm tsim nyog.
- Use only with compatible VOX Mini Go ampcov neeg ua neej nyob.
- Khaws kom deb ntawm cov menyuam yaus.
Ntim Cov Ntsiab Lus
- VOX VFS3 3-Button Footswitch (with integrated cable)
- Tus Neeg Siv Los Siv (cov ntawv no)
Khoom Tshajview
The VFS3 footswitch features three robust buttons, each with an associated LED indicator, and an integrated cable for connection to your ampua neej nyob.
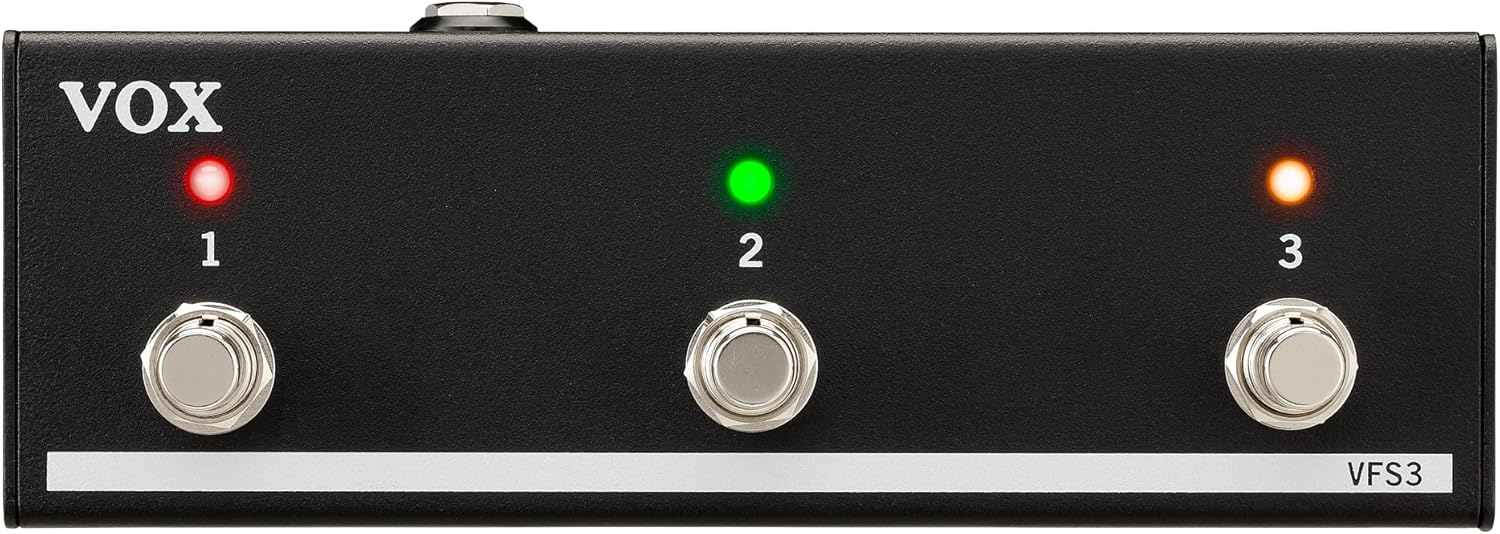
Pem hauv ntej view of the VOX VFS3 3-Button Footswitch. It features three silver footswitches labeled 1, 2, and 3, each with a corresponding LED indicator above it. The VOX logo is on the left, and 'VFS3' is on the bottom right.
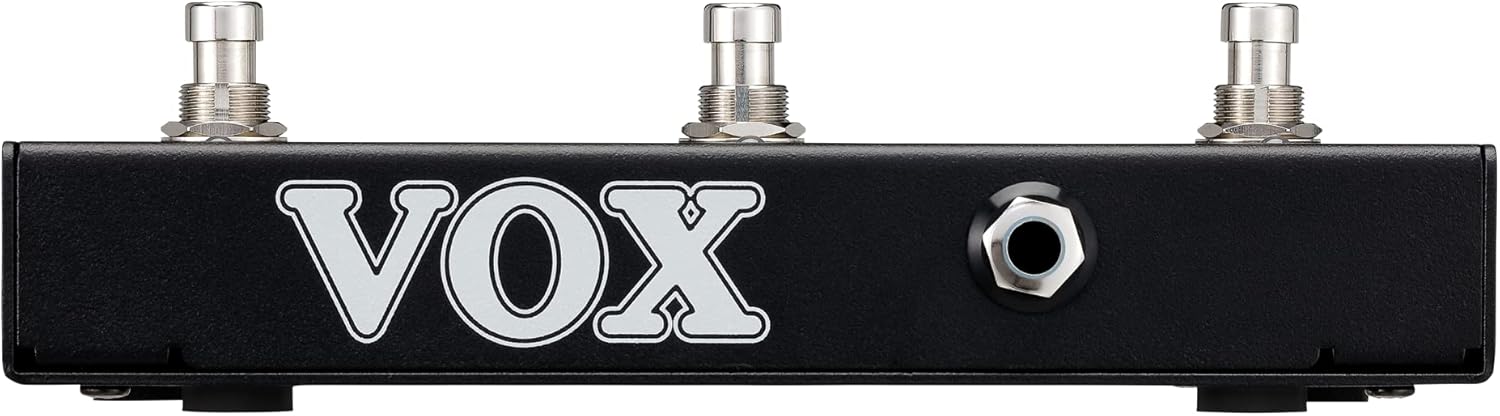
Sab view of the VOX VFS3 footswitch, highlighting its compact and durable metal casing.

Rov qab view of the VOX VFS3 footswitch, displaying the integrated cable that connects to the amplifier. The VOX logo is prominently featured.
Teeb tsa
- Connect the Footswitch: Locate the footswitch input jack on your VOX Mini Go amplifier. This is typically a 3.5mm (1/8-inch) stereo jack.
- Ntxig lub Cable: Firmly insert the integrated 3.5mm cable from the VFS3 footswitch into the footswitch input jack on your Mini Go ampua neej nyob.
- Hwj chim On: Turn on your VOX Mini Go amplifier. The footswitch is powered by the amplifier, so no external power supply is needed for the VFS3.
- Txheeb xyuas qhov txuas: Cov amplifier should recognize the footswitch. Refer to your Mini Go amplifier's manual for specific indications or settings related to footswitch connection.

The VOX VFS3 footswitch connected to a VOX Mini Go amplifier, illustrating the proper connection of the cable to the amplifier's input jack.
Cov lus qhia ua haujlwm
The specific functions controlled by the VFS3 footswitch buttons (1, 2, and 3) are determined by the connected VOX Mini Go amplifier model and its current settings. Please consult the user manual for your specific VOX Mini Go amplifier for detailed information on footswitch assignments and configuration.
Common Functions (May Vary by Amplifier Model):
- Program/Preset Switching: Buttons may be assigned to switch between amplifier programs or presets (e.g., Clean, Overdrive, Distortion).
- Effect On/Off: Control individual effects (e.g., Reverb, Delay, Chorus) by toggling them on or off.
- Looper Control: For Mini Go models with a built-in looper, the buttons often control looper functions such as:
- Khawm 1: Teev/ua si
- Khawm 2: Nres
- Khawm 3: Clear/Undo
- Coj mus rhaub Tempo: Ib txhia amplifiers may allow one of the buttons to be used for tap tempo functionality for time-based effects.
The LEDs above each button indicate the status of the assigned function (e.g., effect on/off, selected program). Refer to your amplifier's manual for the meaning of specific LED colors or states.
Kev tu
- Ntxuav: So lub tsev nrog ib daim ntaub mos, qhuav. Tsis txhob siv cov tshuaj abrasive, waxes, lossis cov kuab tshuaj.
- Cia: When not in use for extended periods, store the footswitch in a clean, dry environment away from extreme temperatures.
- Cable Care: Avoid sharp bends or kinks in the integrated cable to prevent damage.
Kev daws teeb meem
| Teeb meem | Ua Tau | Kev daws |
|---|---|---|
| Footswitch not responding | Cable not fully inserted; Amplifier not powered on; Incorrect amplifier nqis. | Ensure the 3.5mm cable is securely connected to the amplifier. Verify the amplifier is powered on. Check your Mini Go amplifier's settings to ensure footswitch control is enabled and configured correctly. |
| LEDs tsis teeb | No power from amplifier; Faulty connection. | Paub meej tias amplifier is on and the cable is properly connected. The footswitch draws power from the ampua neej nyob. |
| Buttons perform unexpected functions | Footswitch assignments are incorrect on the ampua neej nyob. | Refer to your VOX Mini Go amplifier's manual to reconfigure the footswitch button assignments. |
Specifications
- Qauv: NWS 3
- Compatible Devices: VOX Mini Go Ampcov neeg ua neej nyob
- Hom Connector: 3.5mm Jack (integrated cable)
- Khoom siv: Metal chassis
- Qhov Loj (L x W x H): 7.9 x 3 x 2.5 nti (20.1 x 7.6 x 6.4 cm)
- Qhov hnyav: Kwv yees li 1.1 phaus (0.5 kg)
- Lub zog Source: Powered by connected ampua neej nyob
Warranty thiab Support
For warranty information and technical support, please refer to the documentation provided with your VOX Mini Go amplifier or visit the official VOX webqhov chaw. Khaws koj daim ntawv yuav khoom ua pov thawj ntawm kev yuav khoom.