
1. Taw qhia
This manual provides essential information for the safe and effective operation, maintenance, and troubleshooting of your Einhell GE-LE 18/190 Li Cordless Trimmer. Please read these instructions carefully before using the device for the first time and keep them for future reference.
1.1. Kev ceeb toom kev nyab xeeb
Ib txwm hnav cov cuab yeej kev nyab xeeb tsim nyog, including eye protection and gloves, when using this trimmer. Keep bystanders at a safe distance to avoid injuries caused by flying debris. Never use the trimmer without the blade protective cover in place.
The Einhell GE-LE 18/190 Li is part of the intelligent Power X-Change range, allowing flexible use of powerful lithium-ion batteries across various Einhell tools. This tool is sold without a battery or charger, which are available separately.

Image: The Einhell Power X-Change battery system, illustrating compatibility with a wide range of tools.
2. Khoom Tshajview
The Einhell GE-LE 18/190 Li Cordless Trimmer is designed for precise lawn edging. Key features include:
- Power X-Change Compatibility: Utilizes 18V lithium-ion batteries from the Einhell Power X-Change series.
- 3-Stage Depth Adjustment: Allows for accurate cutting depths from 36.5 mm to 45 mm.
- Double-Sided Blade: Ensures a clean and perfect cut of lawn edges.
- Front and Rear Wheels: Facilitate efficient and precise guidance during operation.
- Kev Tiv Thaiv Hniav Cover: Enhances safety by shielding the user from the blade and debris.
- Ergonomic Soft Grip: Provides comfortable and optimal handling.
- Adjustable Auxiliary Handle: For precise and safe guidance.
- Removable Handle (Split Shaft): Simplifies transport and storage.
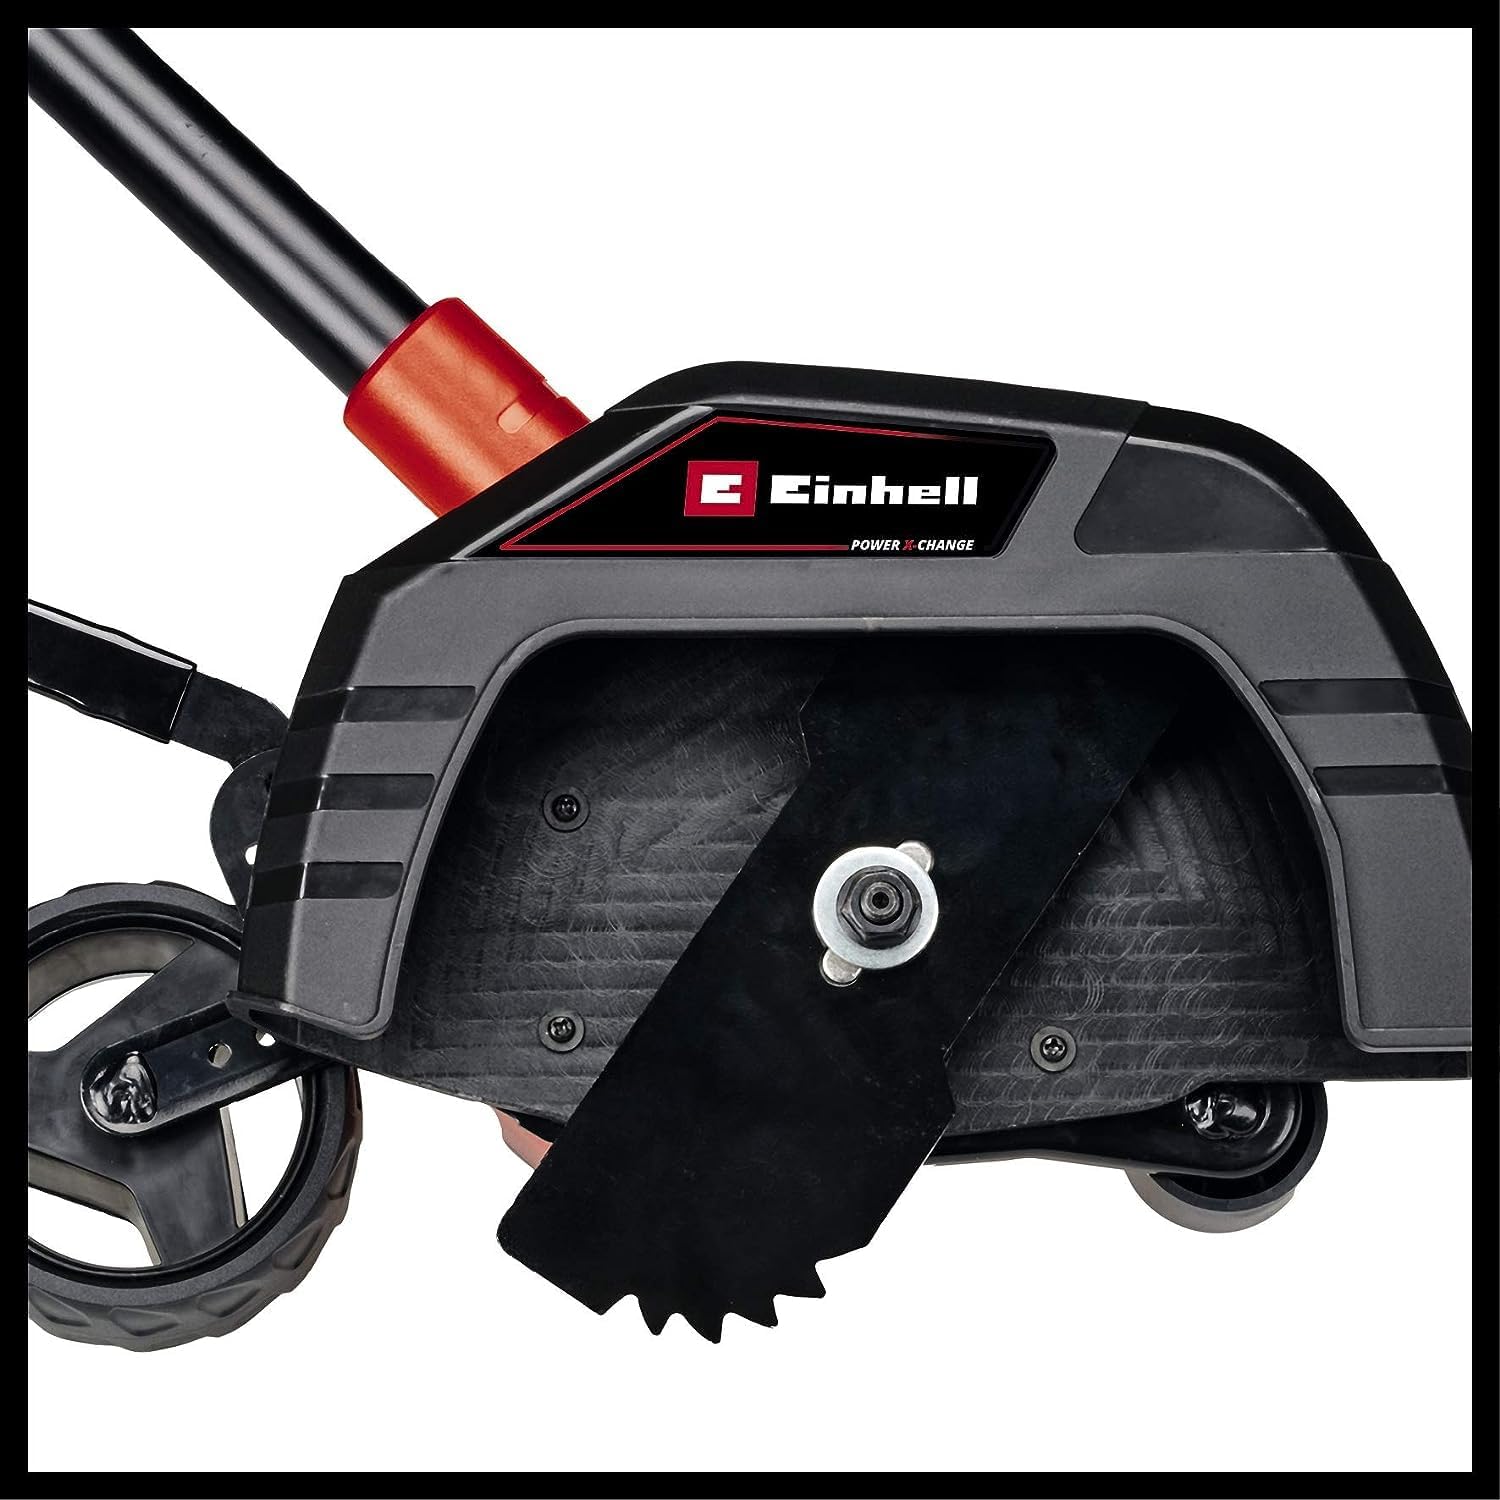
Image: Detail of the double-sided blade and guide wheels for precise edging.

Duab: Hauv qab view highlighting the depth adjustment mechanism and wheels.

Image: Icon indicating the split shaft feature for compact storage.
3. Teeb tsa
3.1. Unpacking thiab Initial Inspection
Carefully remove all components from the packaging. Check for any damage during transit. Ensure all parts listed in the manual are present. This product is delivered without a battery or charger.

Image: Important notice that battery and charger are not included with the trimmer.
3.2. Assembling the Handle
- Connect the two sections of the handle shaft. Ensure they click securely into place.
- Attach the auxiliary handle to the main shaft. Adjust its position for comfortable and ergonomic use.
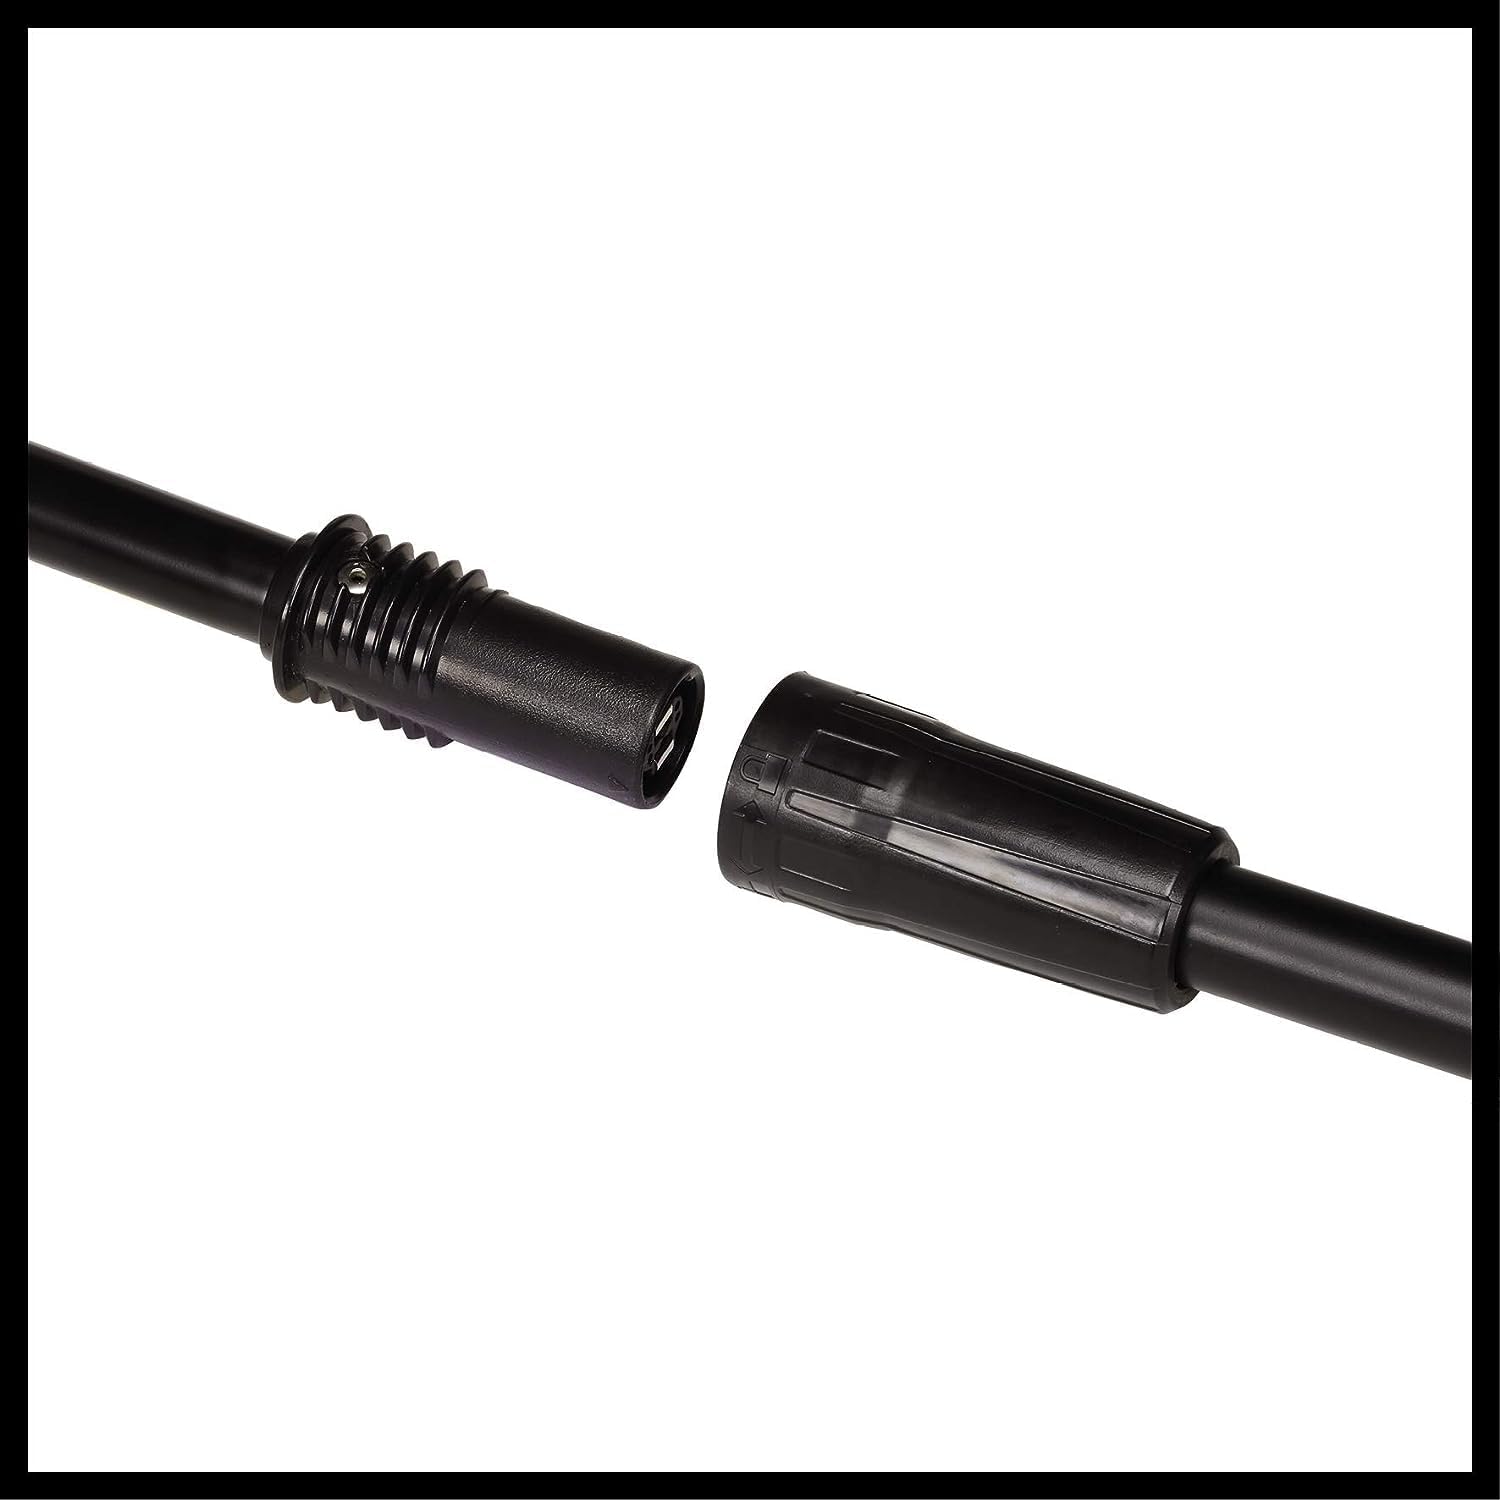
Image: The split shaft mechanism for easy assembly and disassembly.

Image: Adjusting the auxiliary handle for optimal user comfort and control.
3.3. Kev teeb tsa roj teeb
- Xyuas kom tseeb tias lub trimmer raug kaw.
- Insert a charged 18V Power X-Change battery into the battery compartment until it clicks into place.
- To remove, press the release button and pull the battery out.

Image: Correct method for inserting the Power X-Change battery into the trimmer.
4. Cov lus qhia ua haujlwm
4.1. Kho qhov tob tob
The trimmer features a 3-stage depth adjustment mechanism. Select the desired cutting depth (between 36.5 mm and 45 mm) by adjusting the lever near the blade assembly. Always ensure the adjustment is securely locked before operation.

Image: Icon representing the 3-stage edging depth adjustment feature.
4.2. Pib thiab nres
- To start: Press and hold the safety lock-off button, then squeeze the trigger switch.
- To stop: Release the trigger switch. The blade will stop rotating.
4.3. Edging Technique
Position the trimmer with the wheels on the solid surface (e.g., pavement, patio) and the blade aligned with the edge of the lawn. Guide the trimmer along the edge at a steady pace. The front and rear wheels assist in maintaining a straight and consistent cut. Avoid forcing the trimmer through dense areas; make multiple passes if necessary.

Image: A user demonstrating the proper technique for edging a lawn with the trimmer.
5. Kev tu
Regular maintenance ensures the longevity and safe operation of your trimmer.
5.1. Kev ntxuav
- Ib txwm tshem lub roj teeb ua ntej ntxuav.
- Clean the blade and protective cover after each use to remove grass clippings and debris. Use a stiff brush or a damp daim ntaub.
- Tsis txhob siv cov tshuaj hnyav los yog cov tshuaj txhuam hniav.
- Xyuas kom cov qhov tso cua tawm kom pom tseeb ntawm qhov thaiv.
5.2. Kev Kho Hniav
Inspect the blade regularly for wear, damage, or dullness. A dull or damaged blade can reduce cutting efficiency and increase strain on the motor. Replace the blade if it is significantly worn or damaged. Refer to the product specifications for compatible replacement blades.
5.3. Cia
Store the trimmer in a dry, secure location, out of reach of children. The removable handle allows for compact storage.
6. Kev daws teeb meem
| Teeb meem | Ua Tau | Kev daws |
|---|---|---|
| Trimmer tsis pib. | Roj teeb tsis tso kom raug lossis tso tawm. Kev ruaj ntseg kaw-off tsis koom. | Ensure battery is fully charged and correctly inserted. Press safety lock-off button before squeezing trigger. |
| Kev txiav tsis zoo. | Dull or damaged blade. Excessive grass/debris buildup. | Inspect and replace blade if necessary. Clean blade and protective cover. |
| Kev vibration ntau dhau. | Cov hniav puas lawm los yog tsis sib npaug. Cov khoom xoob. | Check blade for damage and replace if needed. Ensure all fasteners are tight. |
If you encounter issues not listed here, or if solutions do not resolve the problem, contact Einhell customer support.
7. Cov lus qhia tshwj xeeb
| Feature | Paub meej |
|---|---|
| Hom | Einhell |
| Qauv nab npawb | 3424300 |
| Hwj chim Source | Battery Powered (Power X-Change 18V) |
| Yam Nyhav | 3 kg ib |
| Txiav Dav | 190 hli |
| Txiav qhov tob hloov kho | 3-level (36.5 mm to 45 mm) |
| Ceev | 9000 RPM |
| Khoom Dimensions (L x W) | 58.35 "x 11.61" |
| Pom zoo siv | For trimming lawn edging, lawn edging care |

Image: Icon illustrating the 190 mm cutting width.

Image: Icon illustrating the 45 mm maximum cutting depth.

Image: Icon indicating the 18V power requirement.
8. Warranty thiab Support
This product is covered by a 2-year EU Spare Part Availability Duration. For specific warranty terms and conditions, please refer to the documentation provided with your purchase or visit the official Einhell webqhov chaw.
For technical support, spare parts, or service inquiries, please contact your local Einhell service center or authorized dealer. Contact information can typically be found on the Einhell official website lossis hauv koj cov khoom ntim khoom.