OMTech B09MQKFSLL
Phau Ntawv Qhia Siv OMTech 50W CO2 Laser Engraver
Brand: OMTech
Model: B09MQKFSLL
Khoom Tshajview
The OMTech 50W CO2 Laser Engraver is a versatile machine designed for engraving and cutting various non-metallic materials such as wood, glass, acrylic, and leather. It features a 300x500mm work area, a powerful 50W DC laser tube, and advanced digital control for precise and efficient operation. This manual provides essential information for setting up, operating, maintaining, and troubleshooting your laser engraver to ensure safe and optimal performance.

Daim duab 1: Pem hauv ntej view of the OMTech 50W CO2 Laser Engraver, highlighting its compact design and accessible work area.
Kev teeb tsa thiab kev teeb tsa
Before operating your OMTech laser engraver, follow these steps carefully to ensure proper setup and safety.
1. Tshem tawm thiab tso
- Ua tib zoo tshem lub tshuab thiab tag nrho cov khoom siv los ntawm lub ntim.
- Place the engraver on a stable, level surface capable of supporting its weight (approximately 75 kg). Ensure adequate ventilation around the machine.
- Keep the machine away from flammable materials and direct sunlight.
2. Cov khoom txuas txuas
- Kev sib txuas fais fab: Connect the power cable to the machine and a grounded 220V outlet.
- Kev Pab Cuam Huab Cua: The built-in air assist helps clear debris during engraving. Ensure the air pump is connected and functioning.
- Dej txias: Connect the water pump and tubing for the laser tube cooling system. Ensure the water reservoir is filled with distilled water and the pump is submerged and circulating water before turning on the laser.
- Exhaust System: Connect the exhaust hose to the machine and vent it to the outside to remove smoke and fumes.

Figure 2: Essential accessories included with your laser engraver, crucial for proper setup and operation.
3. Kev teeb tsa software thiab kev sib txuas
- Install the provided laser control software (e.g., LightBurn, CorelDRAW, AutoCAD compatible) on your computer.
- Connect the engraver to your computer via USB or Ethernet cable. The machine also supports U-Flash disk for offline operation.
- Familiarize yourself with the control panel for basic machine functions.
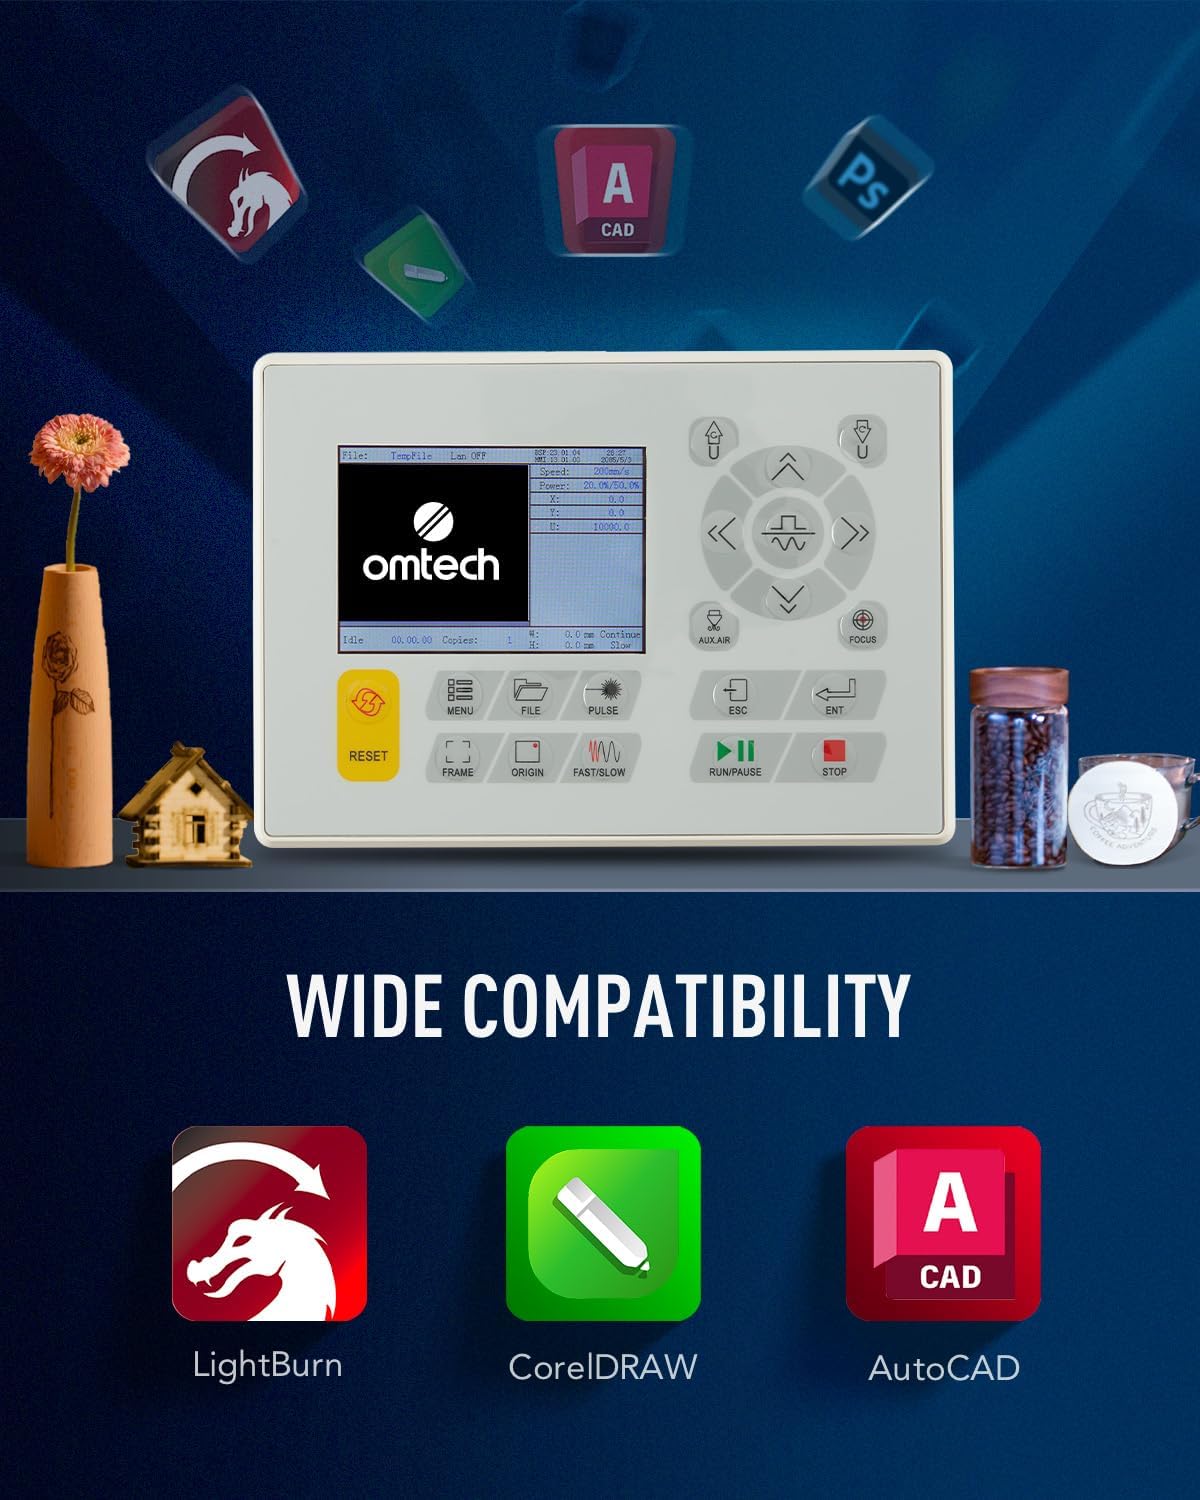
Figure 3: The machine's control panel and icons representing compatible software for design and operation.
Cov lus qhia ua haujlwm
Follow these steps for safe and effective operation of your laser engraver.
1. Preparing Your Design and Material
- Create or import your design using the laser software.
- Select the appropriate material (e.g., wood, acrylic, leather) and place it securely on the honeycomb or aluminum blade workbed.
- Adjust the laser focus using the red dot pointer for optimal engraving/cutting results.

Figure 4: The laser head with its red dot pointer, used for precise material positioning and focus adjustment.
2. Executing Engraving/Cutting
- Set the desired power and speed settings in the software based on your material and desired outcome. The machine supports speeds up to 600 mm/s.
- Ensure the lid is closed. The machine has a safety interlock that cuts the laser beam if the lid is opened during operation.
- Initiate the engraving or cutting process from the software or control panel.
- Monitor the process through the flame-retardant viewhauv qhov rais.

Figure 5: The laser engraver actively processing a design on a wooden surface, demonstrating its precision.
3. Post-Operation
- Once the process is complete, wait for the exhaust system to clear any remaining fumes.
- Carefully remove the engraved or cut material.
- Turn off the machine and disconnect power if not in use for an extended period.
Kev tu
Regular maintenance is crucial for extending the lifespan and ensuring the optimal performance of your laser engraver.
1. Cleaning Laser Lenses and Mirrors
- Periodically clean the laser lenses and reflective mirrors with a lint-free cloth and lens cleaning solution. This prevents residue buildup that can affect laser beam quality.
- The built-in air assist helps reduce debris on lenses during operation.

Figure 6: The CO2 laser tube, a critical component requiring proper cooling and care.
2. Water Cooling System
- Regularly check the water level in the cooling reservoir and refill with distilled water as needed.
- Change the water periodically to prevent algae growth and maintain cooling efficiency.
3. Kev tu vaj tse
- Keep the work area and the interior of the machine clean from dust and debris.
- Clean the honeycomb and aluminum blade workbeds regularly to ensure proper material placement and airflow.
Kev daws teeb meem
Tshooj lus no hais txog cov teeb meem uas koj yuav ntsib thiab lawv cov kev daws teeb meem.
| Teeb meem | Ua Tau | Kev daws |
|---|---|---|
| Laser tsis tua | Lid open, water cooling issue, laser tube failure, power supply issue. | Ensure lid is closed. Check water flow and temperature. Inspect laser tube for damage. Verify power supply connections. |
| Tsis zoo engraving / txiav zoo | Incorrect focus, dirty lenses/mirrors, incorrect power/speed settings, material issues. | Adjust focus. Clean optical components. Calibrate power and speed settings for the material. Ensure material is flat. |
| Tshuab tsis teb | Software communication error, emergency stop engaged, power issue. | Restart software and machine. Check USB/Ethernet connection. Disengage emergency stop button. Verify power supply. |
If you encounter issues not listed here or require further assistance, please contact OMTech customer support.
Specifications
Key technical specifications for the OMTech 50W CO2 Laser Engraver.
| Feature | Paub meej |
|---|---|
| Chaw tsim tshuaj paus | OMTech |
| Khoom Dimensions | 102 x 65 x 63 cm |
| Qhov hnyav | 75, XNUMX kg |
| Laser zog | 50 XNUMX w |
| Voltage | 220 volt |
| Max. Engraving ceev | 600mm / s |
| Chaw Ua Haujlwm | 300 x 500 mm |
| Cov txaj ua haujlwm | Honeycomb thiab Aluminium Hniav |
| Kev sib txuas | USB Cable, Ethernet Cable, U-Flash Drive, Offline |

Daim duab 7: Kev pom kev sawv cev ntawm lub tshuab qhov ntev thiab cov ntsiab lus ntawm nws cov kev qhia tshwj xeeb.
Warranty thiab Support
OMTech provides support for its products. For any issues or inquiries, please refer to the following information:
- Txoj cai rov qab: The product is eligible for a refund or replacement within 30 days of purchase.
- Kev Pab Txhawb Cov Neeg Siv Khoom: For technical assistance, troubleshooting, or warranty claims, please contact OMTech Direct NL, the seller, or visit the official OMTech store on Amazon.
- OMTech Store: Visit the OMTech Store
Ask a question about this manual
Ask about setup, troubleshooting, compatibility, parts, safety, or missing instructions. Manuals+ will review the question and use this page’s manual context to help answer it.