
1. Taw qhia
Thank you for choosing the TMEZON 4G LTE Solar Wireless Outdoor Security Camera. This manual provides detailed instructions for the installation, operation, and maintenance of your camera. Please read this manual thoroughly before use to ensure proper functionality and to maximize the camera's performance.
This camera is designed for outdoor surveillance in areas without Wi-Fi access, utilizing 4G LTE connectivity. It features a built-in rechargeable battery and a solar panel for continuous power, 2K resolution, 355° pan and 90° tilt capabilities, color night vision, PIR motion detection, and two-way audio communication.
2. Cov ntsiab lus ntawm pob
Thov koj mus saib cov khoom uas muaj nyob hauv pob khoom thaum koj tau txais. Yog tias muaj tej yam khoom uas ploj lawm los yog puas lawm, hu rau peb cov neeg ua haujlwm pabcuam.
- TMEZON 4G LTE Solar Wireless Outdoor Security Camera
- Hnub Ci Vaj Huam Sib Luag
- Mounting Bracket
- Mounting Screws thiab Anchors
- USB Charging Cable
- Cov neeg siv phau ntawv
- Pre-installed 100MB SIM Card
3. Khoom Tshajview
Familiarize yourself with the camera's components.

Duab: pem hauv ntej view of the TMEZON 4G LTE Solar Wireless Outdoor Security Camera, showing the main camera unit, solar panel, and antennas. This camera operates using 4G LTE signal, eliminating the need for Wi-Fi.
- Lub koob yees duab Lens: Captures video footage.
- Infrared LEDs: For black and white night vision.
- Teeb pom kev zoo: For color night vision and alarm illumination.
- PIR Sensor: Tshawb pom kev txav mus los raws li cov cim cua sov.
- Microphone: Kaw cov suab rau kev sib txuas lus ob txoj kev thiab kev kaw cia.
- Hais lus: Outputs audio for two-way communication and alarms.
- Antennas: For 4G LTE signal reception.
- Hnub Ci Vaj Huam Sib Luag: Siv lub hnub ci los them lub roj teeb sab hauv.
- SIM daim npav qhov: For the 4G LTE SIM card.
- Micro SD Card Qhov: For local video storage (up to 128GB, not included).
- Pib dua khawm: Siv los teeb tsa lub koob yees duab mus rau qhov chaw teeb tsa hauv Hoobkas.
- USB them chaw nres nkoj: For initial charging or manual charging.
4. Teeb tsa
4.1 Pib Them Nqi
Before first use, fully charge the camera's built-in battery using the provided USB cable and a 5V/2A power adapter (not included). The charging indicator light will turn solid blue when fully charged.
4.2 SIM Card & Micro SD Card Installation
The camera comes with a pre-installed 100MB SIM card. If you wish to use your own SIM card or install a Micro SD card for local storage, follow these steps:
- Locate the SIM card and Micro SD card slots on the camera body. These are typically protected by a rubber cover.
- Carefully open the rubber cover.
- Insert the Nano SIM card into the SIM card slot with the gold contacts facing down and the notched corner oriented correctly. Push until it clicks into place.
- Insert a Micro SD card (Class 10 or higher, up to 128GB, not included) into the Micro SD card slot with the gold contacts facing down. Push until it clicks into place.
- Ensure both cards are securely seated.
- Close the rubber cover firmly to maintain the camera's IP65 waterproof rating.

Duab: Close-up view of the camera's card slots, showing how to insert a Nano SIM card (included) and a Micro SD card (not included).
4.3 App Installation & Account Creation
The camera operates with the UBox app. Download it from your smartphone's app store (iOS App Store or Google Play Store).
- Nrhiav rau "UBox" in your app store and download the application.
- Open the UBox app and register a new account using your email address.
- Ua raws li cov lus qhia on-screen kom tiav cov txheej txheem sau npe thiab nkag mus.
4.4 Kev Sib Txuas Lub Koob Yees Duab
- Ensure your camera is powered on and fully charged.
- Open the UBox app and tap the "+" icon to add a new device.
- Select "4G Camera" or "Add 4G Device" from the options.
- Luam theej daim QR code uas nyob ntawm lub koob yees duab lossis nws lub ntim khoom.
- Follow the app's prompts to connect the camera. The camera will emit a voice prompt when successfully connected.
- Sau npe koj lub koob yees duab kom paub meej yooj yim.
4.5 Txhim Kho Lub Koob Yees Duab
Choose a suitable location for mounting the camera. Consider areas with good 4G signal reception and sufficient sunlight exposure for the solar panel.
- Xaiv qhov chaw: Identify a mounting spot that provides the desired viewing angle and receives direct sunlight for several hours daily.
- Mark Drill Holes: Use the mounting bracket as a template to mark the positions for drilling holes on the wall or surface.
- Drill Holes: Drill holes at the marked positions. Insert wall anchors if mounting on masonry or concrete.
- Txuas Bracket: Ruaj ntseg lub mounting bracket rau phab ntsa siv cov screws muab.
- Txuas lub koob yees duab: Mount the camera onto the bracket. Adjust the angle of the solar panel to maximize sun exposure.
- Kev sib txuas ruaj ntseg: Ensure all cables (solar panel to camera) are securely connected and protected from weather.

Image: The TMEZON camera mounted outdoors with its solar panel, illustrating its wire-free, solar-powered operation.

Image: The camera being sprayed with water, highlighting its IP65 waterproof rating, suitable for outdoor use in various weather conditions.
5. Cov lus qhia ua haujlwm
5.1 Nyob View & Pan/Tilt Control
Access the live video feed and control the camera's movement through the UBox app.
- Open the UBox app and select your camera from the device list.
- The live video feed will appear.
- Use the directional controls (pan/tilt) on the app interface to rotate the camera horizontally (355°) and vertically (90°).

Duab: Lub xov tooj ntse uas qhia txog kev nyob view from the camera, with on-screen controls for 355° horizontal and 90° vertical rotation.
5.2 Motion Detection & Alerts
The camera uses PIR (Passive Infrared) detection to identify human movement and send alerts.
- Enable motion detection in the camera settings within the UBox app.
- Adjust sensitivity levels as needed to minimize false alarms.
- When motion is detected, the camera will send an alert notification to your smartphone.
- The camera can also activate its spotlights and siren as an alarm.

Image: A smartphone screen showing a "Motion Detection" alarm message from the UBox app, indicating a person detected by the camera.

Image: The camera's alarm siren and flashes activating in response to an intruder, with a smartphone notification showing "Person is detected from Device 01."
5.3 Ob-Way Audio
Communicate with visitors or deter intruders using the camera's built-in microphone and speaker.
- Thaum nyob view, tap the microphone icon in the UBox app to speak.
- Your voice will be transmitted through the camera's speaker.
- Release the microphone icon to listen to the audio from the camera's location.
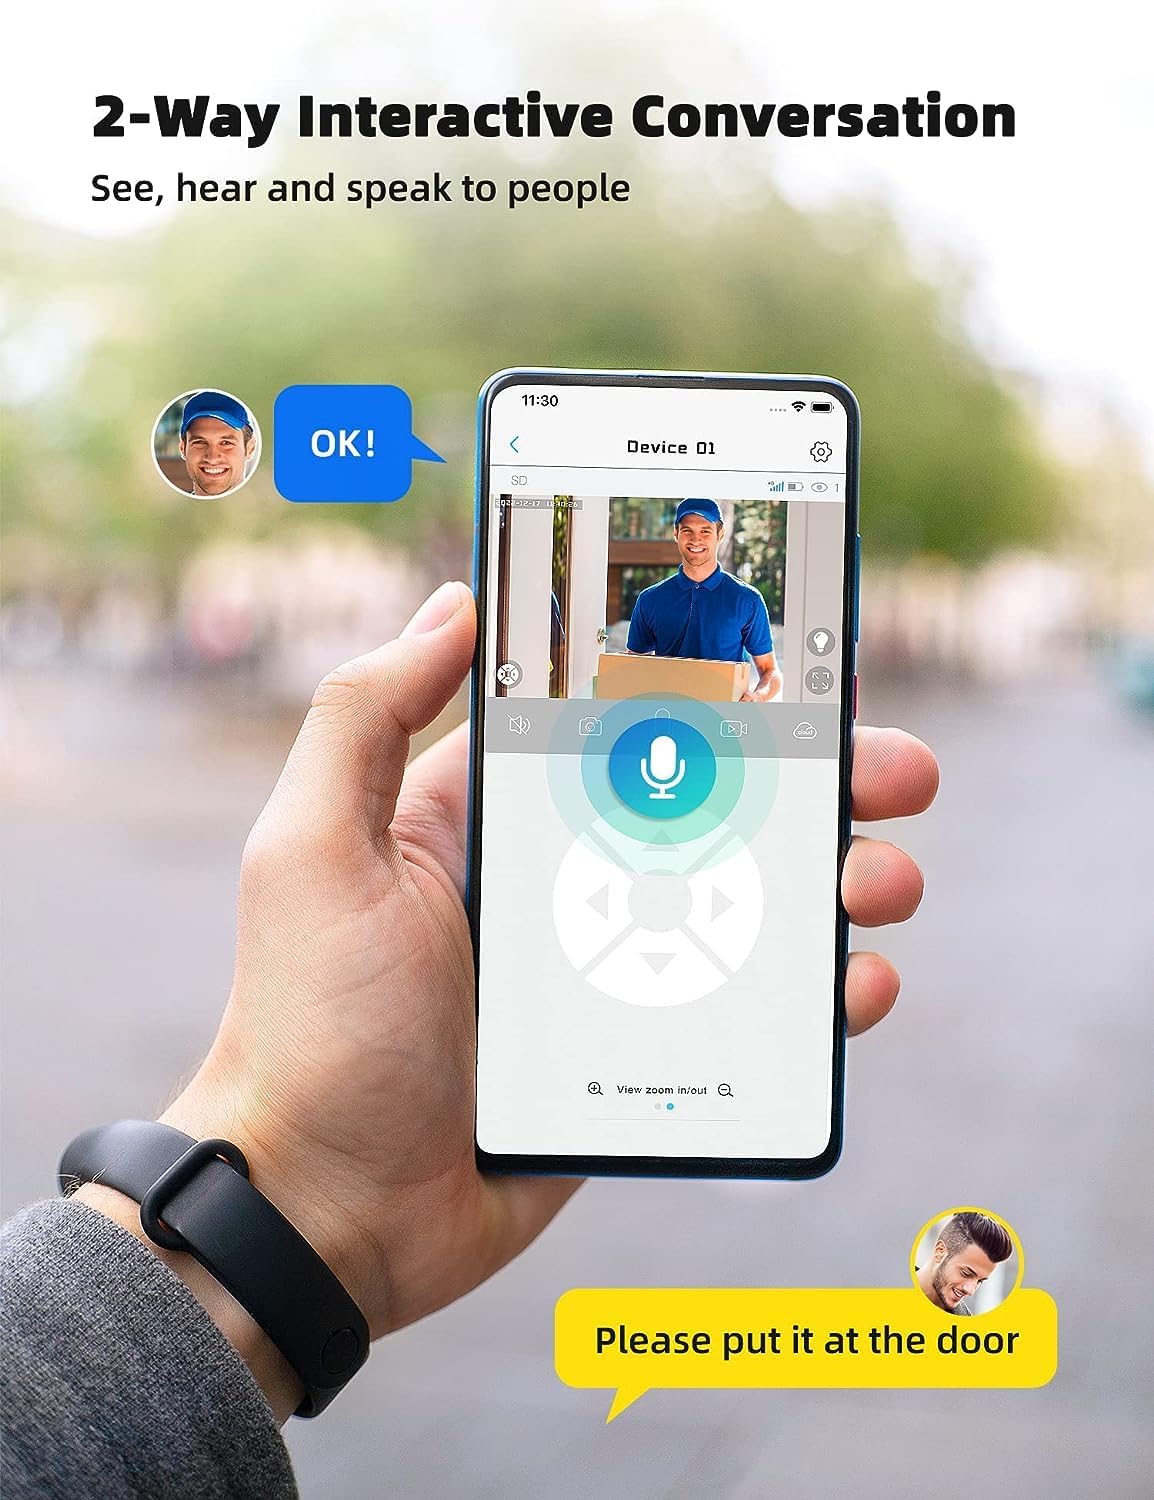
Image: A smartphone displaying the UBox app interface for two-way communication, showing a person speaking through the camera to a delivery person.

Image: A user communicating in real-time with a delivery person via the camera's two-way audio feature, instructing them to place a package by the door.
5.4 Recording & Playback
The camera supports both Micro SD card storage and cloud storage (subscription may be required).
- Motion-triggered events are automatically recorded.
- Rau view recordings, navigate to the "Playback" section in the UBox app.
- Select the date and time to review sau foostage.
- If the Micro SD card is full, older recordings will be overwritten by new ones.
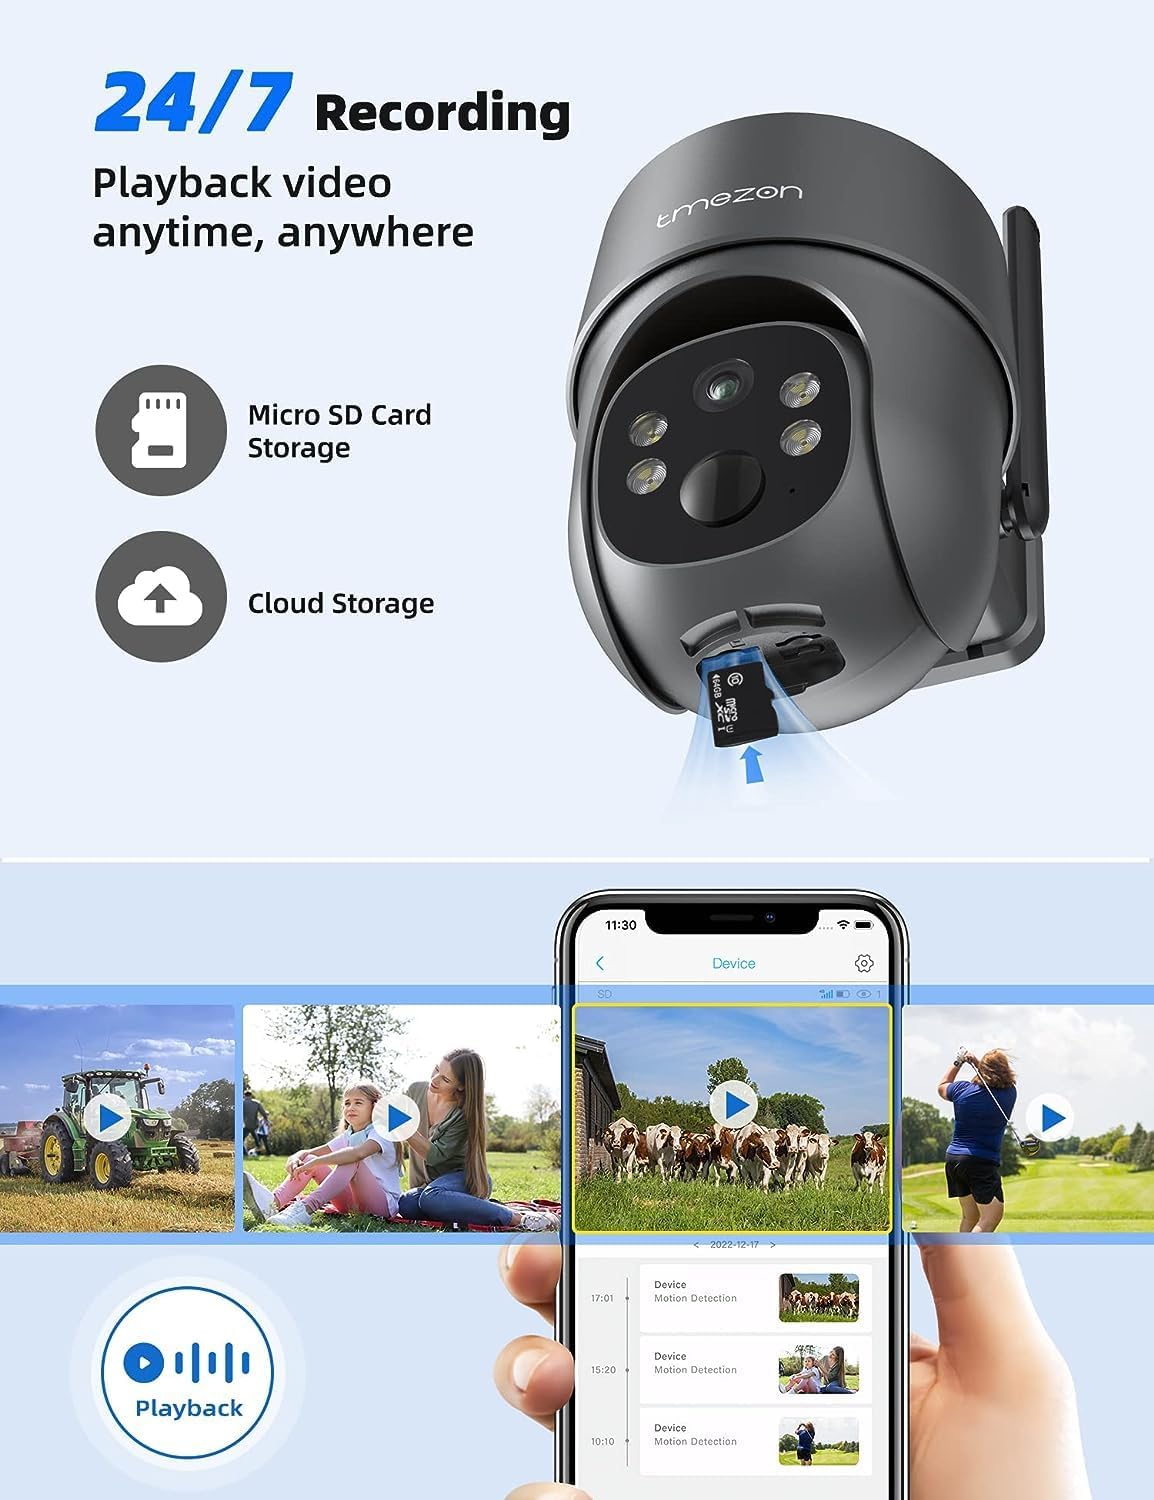
Image: A smartphone displaying the UBox app's playback interface, showing a timeline of recorded events and various video clips.
5.5 Hom Pom Kev Hmo Ntuj
The camera offers two night vision modes:
- Infrared (IR) Kev Pom Kev Hmo Ntuj: Provides clear black and white video in low-light conditions.
- Xim Hmo Ntuj Pom Kev: Activates the camera's spotlights to provide full-color video even in darkness. This mode can be enabled in the app settings.
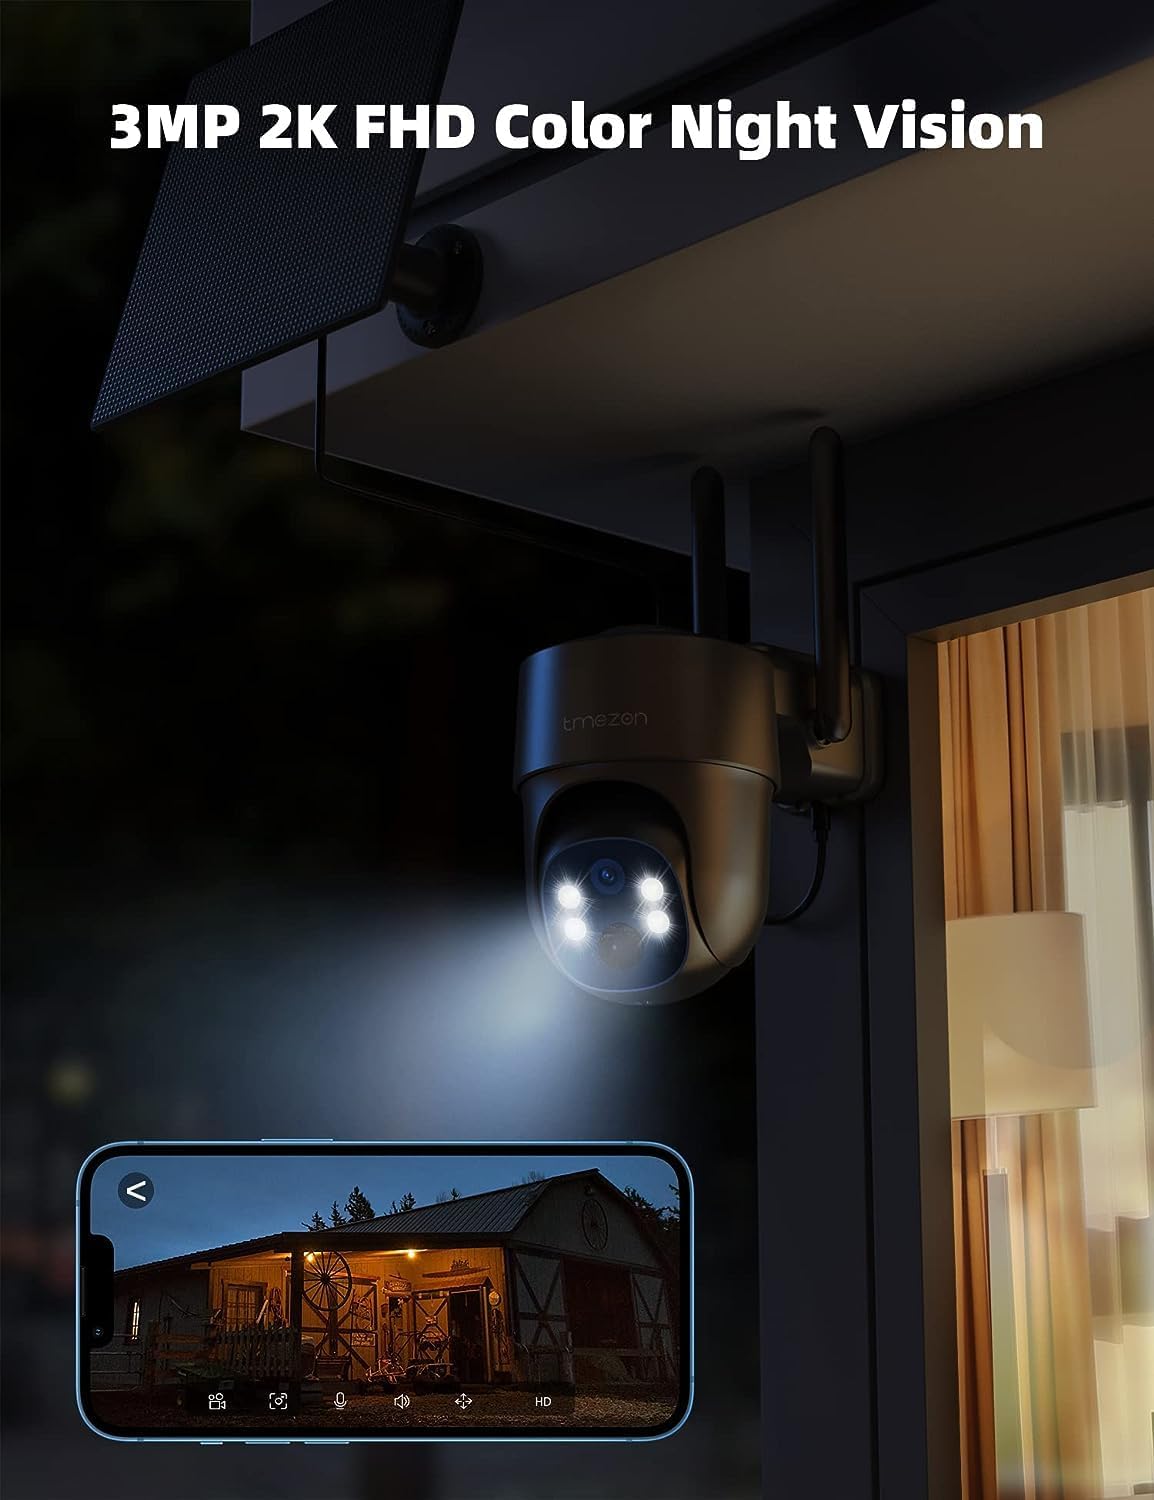
Image: The TMEZON camera operating at night with its spotlights on, providing clear 2K color night vision of the surrounding area.

Image: A split image demonstrating the difference between night vision with spotlights off (monochrome) and spotlights on (color), showcasing the camera's 2K color night vision capability.
6. Kev tu
6.1 Battery & Solar Panel Care
- Regularly check the battery level in the UBox app.
- Ensure the solar panel is clean and free from dust, dirt, or obstructions (e.g., leaves, snow) to ensure efficient charging.
- Position the solar panel to receive maximum direct sunlight throughout the day.
- If the camera's battery level is consistently low due to insufficient sunlight, consider manually charging it via the USB port.
6.2 Kev ntxuav
- Siv lub mos, damp cloth to clean the camera lens and body.
- Do not use harsh chemicals or abrasive cleaners, as these can damage the camera's finish or lens.
- Ensure the rubber covers for the card slots and charging port are securely closed after any maintenance to maintain waterproofing.
7. Kev daws teeb meem
7.1 Camera Not Connecting to 4G Network
- Xyuas kom tseeb tias SIM daim npav raug tso thiab qhib kom raug.
- Check if the SIM card has an active data plan.
- Verify 4G signal strength at the camera's location. Move the camera to an area with better signal if necessary.
- Restart the camera by pressing the reset button or power cycling it.
7.2 Frequent Disconnections
- Poor 4G signal strength can cause disconnections. Relocate the camera or consider a 4G signal booster.
- Ensure the camera's battery is sufficiently charged.
7.3 Motion Detection Not Working or Too Many False Alarms
- Check motion detection settings in the UBox app. Ensure it is enabled.
- Adjust PIR sensitivity levels. Lower sensitivity for fewer false alarms, higher for more sensitive detection.
- Ensure there are no objects (e.g., tree branches, reflective surfaces) that might trigger false alarms in the detection zone.
7.4 Cannot View Cov ntaub ntawv kaw tseg
- Ensure a Micro SD card is inserted correctly and formatted (if applicable) in the app.
- Check if cloud storage is active and your subscription is valid.
- Verify that motion detection recording is enabled in the app settings.
7.5 Camera Not Charging via Solar Panel
- Xyuas kom lub vaj huam sib luag hnub ci huv si thiab tsis muaj dab tsi thaiv.
- Verify the solar panel cable is securely connected to the camera.
- Check if the solar panel is receiving direct sunlight for several hours daily.
- In prolonged cloudy weather, manual charging via USB may be required.
8. Cov lus qhia tshwj xeeb
| Feature | Paub meej |
|---|---|
| Qauv nab npawb | MZ-C8-4G-EU |
| Connectivity Technology | Wireless (4G LTE) |
| Kev daws teeb meem | 2K (2000 Pixels effective capture) |
| Yias Lub | 355 Degree |
| Lub kaum sab xis | 90 Degree |
| Hmo Ntuj Pom Kev | Xim Hmo Ntuj Pom Kev |
| Tshwj xeeb nta | Motion Detector, Two-Way Audio |
| Hwj chim Source | Solar Powered (with 9,600 mAh rechargeable battery) |
| Hom roj teeb | 2 Lithium-ion (nrog) |
| Voltage | 5 Volts |
| Wattage | 5 Watt-hour |
| Kev ntsuas IP | IP65 (Waterproof) |
| Cia | Micro SD Card (up to 128GB, not included), Cloud Storage (subscription optional) |
| Hom tswj | Android (UBox App) |
| Mounting Hom | Phab ntsa Mount |
9. Warranty thiab Support
9.1 Warranty Information
TMEZON products typically come with a standard manufacturer's warranty. Please refer to the warranty card included in your package or visit the official TMEZON website rau cov ncauj lus kom ntxaws warranty thiab tej yam kev mob. Khaws koj daim ntawv yuav khoom ua pov thawj ntawm kev yuav khoom rau kev lees paub.
9.2 Kev Pabcuam Cov Neeg Siv Khoom
If you encounter any issues or have questions regarding your TMEZON 4G LTE Solar Wireless Outdoor Security Camera, please contact TMEZON customer support. Contact information can usually be found on the official website los yog nyob rau hauv cov khoom ntim.
- Kev them nyiaj yug hauv internet: Visit the TMEZON official website rau FAQs, cov lus qhia daws teeb meem, thiab cov ntaub ntawv tiv tauj.
- Email Support: Saib koj cov ntaub ntawv khoom kom paub txog qhov chaw nyob email rau kev txhawb nqa cov neeg siv khoom.