
Taw qhia
Thank you for choosing the ROCAM Digital Projection Alarm Clock, Model CR1024. This device combines a digital alarm clock with a 270° rotatable projection feature, FM radio, dual alarm settings, and a USB charging port. Please read this manual carefully to ensure proper use and to fully enjoy all its features.

Image: The ROCAM Digital Projection Alarm Clock displaying time, date, temperature, and humidity, positioned on a bedside table next to a cup of coffee and a notebook.
Khoom nta
- 270° Rotatable Projection: Project time onto your wall or ceiling with adjustable angle and focus.
- 5-Level Dimmable LED Display: Adjust the brightness of the main display to your preference.
- FM Radio & Sleep Timer: Enjoy your favorite radio stations and set a sleep timer for automatic shutdown.
- Dual Alarm with Weekend/Weekday Mode: Set two independent alarms with customizable schedules (Mon-Sun, Mon-Fri, Sat-Sun, One-Time).
- USB-C Power Input & USB-A Charging Output: Power the clock via USB-C and charge external devices like smartphones via USB-A.
- Roj teeb thaub qab: Tuav lub sijhawm thiab lub tswb nrov thaum lub zog outages (batteries not included).
- Temperature thiab Humidity Display: Shows indoor temperature (°C/°F) and humidity.
- Hmo ntuj Lub teeb muaj nuj nqi: Integrated night light for soft illumination.
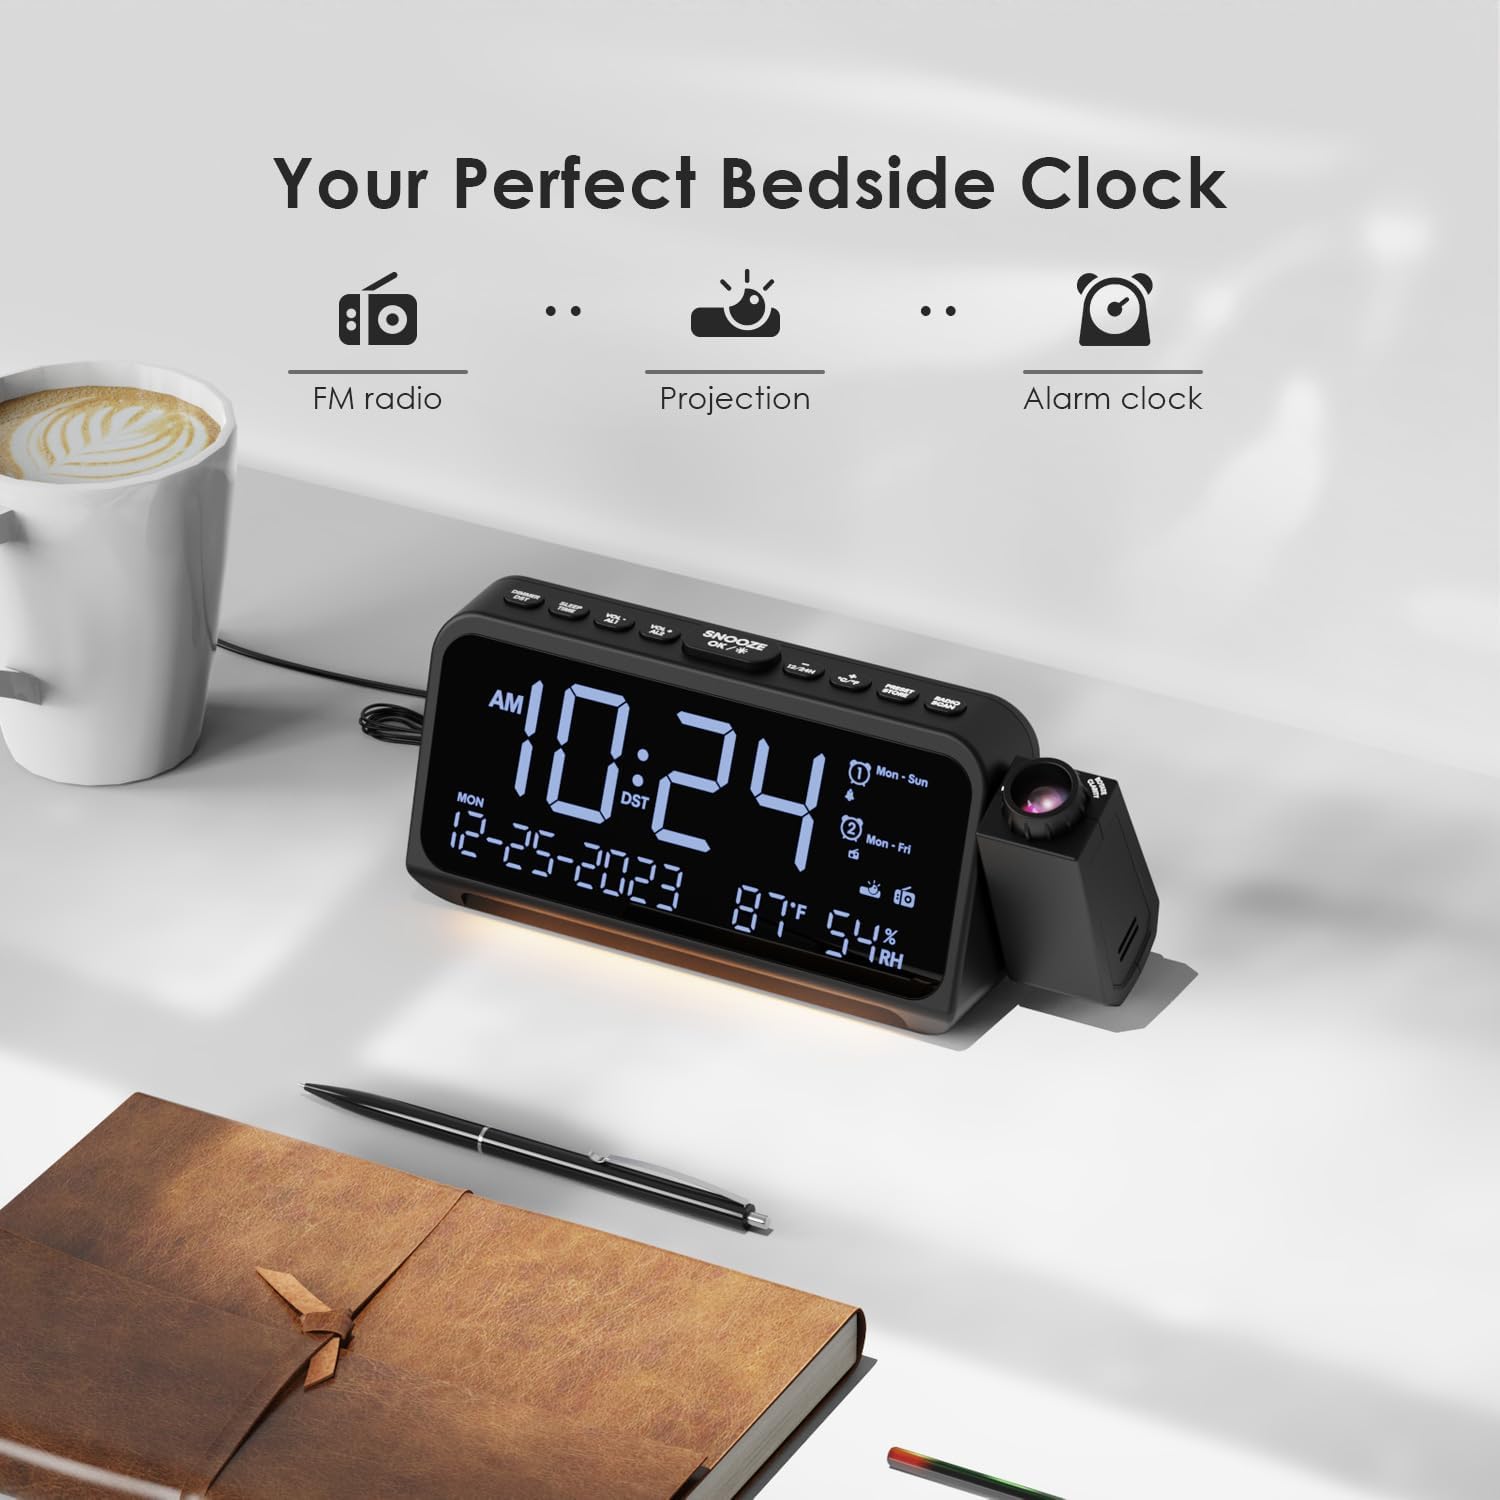
Image: Visual representation of the clock's main functions: FM radio, projection, and alarm clock.
Ntim Cov Ntsiab Lus
Thov kos lub pob rau cov khoom hauv qab no:
- ROCAM Digital Projection Alarm Clock (CR1024)
- USB Hom-C Fais Fab Cable
- Fais fab Adapter
- Cov neeg siv phau ntawv
Note: 1 CR2 battery is required for backup functionality and is not included in the package.

Image: The alarm clock, USB-C cable, power adapter, and user manual laid out, with product dimensions (20cm x 8.7cm x 3.81cm) and weight (240g) indicated.
Khoom Tshajview
Cov nyees khawm sab saum toj ntawm vaj huam sib luag:
- SNOOZE/OK/*: Snooze alarm, confirm settings, or activate night light.
- VOL-/AL1: Decrease volume, set Alarm 1.
- VOL+/AL2: Increase volume, set Alarm 2.
- 12/24 H: Hloov ntawm 12-teev thiab 24-teev sijhawm hom ntawv.
- ° C / ° F: Switch between Celsius and Fahrenheit temperature display.
- PRESET/STORE: Save FM radio presets.
- RADIO/SCAN: Turn FM radio on/off, scan for stations.
- SIJ HAWM SET: Enter time setting mode.
- TSHUAB SET: Nkag mus rau lub tswb teeb tsa hom.
Side Panel & Rear:
- Projection Lens: Tso lub sijhawm rau ntawm ib qho chaw.
- Focus Log: Adjusts the clarity of the projected image.
- Projection Rotation: Allows 270° adjustment of the projection angle.
- DIM khawm: Adjusts projection brightness.
- Lub zog khawm: Turns the projection on/off.
- Type-C Input (5V-2A): Kev sib txuas hluav taws xob tseem ceeb.
- USB-A Output (5V-1A): Rau kev them cov khoom siv sab nraud.
- Kav hlau txais xov FM: Extend for better radio reception.
- Roj teeb lub thawv: For CR2 backup batteries.

Duab: Paub meej view of the top control buttons and the projection unit, highlighting the dual alarm settings.

Image: The back of the alarm clock, illustrating the Type-C power input and the USB-A output port for charging other devices.
Teeb tsa
1. Fais fab kev twb kev txuas:
- Connect the provided USB Type-C cable to the Type-C input port on the back of the alarm clock.
- Plug the other end of the USB cable into the power adapter, then plug the adapter into a standard wall outlet.
- The display will light up, indicating the clock is powered on.

Image: The alarm clock is shown connected to a wall outlet via its USB-C power cable and adapter.
2. Battery Backup Installation:
- Nrhiav lub roj teeb hauv qab ntawm lub moos.
- Qhib lub hau npog.
- Insert 1 CR2 battery (not included) according to the polarity markings (+/-).
- Close the battery compartment cover. This battery will preserve time and alarm settings during a power outage.

Image: The bottom of the alarm clock with the battery compartment open, showing where to insert CR2 batteries.
Cov lus qhia ua haujlwm
1. Setting Time and Date:
- Nias thiab tuav lub LUB SIJ HAWM TXHEEJ button. The hour digits will start flashing.
- Siv VOL+ or VOL- cov nyees khawm los kho lub sijhawm. Nias LUB SIJ HAWM TXHEEJ dua kom paub meej.
- Rov ua cov txheej txheem rau feeb, xyoo, hli, thiab hnub.
- Xovxwm 12/24 H to switch between 12-hour and 24-hour format.
- Xovxwm ° C/° F. to switch between Celsius and Fahrenheit for temperature display.
2. Setting Alarms (Alarm 1 & Alarm 2):
- Nias thiab tuav lub TSHUAB SET button. The Alarm 1 icon and hour digits will flash.
- Siv VOL+ or VOL- to set the desired alarm hour. Press TSHUAB SET kom paub meej.
- Rov ua dua rau feeb.
- Select alarm mode (Mon-Sun, Mon-Fri, Sat-Sun, One-Time) using VOL+ or VOL-. Xovxwm TSHUAB SET kom paub meej.
- Choose alarm sound: buzzer or FM radio. Use VOL+ or VOL- xaiv. Xovxwm TSHUAB SET kom paub meej.
- To set Alarm 2, briefly press TSHUAB SET again and repeat the steps.
- To activate/deactivate an alarm, briefly press TIAB SA 1 or TIAB SA 2. The alarm icon will appear/disappear on the display.
Image: The clock display showing options for setting two alarms with different ringtone choices and day modes (Mon-Sun, Mon-Fri, Sat-Sun, One-Time).
3. Snooze Function:
Thaum lub tswb nrov, nias lub SNOOZE/OK/* button to temporarily silence it for 9 minutes. The alarm will sound again after the snooze period.
4. Display Brightness (Dimmer):
Nias lub SNOOZE/OK/* button repeatedly to cycle through 5 levels of display brightness (L-1 to L-5) or turn the display off.

Image: The clock display showing five different brightness levels (L-1 to L-5) for the main LED screen.
5. Projection Settings:
- Qhib / Off: Nias lub Lub hwj chim khawm on the side of the projection unit to turn the projection on or off.
- Kho Brightness: Nias lub DIM button on the side of the projection unit to cycle through 5 levels of projection brightness.
- Kho lub kaum sab xis: Rotate the projection unit up to 270° to direct the time onto your desired surface (wall or ceiling).
- Kho kom pom tseeb: Tig lub Kev ua kom pom log on the projection unit to sharpen the projected image.

Image: The digital time '10:24' projected in red onto a dark wall, demonstrating the projection feature.

Image: The projection unit rotating 270 degrees, showing how the projected time can be adjusted for optimal viewhauv.

Image: The projected time showing five distinct brightness levels, from level 1 (dimmest) to level 5 (brightest).
6. FM Radio Operation:
- Txuas lub kav hlau txais xov FM rau kev txais tos zoo dua.
- Nias lub RADIO/SCAN button to turn the FM radio on.
- Nias thiab tuav RADIO/SCAN to automatically scan and save available stations.
- Siv VOL+ or VOL- to manually tune to a station or cycle through saved presets.
- Xovxwm PRESET/STORE to save the current station as a preset.
- Xovxwm RADIO/SCAN again to turn the FM radio off.

Image: The clock displaying an FM radio frequency (108.0 MHz) and options for a sleep timer (OFF, 15, 30, 60, 90 minutes).
7. Pw Timer:
When the FM radio is on, press the SNOOZE/OK/* button repeatedly to set a sleep timer (15, 30, 60, 90 minutes, or OFF). The radio will automatically turn off after the selected duration.

Image: A hand pressing a button on the clock, with sleep timer options (P01, P06, P12, P15, P20) displayed, indicating timed radio playback.
8. USB Charging Output:
Connect your smartphone or other USB-powered device to the USB-A output port (5V-1A) on the back of the clock to charge it. Ensure the alarm clock is powered via its USB-C input.
Kev tu
- Ntxuav: Siv daim ntaub mos mos thiab qhuav los so lub moos. Tsis txhob siv cov tshuaj ntxuav uas ua rau tawv los yog cov tshuaj yaj.
- Hloov roj teeb: If the clock loses time during a power outage, replace the CR2 backup battery.
- Qhov chaw: Avoid placing the clock in direct sunlight, high temperatures, or high humidity.
Kev daws teeb meem
| Teeb meem | Kev daws |
|---|---|
| Lub moos zaub yog dawb xwb. | Ensure the USB-C power cable is securely connected to both the clock and a working power outlet. Check if the display brightness is set to OFF. |
| Tswb tsis suab. | Verify that the alarm is activated (alarm icon visible). Check the alarm volume. Ensure the alarm mode (Mon-Sun, Mon-Fri, etc.) is correctly set for the current day. |
| Projection is blurry. | Tig lub Kev ua kom pom log on the projection unit until the image is clear. Ensure the projection surface is within optimal range. |
| Kev txais xov tooj cua FM tsis zoo. | Fully extend the FM antenna. Try repositioning the clock to improve signal. Perform an auto-scan to find stronger stations. |
| USB charging port tsis ua haujlwm. | Ensure the alarm clock is powered by the USB-C input. Check the charging cable and the device being charged. |
Specifications
- Qauv nab npawb: TIAB SA 1024
- Qhov Loj: 20 x 3.81 x 8.7 cm (L x W x H)
- Qhov hnyav: 240 g ib
- Lub zog nkag: USB Hom-C, 5V-2A
- USB tso zis: USB Type-A, 5V-1A
- Roj teeb thaub qab: 1 x CR2 battery (not included)
- Ntau Npaws FM: 87.5-108 MHz
Warranty thiab Support
ROCAM products are designed for reliability and performance. This product comes with a standard manufacturer's warranty. For specific warranty details, please refer to the warranty card included in your package or contact ROCAM customer support.
If you encounter any issues or have questions regarding your ROCAM Digital Projection Alarm Clock, please contact our customer support team. Contact information can typically be found on our official website los yog ntawm cov khoom ntim.