1. Taw qhia
Thank you for choosing the OSRAM LEDSTIXX USB Light Stick. This manual provides essential information for the safe and efficient use of your new light stick. Please read these instructions carefully before installation and operation, and retain them for future reference.
The OSRAM LEDSTIXX is a versatile, rechargeable LED light stick designed for flexible illumination in various indoor environments. It features a durable aluminum body, 3-level dimming, and a rotatable design for optimal light positioning.
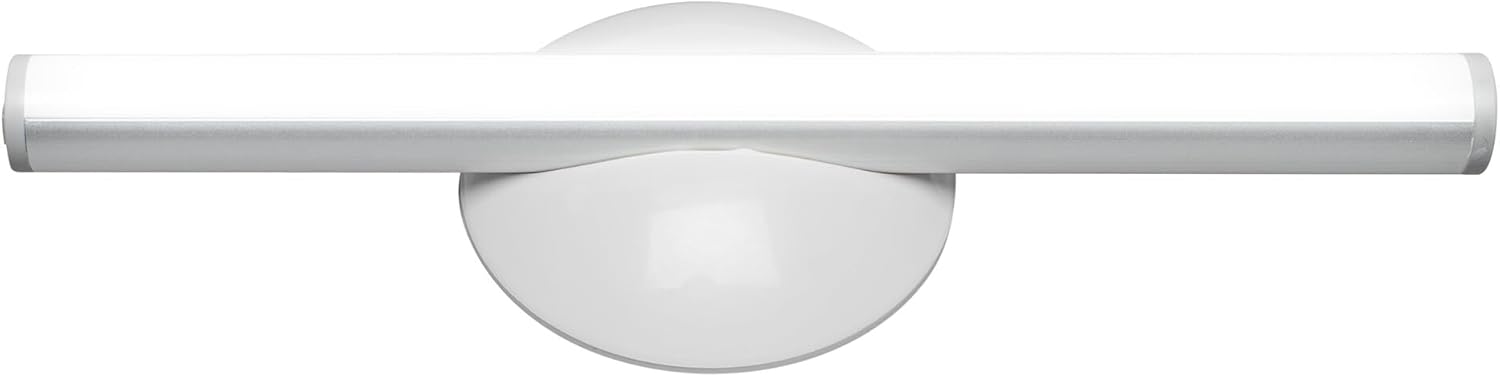
Duab 1.1: Pem hauv ntej view of the OSRAM LEDSTIXX USB Light Stick.
2. Cov ntaub ntawv kev nyab xeeb
- Cov khoom no yog npaj rau kev siv sab hauv tsev nkaus xwb.
- Tsis txhob tso lub cuab yeej rau qhov kub thiab txias, ncaj qha tshav ntuj, lossis cov av noo siab.
- Do not attempt to open, modify, or repair the device. This may void the warranty and pose a safety risk.
- Khaws kom deb ntawm cov menyuam yaus.
- Use only the provided USB cable or a certified equivalent for charging.
- Xyuas kom tseeb tias qhov chaw mounting huv thiab qhuav ua ntej kev teeb tsa.
3. Cov ntsiab lus ntawm pob
Xyuas kom tseeb tias txhua yam khoom muaj nyob hauv pob:
- 1x OSRAM LEDSTIXX USB Light Stick (Silver)
- Installation accessories (mounting bracket, adhesive pads)
- USB them cable
- Cov neeg siv phau ntawv
4. Kev teeb tsa & kev teeb tsa
The LEDSTIXX offers flexible mounting options. Follow these steps for installation:
- Xaiv qhov chaw: Select a clean, dry, and flat surface for mounting. Common applications include under cabinets, inside wardrobes, or near mirrors.
- Npaj Qhov Nto: Clean the chosen surface thoroughly to ensure optimal adhesion of the mounting bracket.
- Txuas lub Mounting Bracket: Peel the protective film from the adhesive pad on the back of the mounting bracket. Firmly press the bracket onto the desired surface for at least 30 seconds. Allow the adhesive to set for a few hours before attaching the light stick.
- Attach the Light Stick: The LEDSTIXX light stick attaches magnetically to the mounting bracket. Simply place the light stick onto the bracket. It can be rotated and oriented as needed.
- Kev them nyiaj yug: Before first use, fully charge the light stick using the provided USB cable. Connect the USB cable to the charging port on the light stick and to a standard USB power source (e.g., computer, USB wall adapter). The charging indicator will show the charging status.
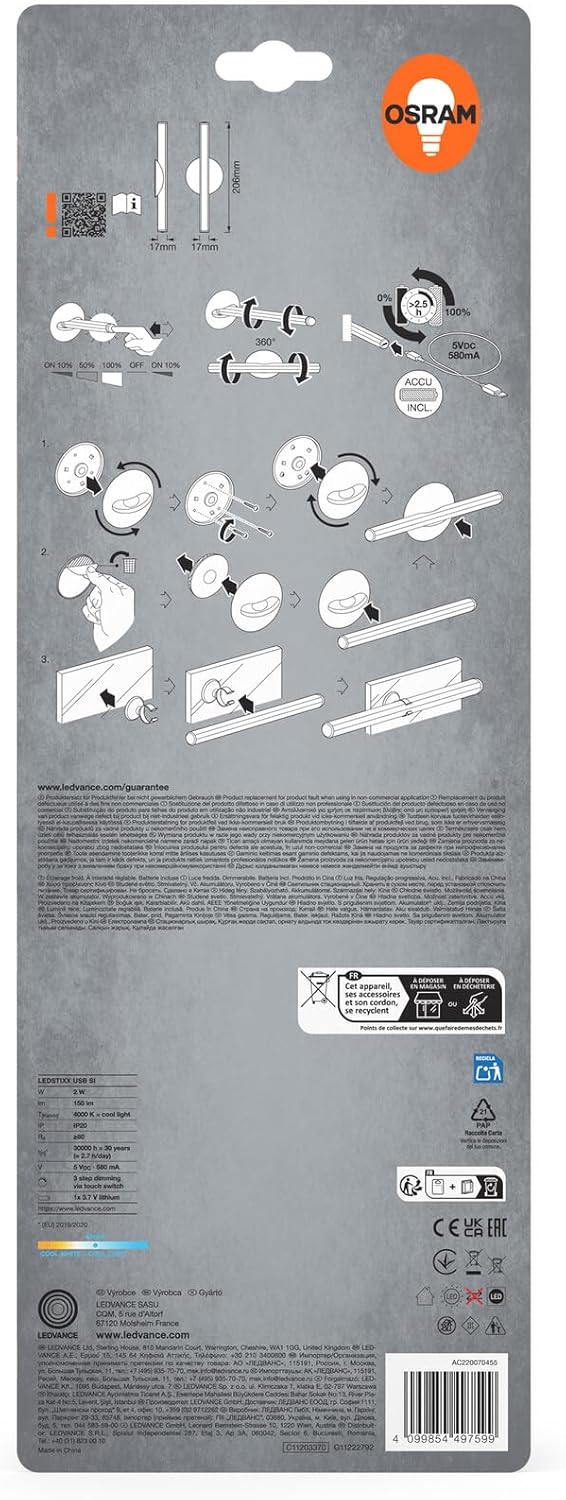
Image 4.1: Visual guide for installing the OSRAM LEDSTIXX using the adhesive mounting bracket.
5. Kev ua haujlwm
The OSRAM LEDSTIXX features simple touch control for power and dimming.
- Fais fab / Off: Briefly touch the control area on the light stick to turn it on or off.
- Dhuav: The light stick has 3 dimming levels. After turning it on, repeatedly touch the control area to cycle through the brightness levels (e.g., 100% > 50% > 25% > Off).
- Charging Indicator: A small LED indicator will show the charging status. Typically, red indicates charging and green indicates fully charged.
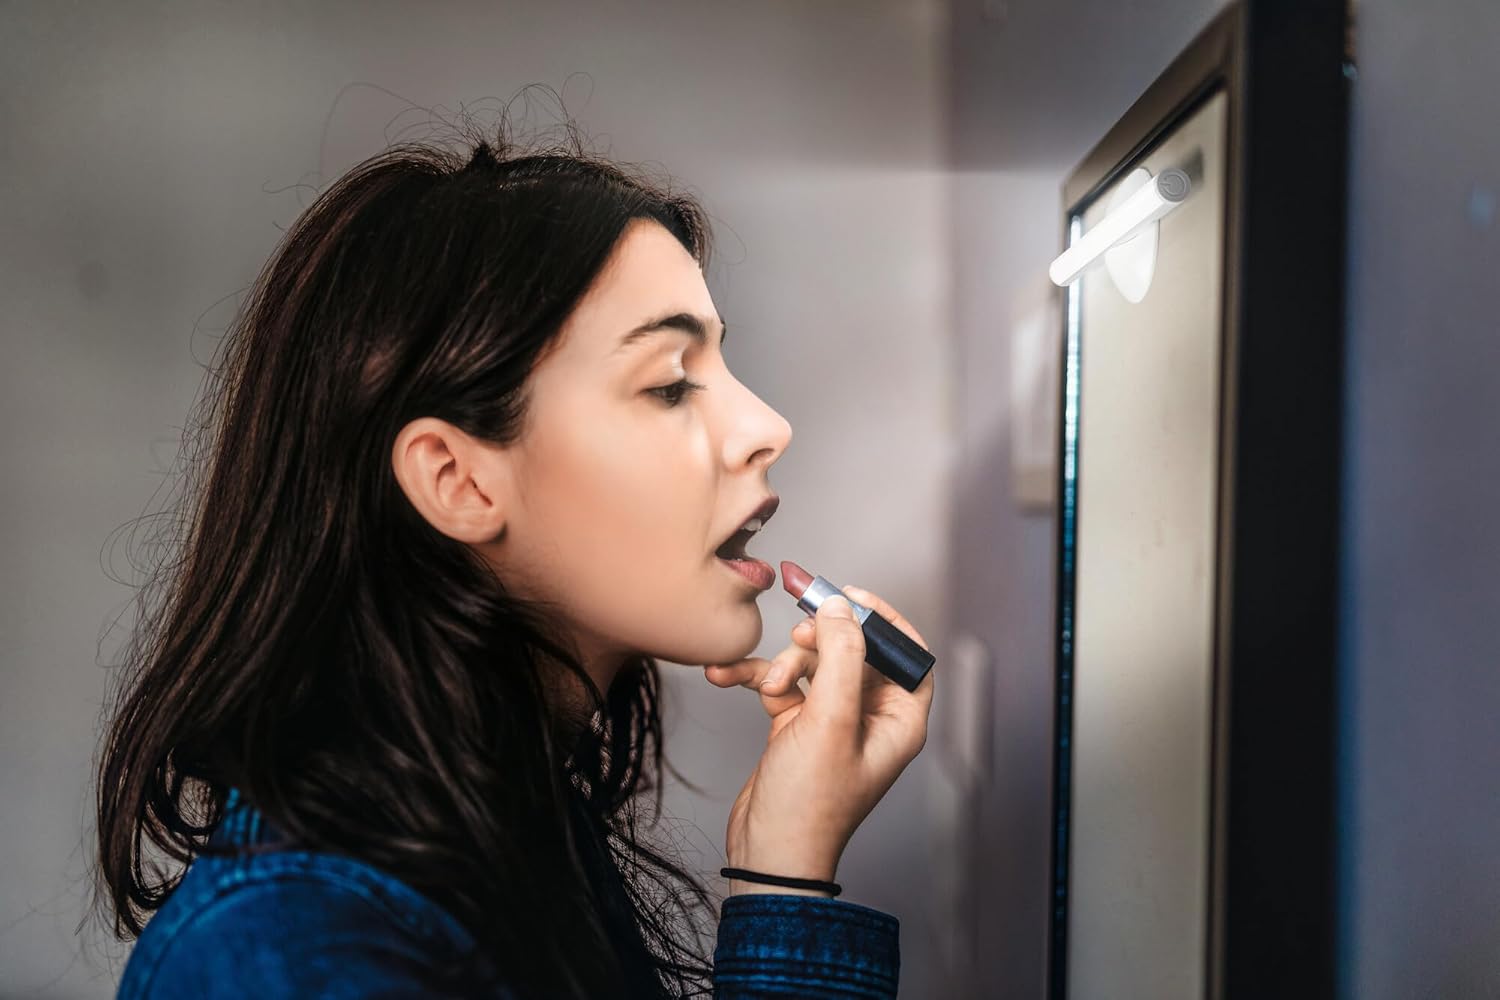
Image 5.1: The LEDSTIXX providing neutral white light for tasks such as applying makeup.
6. Kev tu
- Ntxuav: Wipe the light stick with a soft, dry cloth. Do not use abrasive cleaners or solvents.
- Kev kho roj teeb: To prolong battery life, avoid fully discharging the battery frequently. Recharge the device regularly, especially if it will not be used for an extended period.
- Cia: Store the light stick in a cool, dry place when not in use.
7. Kev daws teeb meem
| Teeb meem | Ua Tau | Kev daws |
|---|---|---|
| Lub teeb tsis tig. | Roj teeb raug tso tawm. | Charge the light stick using the USB cable. |
| Lub teeb yog dim los yog flickers. | Tsawg roj teeb. | Recharge the light stick. |
| Light stick does not adhere to surface. | Surface is dirty or uneven. Adhesive not fully set. | Clean the surface thoroughly. Allow adhesive to set for several hours before attaching the light stick. |
| Cannot change brightness levels. | Kev ua haujlwm tsis raug. | Ensure you are briefly touching the control area repeatedly to cycle through the 3 dimming levels. |
8. Cov lus qhia tshwj xeeb
| Feature | Paub meej |
|---|---|
| Hom | OSRAM |
| Qauv Lub Npe | LEDstixx USB Silver |
| Qauv nab npawb | 4099854497599 |
| Khoom siv | Aluminium |
| Xim | Nyiaj |
| Lub teeb Source | Integrated LED |
| Luminous Flux | 150 Lumen |
| Xim kub | 4000 Kelvin (Neutral White) |
| Wattage | 2 XNUMX w |
| Voltage | 5 Volt (USB) |
| Hwj chim Source | Battery powered (Rechargeable Lithium Battery) |
| Dimming | 3 qib |
| Dej tsis kam | Dej tsis haum (IP44) |
| Qhov Loj (L x W x H) | 20.6 x 1.7 x 1.7 cm |
| Khoom hnyav | 85 Nws |
| Daim Ntawv Sau Zog EU Zog Kev Siv Hluav Taws Xob | G (View EPREL) |
| Lub Tebchaws Keeb Kwm | Tuam Tshoj |

Image 8.1: Dimensional drawing of the OSRAM LEDSTIXX, showing its length of 206mm and width of 17mm.
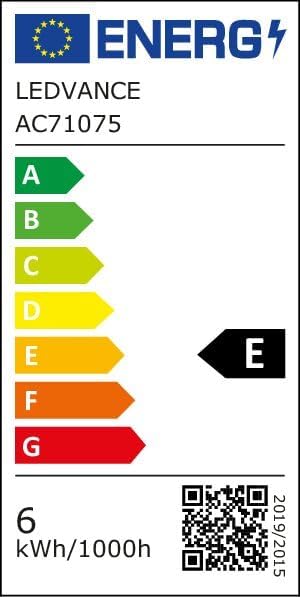
Image 8.2: EU Energy Efficiency Label for the LEDSTIXX, indicating class G and 6 kWh/1000h consumption.
9. Warranty thiab Support
OSRAM products are manufactured to high-quality standards. For warranty information and customer support, please refer to the official OSRAM website lossis tiv tauj koj lub khw muag khoom hauv zos. Khaws koj cov ntaub ntawv pov thawj ntawm kev yuav khoom rau txhua qhov kev lees paub.