
Taw qhia
This manual provides comprehensive instructions for the setup, operation, and maintenance of your V7 Dual Bay Docking Station USB 3.0. This device is designed to provide convenient access to 2.5-inch and 3.5-inch SATA hard disk drives (HDDs) and solid-state drives (SSDs), offering high-speed data transfer and a standalone cloning function.
Please read this manual thoroughly before using the product to ensure proper functionality and to prevent damage.
Ntim Cov Ntsiab Lus

Image: The side of the V7 Dual Bay Docking Station packaging, detailing the included items.
Xyuas kom tseeb tias txhua yam khoom teev hauv qab no muaj nyob hauv koj pob:
- 1x V7 Dual Bay Docking Station
- 1x USB 3.0 A to B Cable
- 1x DC 12V/3A Power Adapter
- 1x Tus neeg siv phau ntawv (cov ntaub ntawv no)
Khoom Tshajview
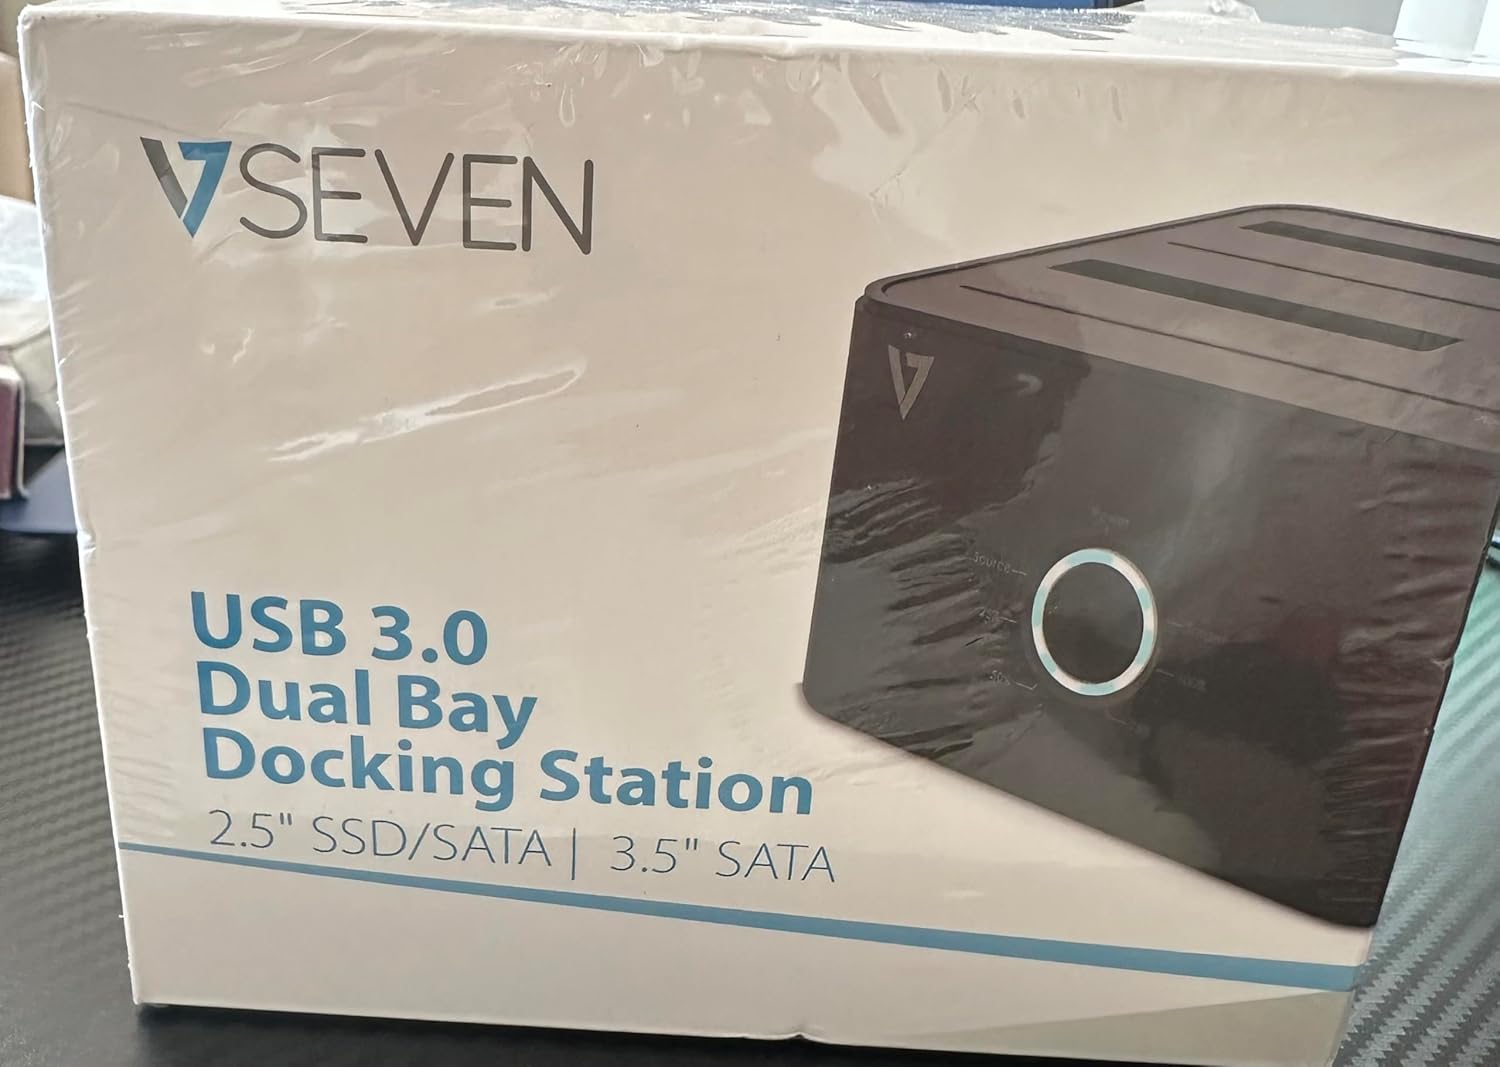
Image: The front of the V7 Dual Bay Docking Station packaging, displaying the product and its name.
The V7 Dual Bay Docking Station provides a versatile solution for managing your 2.5-inch and 3.5-inch SATA drives. Key features include:
- USB 3.0 Super-Speed Data Transfer: Achieves speeds up to 5 Gbps, significantly faster than USB 2.0.
- Tsim Ob Chav Bay: Supports two SATA I/II/III HDDs or SSDs simultaneously.
- Standalone Clone Function: Allows direct cloning of one drive to another without requiring a computer.
- LED Zaub: Provides status indication during operation, especially for cloning.
- Cov khoom siv rov ua dua tshiab: Constructed with recycled materials, contributing to environmental sustainability.

Image: The back of the V7 Dual Bay Docking Station packaging, illustrating key features and benefits, including the use of recycled materials.
Ports thiab Indicators:
- USB-B Port (1x): Connects the docking station to your computer.
- SATA Drive Bays (2x): For inserting 2.5-inch or 3.5-inch SATA HDDs/SSDs.
- DC Power Input (1x): For connecting the 12V/3A power adapter.
- Power Button/LED: Controls power and indicates operational status.
- Clone Button/LEDs: Initiates the cloning process and indicates progress.
Teeb tsa
- Txuas lub zog: Insert the DC 12V/3A power adapter into the "DC Power Input" port on the docking station, then plug the adapter into a wall outlet.
- Ntxig Drives:
- Gently slide your 2.5-inch or 3.5-inch SATA HDD/SSD into the drive bay(s) until it is securely seated. Ensure the SATA connector aligns correctly.
- For cloning, insert the source drive into Bay 1 (Source) and the target drive into Bay 2 (Target). The target drive must be equal to or larger in capacity than the source drive.
- Connect to Computer (for data transfer): If you intend to use the docking station for data transfer with a computer, connect one end of the USB 3.0 A to B cable to the USB-B port on the docking station and the other end to an available USB 3.0 port on your computer.
- Hwj chim On: Press the power button on the docking station. The power LED should illuminate.
Cov lus qhia ua haujlwm
A. Data Transfer Mode (Connected to Computer)
- Ensure the docking station is powered on and connected to your computer via the USB 3.0 cable.
- Insert one or two SATA drives into the bays.
- Your operating system should detect the drives as external storage. You may need to initialize and format new drives through Disk Management (Windows) or Disk Utility (macOS) before use.
- You can now access, read, and write data to the inserted drives as you would with any external storage device.
- Always safely eject the drives from your operating system before powering off the docking station or removing the drives.
B. Standalone Clone Function (Without Computer)
The clone function allows you to duplicate a source drive to a target drive without a computer connection. The target drive must have a capacity equal to or greater than the source drive.
- Kev npaj:
- Ensure the docking station is disconnected from any computer.
- Ntxig lub Qhov Chaw Tsav Tsheb (the drive you want to copy FROM) into Bay 1.
- Ntxig lub Lub Hom Phiaj Tsav (the drive you want to copy TO) into Bay 2.
- Warning: All data on the target drive will be erased during the cloning process. Back up any important data on the target drive before proceeding.
- Pib Clone:
- Fais fab ntawm qhov chaw nres tsheb docking.
- Press and hold the "Clone" button for approximately 3-5 seconds until the clone progress LEDs begin to flash.
- Confirm Clone:
- Release the "Clone" button. The 25% progress LED should start blinking.
- Press the "Clone" button again briefly to confirm and start the cloning process.
- Saib xyuas kev nce qib: The progress LEDs (25%, 50%, 75%, 100%) will illuminate sequentially to indicate the cloning status.
- Ua tiav: When the 100% LED remains solid, the cloning process is complete.
- Tua Fais Fab thiab Tshem Tawm: Power off the docking station before removing the drives.
Kev tu
- Khaws qhov chaw nres nkoj kom huv si thiab tsis muaj hmoov av. Siv daim ntaub mos mos thiab qhuav los ntxuav.
- Tsis txhob tso lub cuab yeej rau qhov kub, av noo, lossis tshav ntuj ncaj qha.
- Tsis txhob sim rhuav lossis kho lub cuab yeej koj tus kheej. Qhov no yuav ua rau lub warranty tsis muaj txiaj ntsig.
- Xyuas kom muaj qhov cua zoo nyob ib ncig ntawm lub cuab yeej thaum ua haujlwm.
Kev daws teeb meem
| Teeb meem | Ua Tau | Kev daws |
|---|---|---|
| Device tsis qhib. | Fais fab adapter tsis txuas los yog faulty. | Ensure the power adapter is securely connected to both the docking station and a working power outlet. Try a different outlet. |
| Drives not detected by computer. | USB cable not connected properly; drive not seated correctly; drive uninitialized/unformatted. | Check USB cable connection. Re-seat the drive(s). For new drives, initialize and format them via Disk Management (Windows) or Disk Utility (macOS). Try a different USB port on your computer. |
| Clone function not starting. | Incorrect drive placement; target drive too small; clone button not held long enough. | Ensure source drive is in Bay 1 and target drive in Bay 2. Verify target drive capacity is equal to or larger than source. Hold the clone button for 3-5 seconds until LEDs flash. |
| Kev hloov cov ntaub ntawv qeeb qeeb. | Connected to USB 2.0 port; faulty USB cable. | Ensure the docking station is connected to a USB 3.0 port on your computer. Try a different USB 3.0 cable. |
Specifications
- Qauv: 9UDBBS-BLK
- Hardware Interface: USB 3.0 (rov qab tau tshaj USB 2.0)
- Data Transfer Ceev: Up to 5 Gbps (USB 3.0 Super-Speed)
- Drive Compatibility: 2.5" and 3.5" SATA I/II/III HDDs and SSDs
- Tsav Bays: 2
- Chaw nres nkoj: 1x USB-B (Host), 2x SATA (Internal), 1x DC Power Input
- Lub zog nkag: DC 12V/3A (12 Watts)
- UPC: 662919116557
- Chaw tsim tshuaj paus: Ingram Micro Inc
- Khoom siv: Made from Recycled Materials
Warranty thiab Support
For warranty information and technical support, please refer to the official V7 website los yog hu rau koj lub khw muag khoom. Khaws koj cov ntaub ntawv pov thawj ntawm kev yuav khoom rau kev lees paub.
Yog xav paub ntxiv, thov mus saib: www.v7world.com/kev txhawb nqa (Ex ibample link, qhov link tiag yuav txawv)