
1. Taw qhia
1.1 Product Overview
The Rockspace AX1800 WiFi 6 Extender is designed to expand your existing wireless network coverage, eliminate dead zones, and improve overall network performance. It supports the latest WiFi 6 (802.11ax) standard, offering enhanced speeds and capacity for multiple devices.
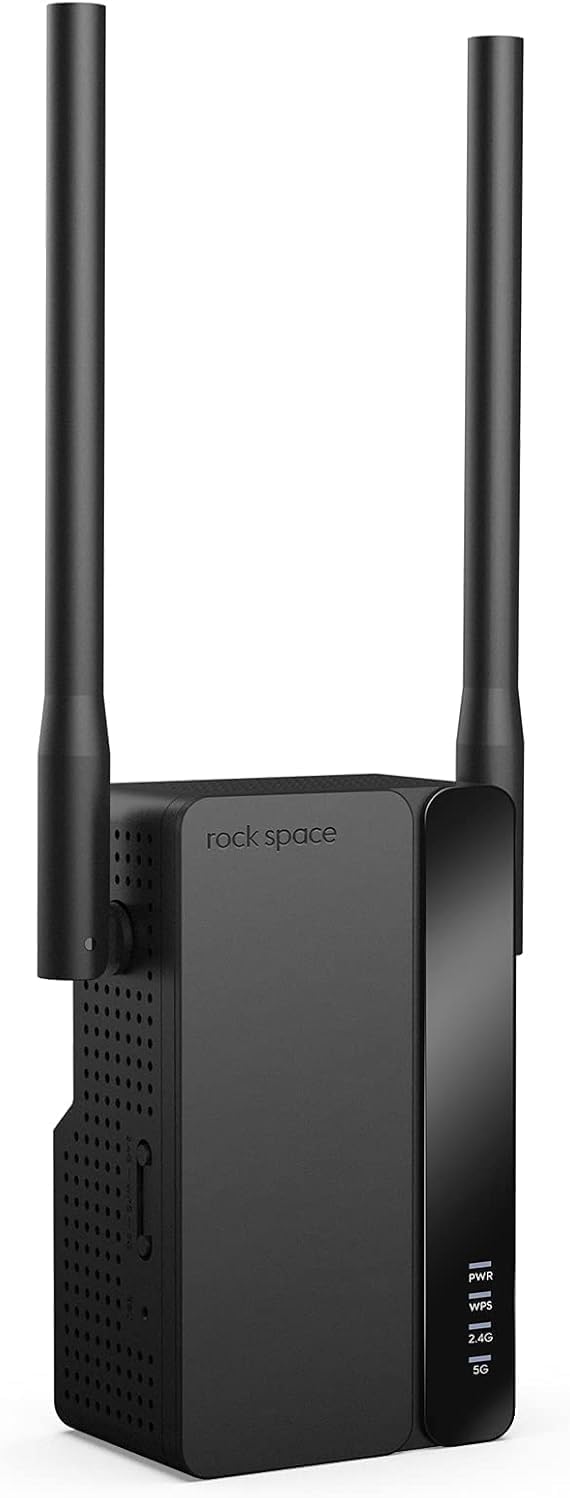
Duab 1.1: Pem hauv ntej view of the Rockspace AX1800 WiFi 6 Extender with its two external antennas.
1.2 Cov yam ntxwv tseem ceeb
- Supports up to 1.8Gbps wireless speeds (1201Mbps on 5GHz, 574Mbps on 2.4GHz) for high-bandwidth activities.
- MU-MIMO technology enables simultaneous connection for over 50 devices, optimizing network efficiency.
- Dual 5dBi antennas and a dual-core processor provide reliable WiFi coverage across an area of up to 3000 sq. ft.
- Compatible with all WiFi-enabled devices, routers, and access points.
- Features a Gigabit Ethernet port for wired connections or to operate in Access Point (AP) mode.
- Setup is facilitated by dual WPS buttons (2.4GHz & 5GHz) and includes WPA3 encryption for network security.
- Smart signal indicators assist in optimal placement.
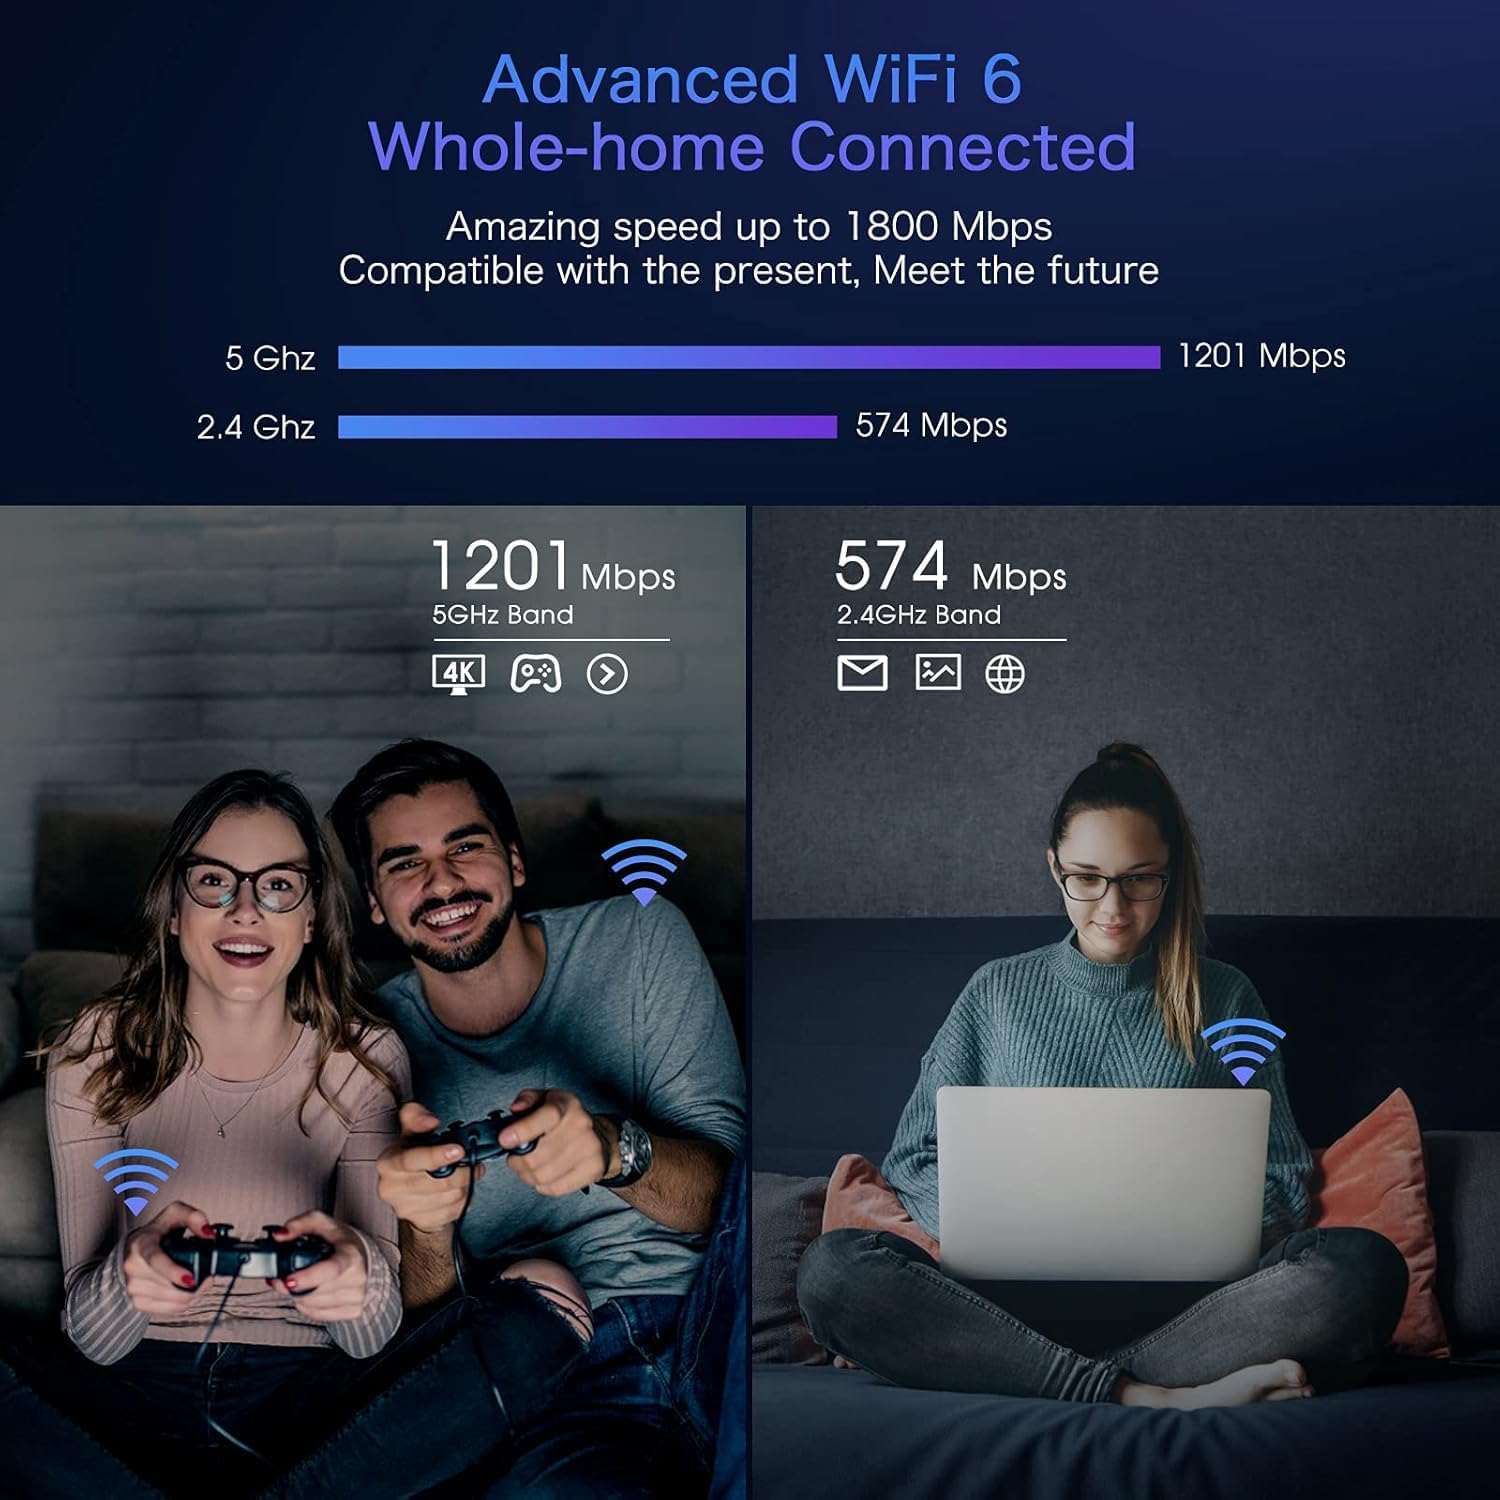
Image 1.2: Diagram illustrating the dual-band WiFi 6 speeds, showing 1201 Mbps on 5 GHz and 574 Mbps on 2.4 GHz, with examples of usage like 4K streaming and web tshawb nrhiav.

Image 1.3: Comparison of network utilization with and without MU-MIMO technology, demonstrating improved efficiency with multiple devices connected simultaneously.
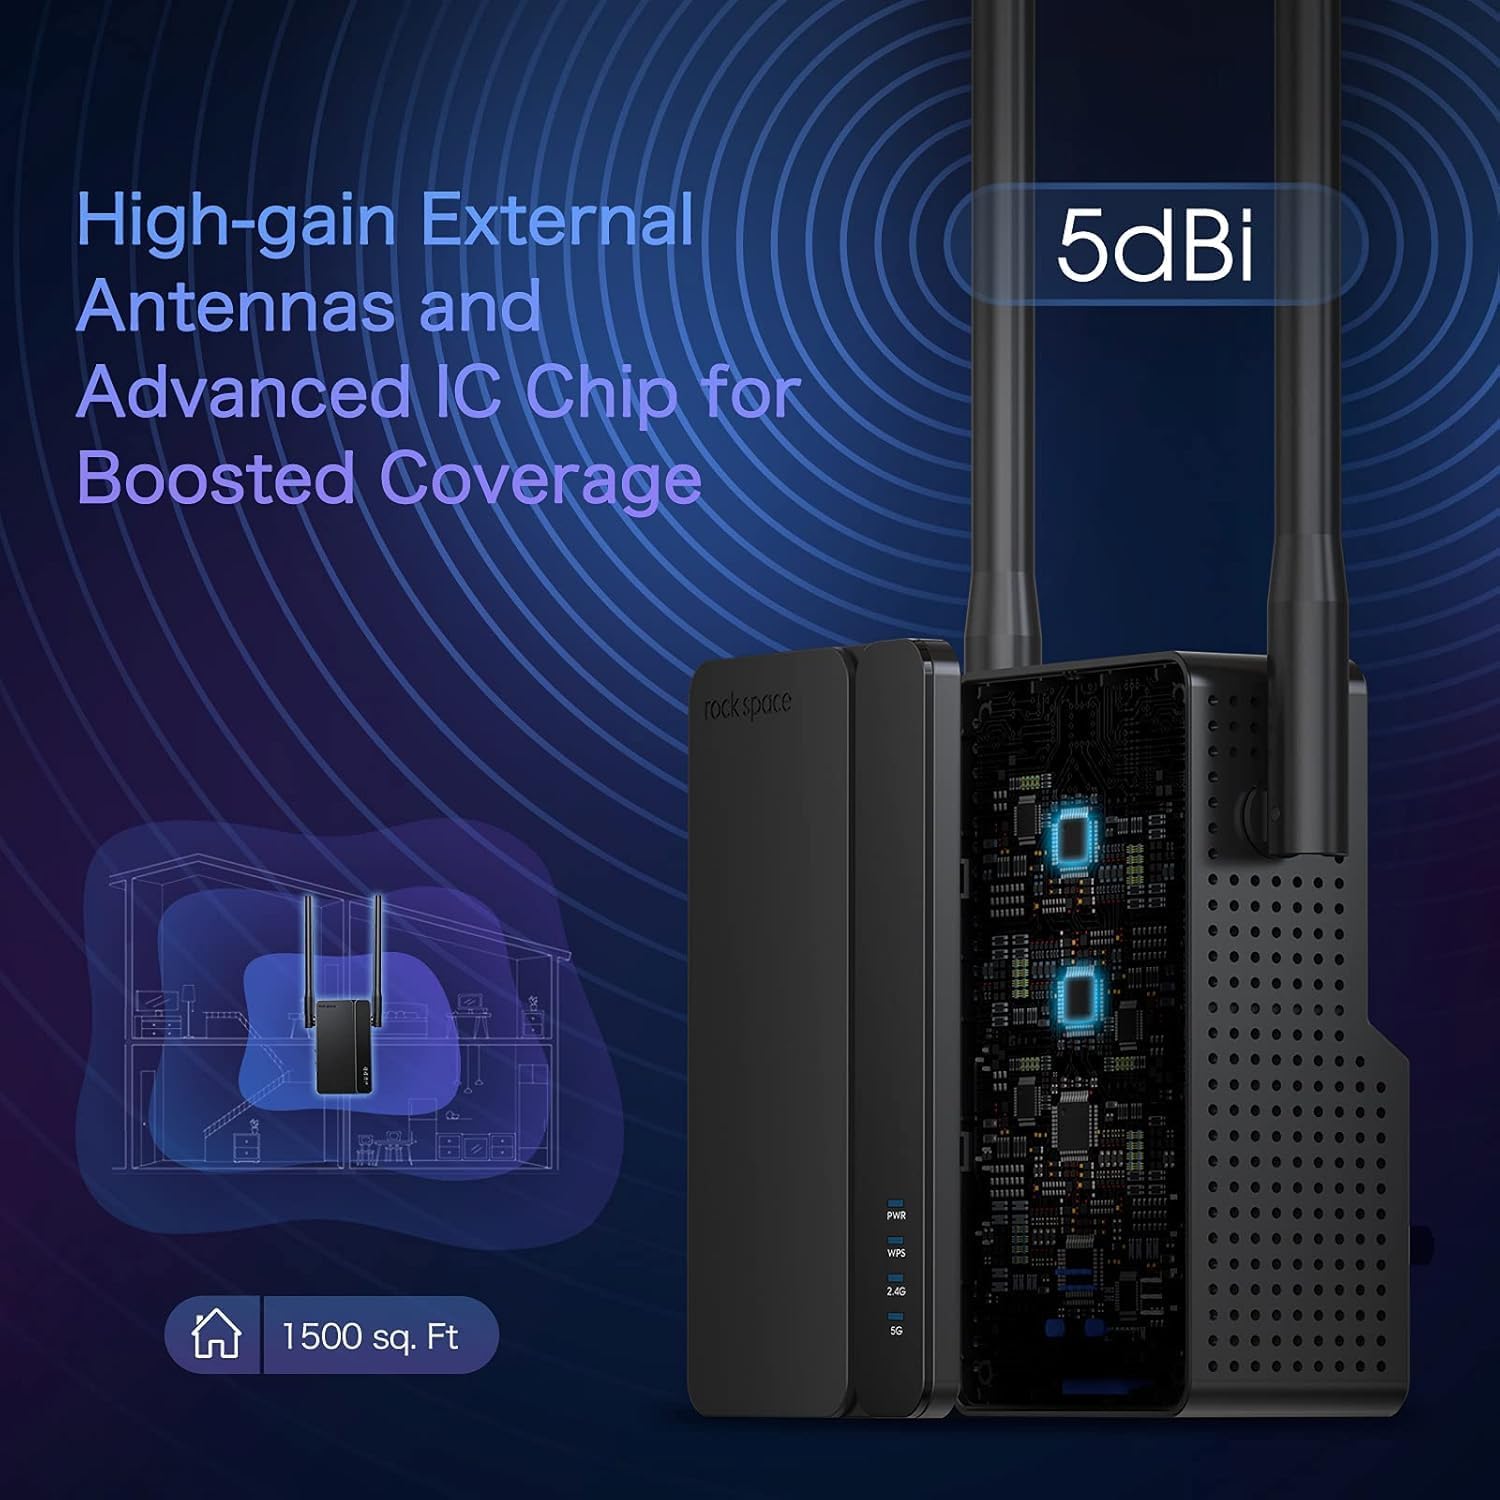
Image 1.4: Illustration of the extender's high-gain external 5dBi antennas and advanced IC chip, indicating boosted coverage up to 1500 sq. ft. (Note: Product description states 3000 sq. ft. for this model).
2. Cov ntsiab lus ntawm pob
Xyuas kom tseeb tias txhua yam khoom muaj nyob hauv koj pob:
- Rockspace WiFi Extender Signal Booster (AX1800)
- Daim ntawv qhia kev txhim kho ceev
3. Teeb Qhia
3.1 Ua ntej koj pib
- Ensure your main router is powered on and functioning correctly.
- Place the extender in the same room as your router during initial setup for optimal signal strength.
- Have your router's WiFi network name (SSID) and password ready.
3.2 Powering On the Extender
- Plug the Rockspace AX1800 WiFi 6 Extender into an electrical outlet.
- Wait for the Power (PWR) LED indicator to turn solid blue, indicating it is ready.
3.3 Txoj kev sib txuas
The extender offers multiple setup options:
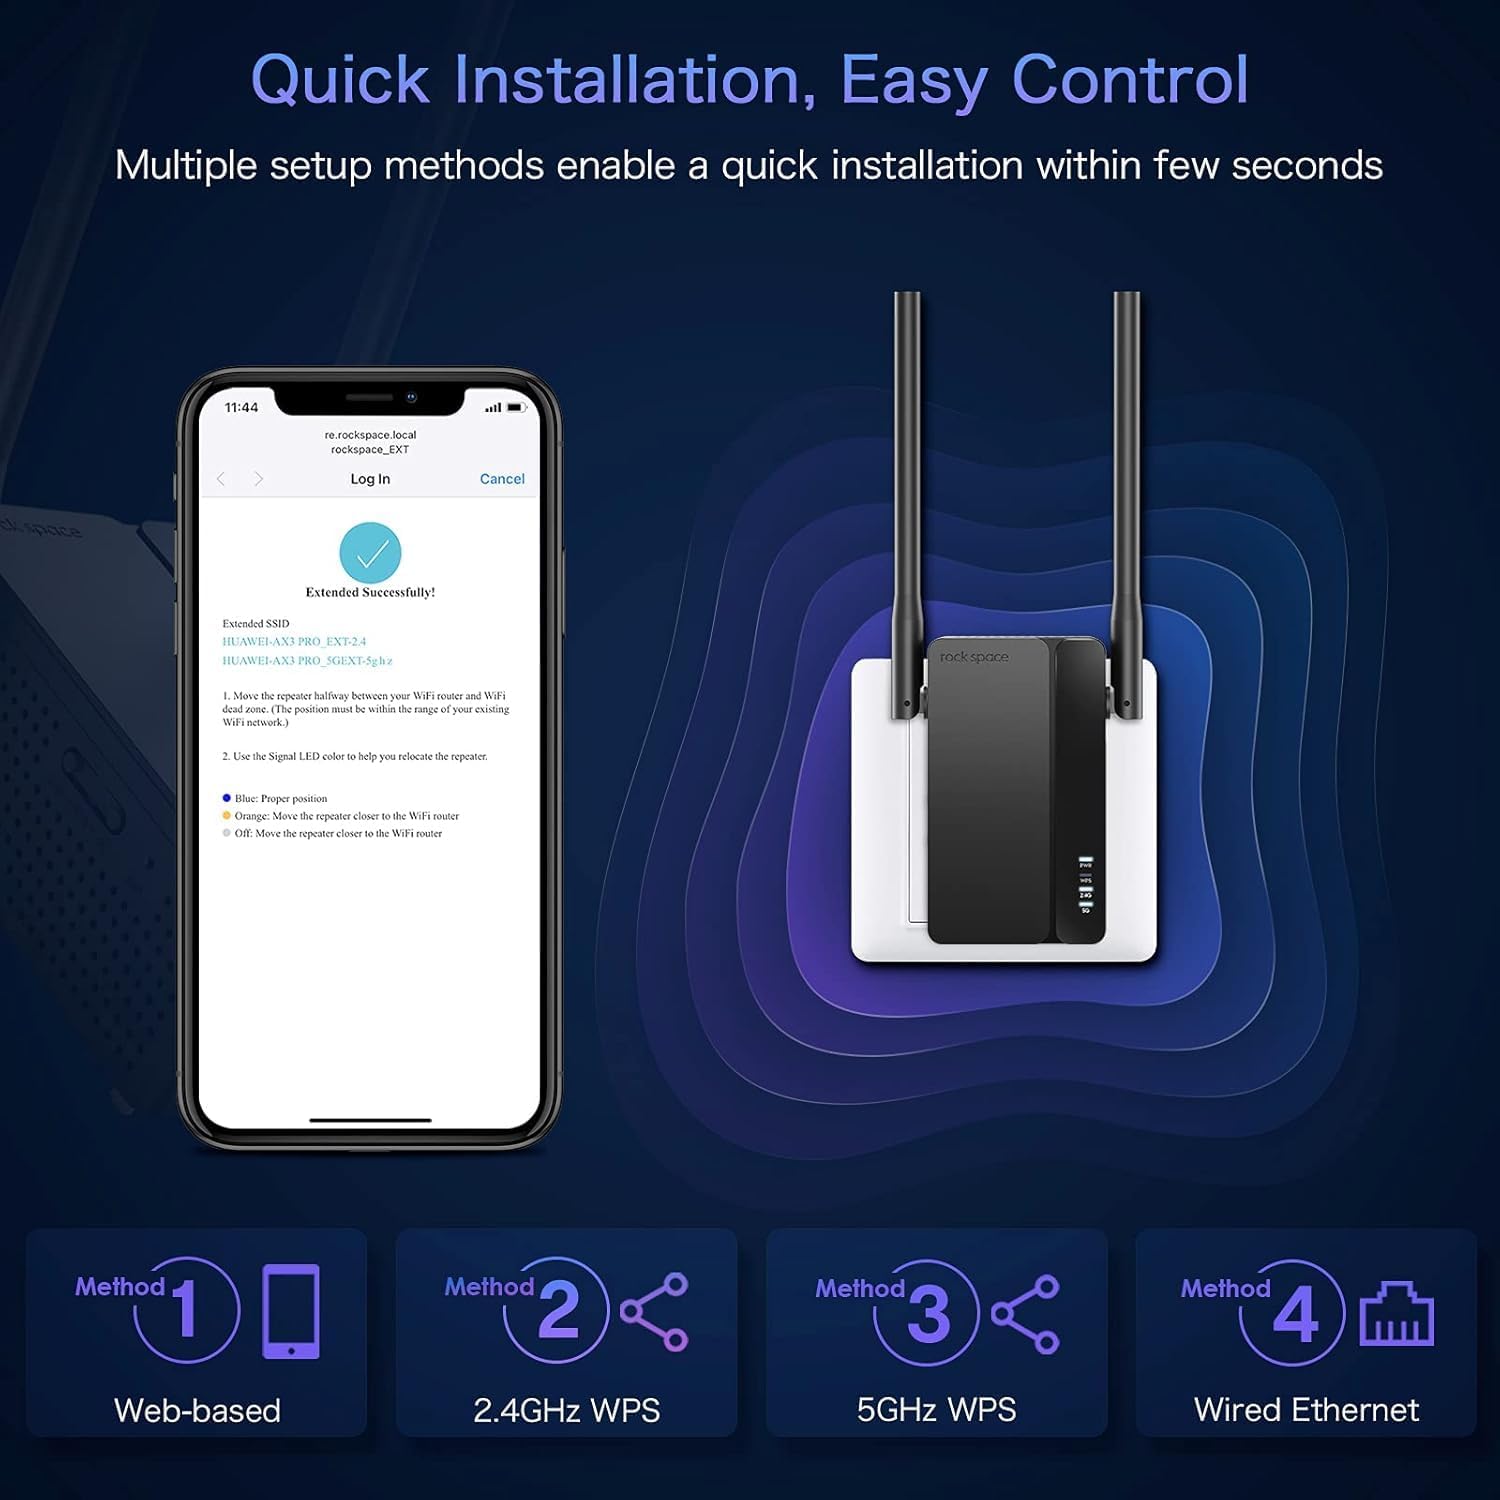
Image 3.1: Visual representation of the four quick installation methods: Web-based, 2.4GHz WPS, 5GHz WPS, and Wired Ethernet.
Txoj Kev 1: Web-based Setup (Recommended)
- Connect your computer or mobile device to the extender's default WiFi network (e.g., "rockspace_EXT"). No password is required initially.
- Qhib a web browser thiab nkag mus re.rockspace.local or 192.168.0.254 hauv qhov chaw nyob bar.
- Follow the on-screen instructions to create an administrator password and select your main WiFi network to extend.
- Enter your main WiFi network's password when prompted.
- Once configured, the extender will reboot. The signal indicator LEDs will turn solid blue when successfully connected.
Method 2: WPS Setup (2.4GHz)
- Nias lub pob WPS ntawm koj lub router tseem ceeb.
- Within two minutes, press the 2.4GHz WPS button on the extender.
- Wait for the 2.4GHz signal indicator LED on the extender to turn solid blue, indicating a successful connection.
Method 3: WPS Setup (5GHz)
- Nias lub pob WPS ntawm koj lub router tseem ceeb.
- Within two minutes, press the 5GHz WPS button on the extender.
- Wait for the 5GHz signal indicator LED on the extender to turn solid blue, indicating a successful connection.
Method 4: Wired Ethernet Setup (for AP Mode)
This method is primarily for setting up the extender in Access Point (AP) mode. Refer to Section 4.2 for details.
3.4 Qhov Chaw Zoo Tshaj Plaws
- After initial setup, relocate the extender to a location halfway between your router and the WiFi dead zone.
- Ensure the signal indicator LEDs show a strong blue signal from your router. If the signal is weak (e.g., red or orange), move the extender closer to the router.
- Avoid placing the extender near large metal objects, concrete walls, or appliances that emit electromagnetic interference (e.g., microwaves, cordless phones).
4. Hom kev ua haujlwm
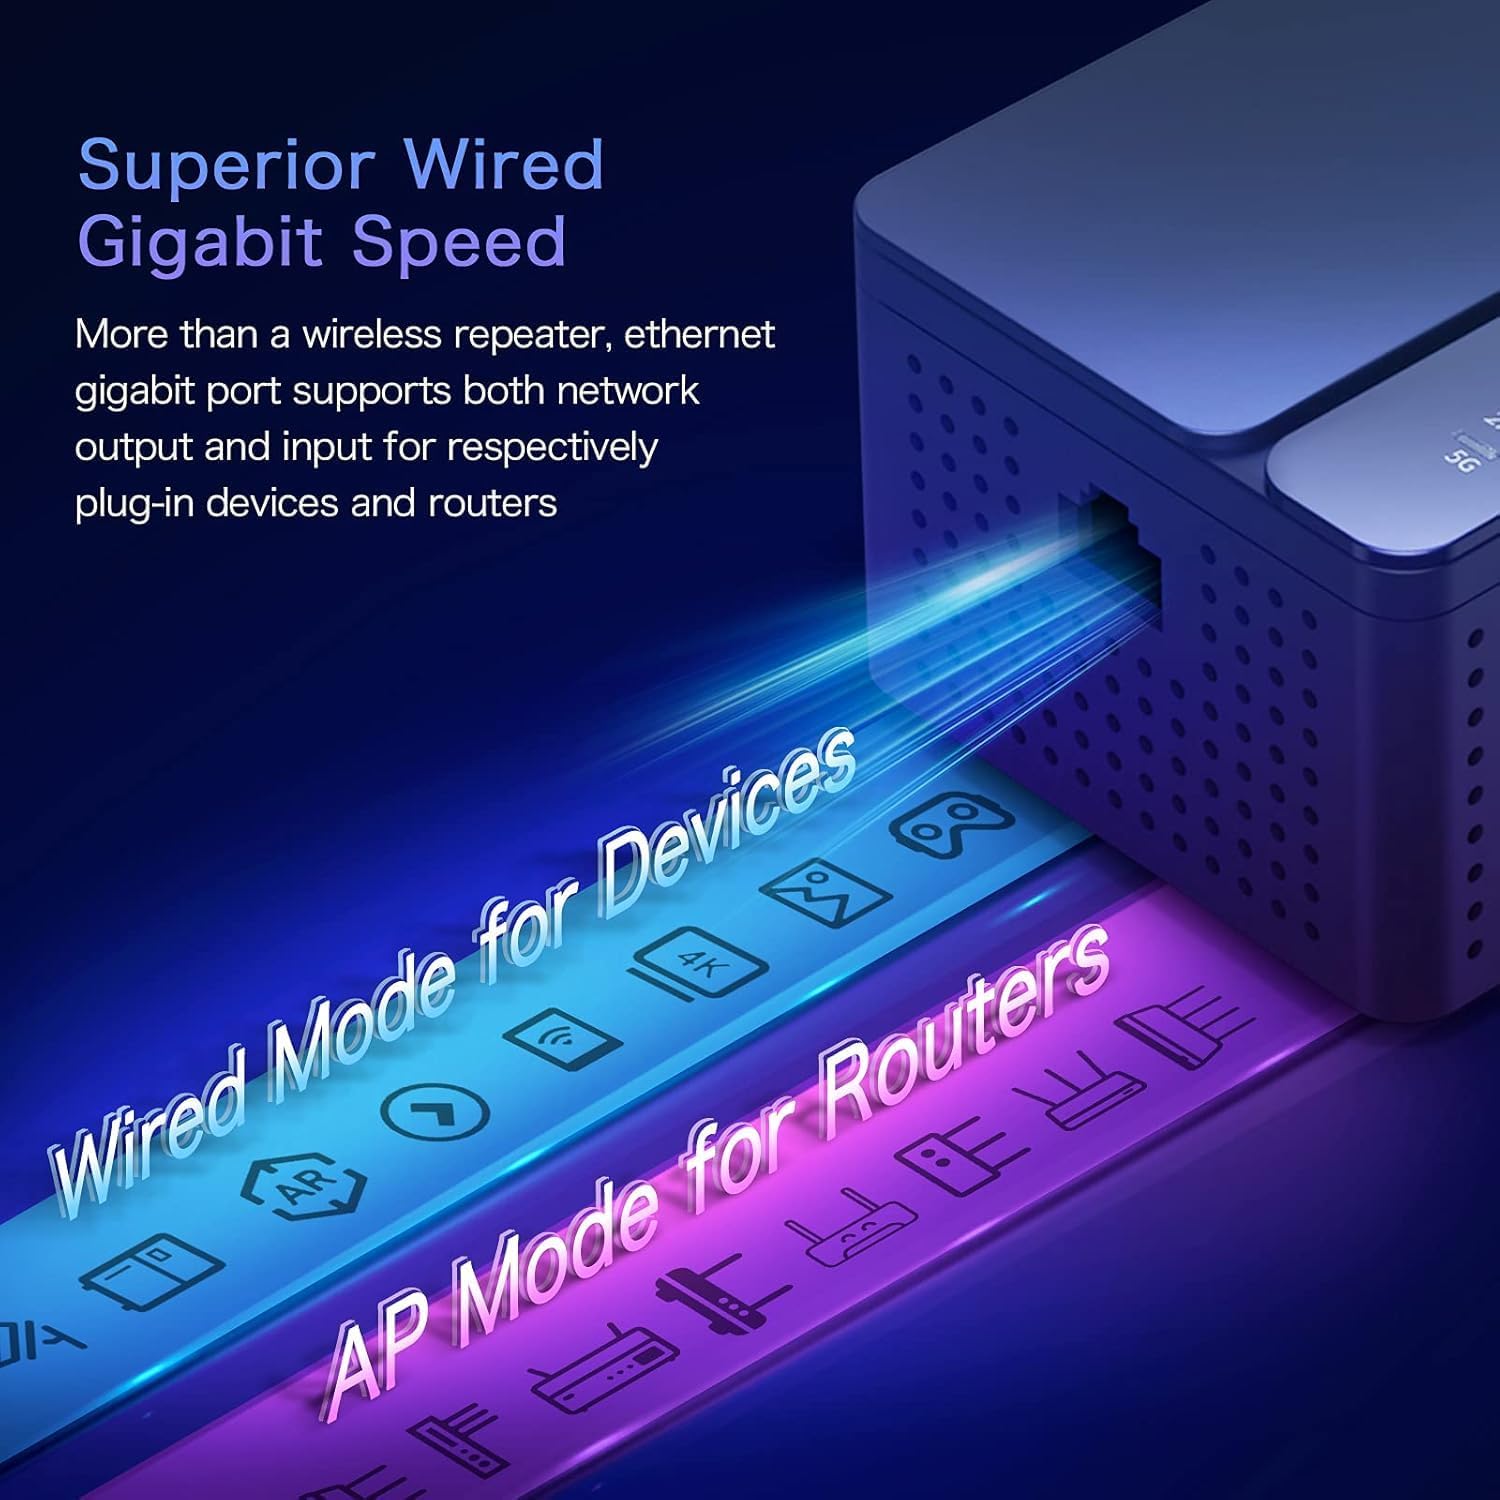
Image 4.1: Diagram illustrating the Gigabit Ethernet port and its dual functionality for 'Wired Mode for Devices' (Extender Mode) and 'AP Mode for Routers' (Access Point Mode).
4.1 Extender Mode (Repeater Mode)
In Extender Mode, the device wirelessly connects to your existing router and extends its WiFi signal to areas with weak or no coverage. It uses the same network name (SSID) or creates new ones with '_EXT' appended, depending on your configuration. This mode is ideal for expanding wireless coverage.
- Wireless Extension: Connects wirelessly to your main router.
- Gigabit Ethernet Chaw nres nkoj: Can be used to connect a wired device (e.g., PC, gaming console, smart TV) to the extended network, providing a stable wired connection.
4.2 Hom Chaw Nkag Mus (AP)
In AP Mode, the extender connects to your router via an Ethernet cable and transforms your wired network into a wireless access point. This is useful for adding WiFi capability to a wired-only network or creating a new WiFi network in a specific area.
- Connect an Ethernet cable from your main router's LAN port to the Gigabit Ethernet port on the extender.
- Ua raws li web-based setup instructions (Method 1 in Section 3.3) and select AP Mode during the configuration process.
- The extender will then broadcast a new WiFi network based on your settings.
5. Kev tu
5.1 Firmware Hloov tshiab
Periodically check the official rockspace website for firmware updates. Firmware updates can improve performance, add new features, and enhance security. Follow the instructions provided with the firmware update carefully.
5.2 Kev ntxuav
To clean the device, disconnect it from the power outlet. Use a soft, dry cloth to wipe the exterior. Do not use liquid cleaners or abrasive materials.
5.3 Qhov Chaw Zoo Tshaj Plaws
Review the placement of your extender periodically to ensure it remains in an optimal location for signal strength and coverage, especially if your home layout or network devices change.
6. Kev daws teeb meem
6.1 Cov teeb meem thiab kev daws teeb meem
- Tsis muaj zog: Ensure the extender is securely plugged into a working electrical outlet. Check if the power outlet is functional.
- Cannot Connect to Extender's WiFi: During initial setup, ensure you are connecting to the default network (e.g., "rockspace_EXT") without a password. If already set up, ensure you are using the correct extended network name and password.
- Weak Signal or Frequent Disconnections:
- Relocate the extender closer to your main router.
- Ensure there are no major obstructions (thick walls, metal objects) between the extender and the router.
- Check the signal indicator LEDs on the extender; a solid blue indicates a good connection.
- Slow Speeds ntawm Extended Network:
- Ensure the extender is placed in an optimal location (refer to Section 3.4).
- Xyuas kom tseeb tias koj lub router tseem ceeb tau muab internet ceev txaus.
- Txo qhov cuam tshuam los ntawm lwm cov khoom siv hluav taws xob.
- Web-based Setup Page Not Accessible:
- Ensure your device is connected to the extender's WiFi network.
- Sim tshem koj tus browser cache lossis siv lwm qhov browser.
- Verify you are entering the correct address: re.rockspace.local or 192.168.0.254.
- Restart both the router and the extender.
- Tsis nco qab tus thawj coj lo lus zais: Perform a factory reset on the extender. Locate the reset button (usually a small pinhole) and press and hold it for 5-10 seconds until the LEDs flash. The extender will revert to factory settings, and you will need to set it up again.
7. Cov lus qhia tshwj xeeb
| Feature | Paub meej |
|---|---|
| Hom | pob zeb qhov chaw |
| Qauv nab npawb | SIB 1800 |
| Wireless Txuj | 802.11ax (Wi-Fi 6) |
| Cov Ntaub Ntawv Hloov Tus Nqi | Mus txog 1800 Mbps (1.8 Gbps) |
| Zaus Bands | Dual-Band (2.4GHz & 5GHz) |
| Kav hlau txais xov | 4 External 5dBi Antennas |
| Ethernet Chaw nres nkoj | 1 x Gigabit Ethernet Chaw nres nkoj |
| Kev ruaj ntseg | WPA3 encryption |
| Hom kev ua haujlwm | Extender (Repeater) Mode, Access Point (AP) Mode |
| Yam Nyhav | 14.9 hli |
| Pob Dimensions | 8.9 x 5.43 x 2.64 po |
8. Txhawb nqa
For further assistance, technical support, or warranty information, please refer to the official rockspace support channels or visit their website. Contact details are typically provided in the product packaging or on the manufacturer's official webqhov chaw.