1. Taw qhia
This manual provides essential information for the safe and efficient operation of your PowMr 4000W Hybrid Solar Inverter. This device is designed to convert 24VDC battery power into 110/120VAC pure sine wave electricity, integrating a 140A MPPT charge controller for optimal solar energy utilization. It supports various battery types and off-grid system configurations. Please read this manual thoroughly before installation and use, and retain it for future reference.
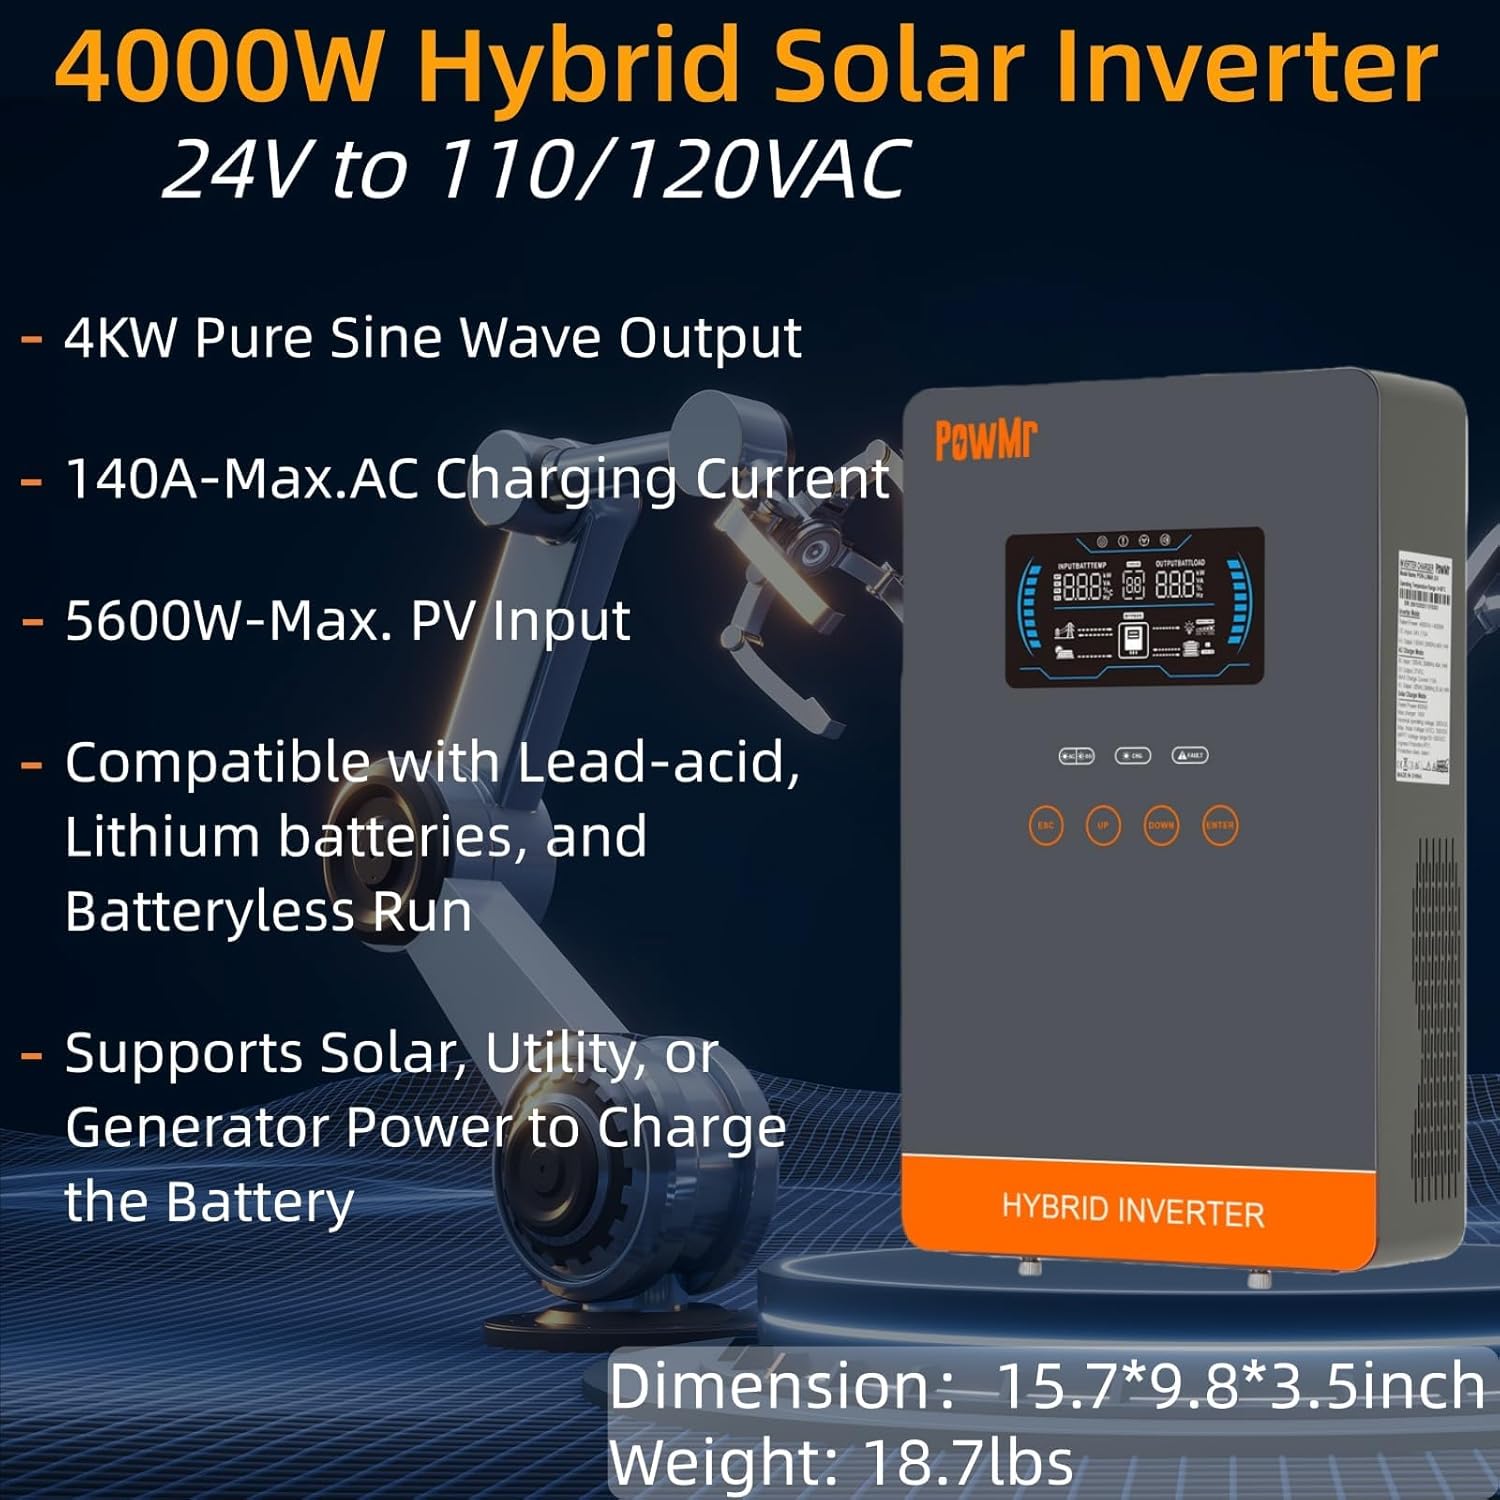
Image: The PowMr 4000W Hybrid Solar Inverter, highlighting its 4KW pure sine wave output, 140A max AC charging current, 5600W max PV input, compatibility with various batteries, and support for solar, utility, or generator power to charge the battery. Dimensions are 15.7"L x 9.8"W x 3.5"H and weight is 18.7lbs.
2. Cov lus qhia kev nyab xeeb
Ib txwm ua raws li cov kev ceev faj kev nyab xeeb hauv qab no kom txo tau qhov kev pheej hmoo ntawm kev raug hluav taws xob, hluav taws kub, lossis kev raug mob:
- Kev teeb tsa yuav tsum tau ua los ntawm cov neeg ua haujlwm tsim nyog.
- Ensure all wiring is correctly sized and properly insulated.
- Tsis txhob disassemble lub inverter. Tsis muaj cov neeg siv-kev pabcuam hauv.
- Khaws lub inverter kom deb ntawm cov khoom siv hluav taws xob, noo noo, thiab tshav ntuj ncaj qha.
- Xyuas kom muaj cua txaus nyob ib ncig ntawm lub inverter kom tsis txhob overheating.
- Always disconnect all power sources (PV, battery, AC input) before performing any maintenance or wiring.
- Hnav cov cuab yeej tiv thaiv tus kheej tsim nyog (PPE) thaum lub sijhawm teeb tsa thiab tu.
3. Khoom Tshajview
3.1. Nta
- Pure Sine Wave Output: Provides stable and clean power suitable for sensitive electronics.
- Integrated MPPT Charge Controller: 140A MPPT for efficient solar charging.
- Kev Sib Txuas Lus Dav Dav ntawm Lub Roj Teeb: Supports AGM, Gel, Lead-acid, Lithium-ion, and LiFePO4 batteries.
- Batteryless Mode: Can power loads directly from PV/AC grid without a connected battery.
- Ntau hom kev them nqi: Solar Only, Mains Only, Mains & Solar Hybrid.
- Ntau Load Output Hom: Utility Priority, Solar Priority, Solar and SBU Priority.
- Kev tiv thaiv Advanced: Short circuit, over voltage, sub voltage, overload, reverse polarity, over-temperature, and backfill protection.
- Tus neeg siv-phooj ywg interface: 6.25-inch LCD screen with touch controls for real-time data display.
- Kev sib txuas lus Ports: RS485 and RS232 for monitoring and control.
3.2. Kev Txheeb Xyuas Tus Txheej Txheem

Image: A detailed diagram of the PowMr Hybrid Solar Inverter, showing its front panel and connection ports. Key components labeled include: 1. LCD display, 2. Status indicator, 3. Charging indicator, 4. Fault indicator, 5. Function touch buttons, 6. On/off switch, 7. AC input, 8. AC output, 9. PV input, 10. Battery input, 11. RS485/RS232 communication port.
3.3. Kev tiv thaiv nta

Image: An illustration detailing the comprehensive protection features of the inverter, including Short Circuit Protection, Over-Load Protection, Over Current Protection, Backfill Protection, Over Voltage Protection, Over-Temperature Protection, Under Voltage Protection, and Over Charge Protection.
4. Cov ntsiab lus ntawm pob
Thaum unpacking, thov xyuas kom meej tias tag nrho cov khoom tam sim no thiab tsis puas:
- PowMr 4000W Hybrid Solar Inverter
- Instruction Manual (cov ntaub ntawv no)
- Communication Cables (if applicable, check packaging)
- Mounting Hardware (if applicable, check packaging)
5. Kev teeb tsa thiab teeb tsa
5.1. Mounting lub Inverter
Select a suitable location for mounting the inverter. It should be:
- Indoors, protected from direct sunlight, rain, and dust.
- Well-ventilated to allow for heat dissipation.
- Close to the battery bank to minimize cable length and voltage vug.
- On a solid, non-flammable surface.
5.2. Daim Kab Xev
Follow the wiring diagram carefully. Incorrect wiring can cause damage to the inverter, batteries, or connected loads, and may pose a safety hazard.

Image: A comprehensive wiring diagram illustrating connections for PV input, Mains/Generator input, AC output, and Battery input. It specifies voltage ranges, current ratings, and recommended wire gauges for each connection point.
5.3. Roj teeb kev twb kev txuas
The inverter is compatible with various 24V battery types. Ensure your battery bank matches the inverter's voltage kev cai.

Image: An illustration showing the inverter's compatibility with various battery types including AGM, GEL, FLD (Flooded), LI (Lithium-ion), SLD (Sealed Lead-Acid), and USER-defined settings. It also indicates a maximum battery charging current of 140A (utility charging + solar charging).
- Connect the battery cables to the inverter's battery terminals, ensuring correct polarity (positive to positive, negative to negative).
- Tighten tag nrho cov kev sib txuas ruaj ntseg.
5.4. PV Array Connection
- Connect the solar panel array to the PV input terminals, observing correct polarity.
- Ensure the PV array's open circuit voltage and power are within the inverter's specifications.
5.5. Kev Txuas AC Input/Output
- Connect the AC utility grid or generator to the AC input terminals.
- Connect your AC loads to the AC output terminals.
- Ensure all AC connections are properly grounded.
6. Cov lus qhia ua haujlwm
6.1. Fais fab rau / tawm
- Txhawm rau Fais Fab: Ensure all connections are secure. First, connect the battery, then the PV array, and finally the AC input. Press the On/Off switch.
- Mus Faib Tawm: Disconnect the AC input, then the PV array, and finally the battery. Press the On/Off switch.
6.2. LCD Display and Controls
The LCD screen displays real-time system data. Use the touch buttons to navigate menus and adjust settings.
6.3. Setting Charging and Output Modes
The inverter offers flexible charging and output modes to suit various energy management needs.

Image: An illustration detailing the three charging modes (1. Only Solar, 2. Only Utility, 3. Solar+Utility) and three output modes (1. Utility First, 2. Solar First (default), 3. SBU priority). Steps to set programs are also provided: 1. Long press and hold ENTER button for 3s, 2. Press UP and DOWN to select setting programs, 3. Press ENTER to confirm or ESC to exit.
6.3.1. Hom kev them nyiaj
- Hnub ci nkaus xwb: Charges batteries exclusively from solar panels.
- Mains nkaus xwb: Charges batteries exclusively from the AC utility grid or generator.
- Mains & Solar Hybrid: Prioritizes solar charging, supplementing with AC utility/generator if solar power is insufficient.
6.3.2. Load Output Modes
- Utility Priority: Loads are primarily powered by the AC utility grid. Inverter switches to battery/solar if utility fails.
- Hnub ci tseem ceeb: Loads are primarily powered by solar and battery. Inverter switches to utility if solar/battery power is insufficient.
- SBU Priority (Solar-Battery-Utility): Loads are primarily powered by solar, then battery, and finally by utility as a last resort.
7. Kev tu
Kev saib xyuas tsis tu ncua ua kom pom kev ua haujlwm zoo thiab ua haujlwm ntev ntawm koj lub inverter.
- Ntxuav: Periodically clean the inverter's exterior with a dry cloth. Do not use liquid cleaners.
- Qhov cua: Ensure cooling fan vents are clear of dust and obstructions. The triple cooling fan design helps dissipate heat efficiently.
- Kev sib txuas: Txhua xyoo xyuas txhua qhov kev sib txuas hluav taws xob kom paub tseeb tias nws nruj thiab muaj cov cim qhia tias nws xeb.
- Ib puag ncig: Maintain a clean, dry, and well-ventilated environment around the inverter. The dust-proof design helps prevent dust ingress.
8. Kev daws teeb meem
If you encounter issues, refer to the following common problems and solutions. For persistent issues, contact customer support.
| Teeb meem | Ua Tau | Kev daws |
|---|---|---|
| Inverter tsis tig | Tsis muaj kev sib txuas roj teeb; Lub zog roj teeb qistage; On/Off switch off | Check battery connections; Charge battery; Turn on switch |
| Tsis muaj AC tso zis | Tshaj dhau; luv luv; Inverter txhaum | Reduce load; Check for short circuits; Restart inverter |
| PV charging not working | PV array disconnected; Insufficient sunlight; PV voltage heev low/high | Check PV connections; Ensure adequate sunlight; Verify PV array specifications |
| Overload ceeb toom | Connected loads exceed inverter capacity | Disconnect some loads; Ensure total load is within 4000W |
| Kub ceeb toom | Poor ventilation; Ambient temperature too high | Clear vents; Improve airflow; Relocate inverter if necessary |
9. Cov lus qhia tshwj xeeb
Technical specifications for the PowMr 4000W Hybrid Solar Inverter:
| Parameter | Tus nqi |
|---|---|
| Qauv nab npawb | POW-LVM4K-24V-FBA2 |
| Nyob Lub Hwj Huam Tso Tawm | 4000 W |
| Cov lus qhia Voltage (DC) | 24 VDC ua |
| Tso zis Voltage (AC) | 110/120VAC |
| Tso zis Waveform | Leej Ntshiab Ywj Siab |
| Max. PV Qhib Circuit Voltage | 350 VDC ua |
| PV Array MPPT Voltage Ntau yam | 55-350 VDC |
| Max. PV Input zog | 5600 W |
| Rated Grid Input Voltage | 110/120VAC |
| Max. Hybrid Charging Current (AC+PV) | 140 A |
| Kev sib txuas lus | RS 485, RS232, RS XNUMX, RS XNUMX, RS XNUMX |
| Hom zaub | LCD |
| Qhov Loj (L x W x H) | 15.7" L x 9.8" W x 3.5" H |
| Qhov hnyav | 18.7 lbs (approximate, derived from image) |
10. Warranty thiab Support
10.1. Warranty Information
The PowMr 4000W Hybrid Solar Inverter comes with an 18-lub hlis warranty txij hnub uas koj yuav khoom. Daim ntawv pov thawj no them rau cov khoom siv thiab kev ua haujlwm tsis zoo thaum siv li qub. Nws tsis them rau kev puas tsuaj los ntawm kev teeb tsa tsis raug, kev siv tsis raug, kev sib tsoo, kev hloov kho tsis raug cai, lossis kev puas tsuaj ntuj tsim.
10.2. Cov neeg siv khoom txhawb nqa
For technical assistance, warranty claims, or any questions regarding your PowMr inverter, please contact PowMr customer support through the retailer's platform or the official PowMr website. Please have your model number (POW-LVM4K-24V-FBA2) and purchase date available when contacting support.